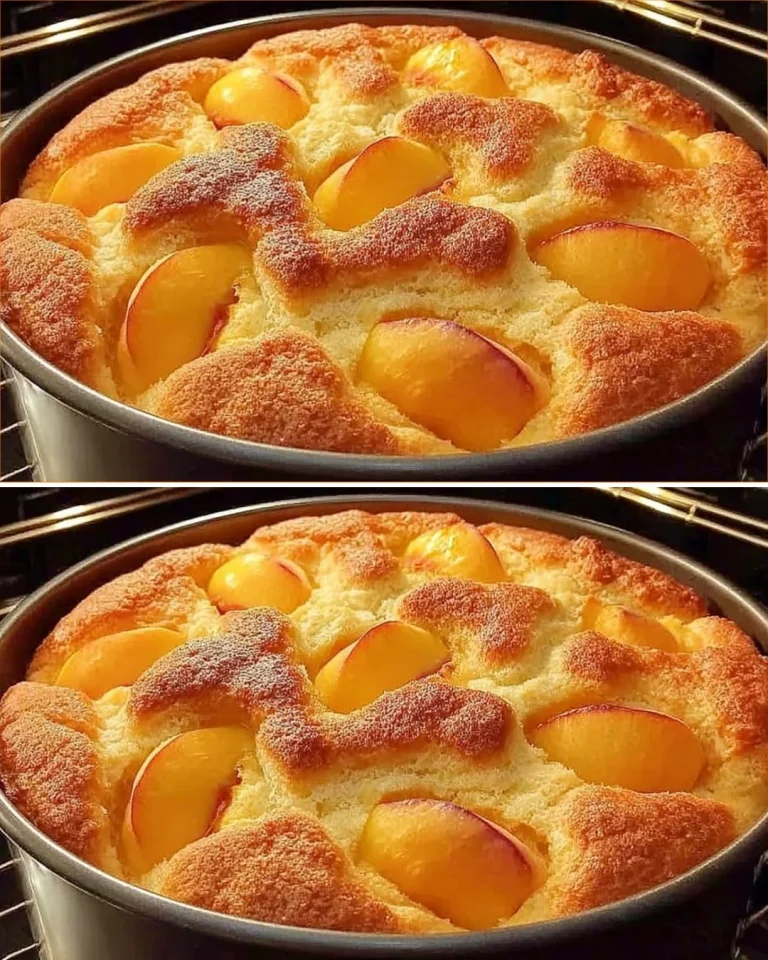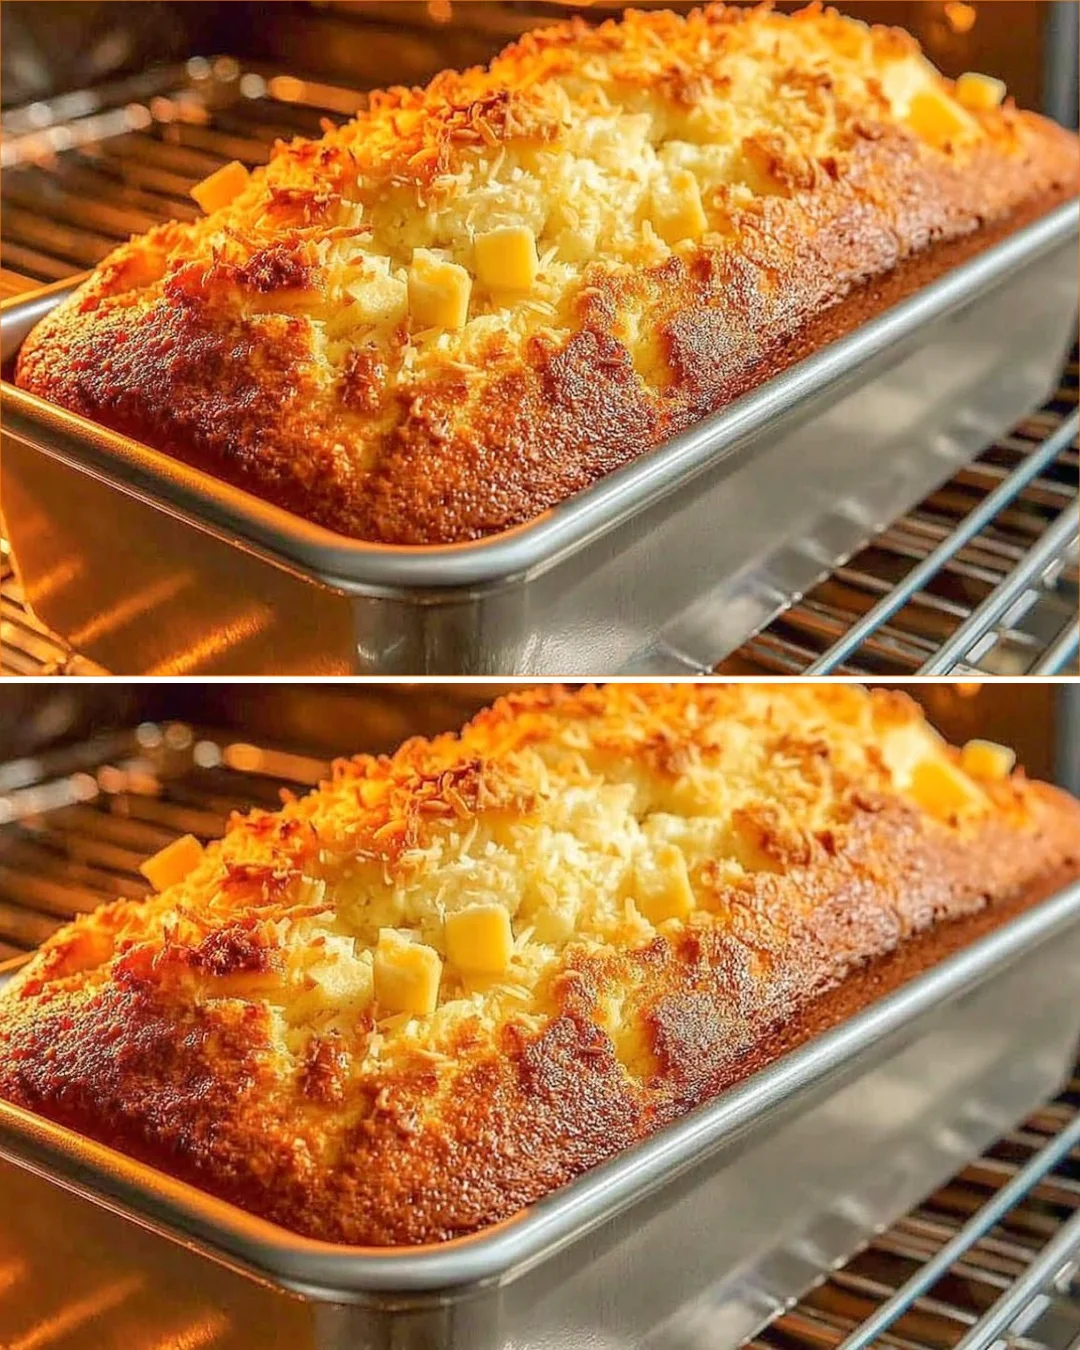
There’s something undeniably comforting about a slice of homemade cake, especially during the fall months when apples are at their peak. This Japanese Apple Cake is a wonderful way to celebrate the season, bringing together the sweet, crisp flavor of fresh apples and the cozy aroma of baked goods in just a short time. Having made numerous variations over the years, I can assure you that this one is not only quick but incredibly satisfying. It’s the perfect dessert for weeknight dinners or coffee breaks, and I was pleasantly surprised by how tender and fluffy the cake turned out.
What makes this recipe even more appealing is its simplicity. You can whip it up in just five minutes of active time—ideal for busy afternoons when you want something homemade yet effortless. And did I mention the delightful crunch from the coconut flakes complements the softness of the apples beautifully? Let’s dive into how to make this fantastic cake yourself.
Why You’ll Love This Recipe
- Quick and Easy: Made in just five minutes with minimal prep.
- Flavorful: The natural sweetness of apples shines through.
- Tender Texture: The cake remains moist and fluffy, thanks to the milk and eggs.
- Customizable: Easily switch up fruits or add spices like cinnamon.
- Perfect for Sharing: Great for gatherings or as a simple treat at home.
Ingredients
- 3 large eggs
- 120 grams (½ cup) sugar
- A pinch of salt
- 1 teaspoon vanilla extract
- 85 ml (⅓ cup) vegetable oil
- 150 ml (⅔ cup) milk
- 210 grams (1 ¾ cups) all-purpose flour
- 10 grams (2 teaspoons) baking powder
- 2 medium apples
- 1 tablespoon sugar (for topping)
- 2 tablespoons coconut flakes
Ingredient Notes
- Eggs: Room temperature eggs blend better into the batter for a fluffier cake.
- Sugar: For the best sweetness and texture, use granulated sugar, but feel free to experiment with brown sugar for a caramel-like flavor.
- Coconut flakes: Unsweetened flakes work best to balance the cake’s sweetness. They add a lovely texture too.
- Apples: Use your favorite variety; tart apples like Granny Smith provide a nice contrast to the sweet cake.
Kitchen Tools Needed
- Mixing bowls
- Whisk or electric mixer
- Measuring cups and spoons
- Sifter or fine mesh strainer
- 27×18 cm (11×7 inch) baking pan
- Parchment paper for lining
Step-by-Step Instructions
- Preheat your oven to 180°C (350°F) and line a 27×18 cm (11×7 inch) baking pan with parchment paper.
- In a large mixing bowl, beat the eggs with sugar, a pinch of salt, and vanilla extract until the mixture is creamy and slightly thickened, about 2-3 minutes.
- Gradually add the oil and milk, mixing until combined and smooth. The consistency should be fluid but not watery.
- Sift the flour and baking powder directly into the bowl, mixing gently. Use a spatula to fold the flour into the batter in two additions, being careful not to overmix, which can make the cake dense.
- Pour the batter into the prepared baking pan, using a spatula to spread it evenly.
- Peel and thinly slice the apples. Arrange the apple slices artfully on top of the batter, creating a visually pleasing pattern.
- Sprinkle 1 tablespoon of sugar and the coconut flakes evenly over the apples.
- Bake in the oven for 40-45 minutes, or until the edges are golden and a toothpick inserted into the center comes out clean. The smell will be irresistible!
- Allow the cake to cool in the pan for about 10 minutes before transferring to a wire rack to cool completely. Slice and enjoy!
Pro Tips
- Resting time: Allowing the cake to cool for an extra 10 minutes improves the texture, making it easier to slice.
- Check doneness: Different ovens can vary, so start checking for doneness at 35 minutes to prevent over-baking.
- Texture enhancement: For a higher rise, whip the eggs separately until frothy before incorporating them into the batter.
- Flavor boost: Adding a pinch of cinnamon or nutmeg can elevate the flavors further and make your kitchen smell divine!
Common Mistakes to Avoid
- Overmixing the batter: This can lead to a tough cake; mix just until combined.
- Not using room temperature ingredients: Cold eggs or milk can affect the cake’s final texture.
- Skipping the parchment paper: The cake may stick to the pan, making it difficult to remove.
Variations
- Add spices: Incorporate cinnamon or nutmeg for an autumn twist.
- Nutty texture: Add chopped walnuts or pecans for added crunch and flavor.
- Different fruits: Substitute pears or berries for the apples for a different experience.
- Coconut cream glaze: Drizzle a coconut cream glaze over the cooled cake for added richness.
Serving Suggestions
Serve this delicious cake warm or at room temperature. It pairs wonderfully with a scoop of vanilla ice cream or a dollop of whipped cream. For an extra indulgent treat, drizzle with caramel sauce.
Storage Instructions
Store any leftover cake in an airtight container at room temperature for up to 2 days. For longer freshness, refrigerate for up to a week.
Reheating Tips
To reheat, warm individual slices in a microwave for about 10-15 seconds or pop it back in the oven at 160°C (325°F) for 5-10 minutes until just warmed through.
Nutrition Estimate
Calories: 210 per slice
Protein: 4g
Carbohydrates: 30g
Fat: 9g
Recipe Summary Card
- Prep Time: 5 minutes
- Cook Time: 40-45 minutes
- Total Time: 50 minutes
- Servings: 10
- Cuisine: Japanese
- Course: Dessert
- Calories: 210
Frequently Asked Questions
-
Can I use other types of flour?
Yes! You can use whole wheat flour for a healthier option, but the texture may be denser. -
What apples are best for this cake?
Tart apples like Granny Smith work best to balance out the sweetness of the cake. -
Can this cake be made ahead of time?
Absolutely! It holds up well in the fridge for about a week. -
How can I make this cake vegan?
Substitute eggs with flax eggs and replace milk with plant-based milk. -
Is it necessary to peel the apples?
While it’s not necessary, peeling them provides a softer texture in the cake.
Conclusion
This Japanese Apple Cake is a delightful treat that promises to impress with minimal effort. Its wonderful texture and rich flavor make it perfect for any occasion, whether it be a family gathering or simply enjoying a slice with your afternoon tea.
Tested Note
I tested this again and found that letting the cake cool completely before slicing results in cleaner, more attractive pieces.
Japanese Apple Cake

A comforting and easy-to-make cake featuring fresh apples and coconut flakes, perfect for fall gatherings or coffee breaks.
Main Ingredients
- 3 large eggs (Room temperature eggs blend better into the batter for a fluffier cake.)
- 120 grams sugar (Granulated sugar preferred for optimal sweetness.)
- 1 pinch salt
- 1 teaspoon vanilla extract
- 85 ml vegetable oil
- 150 ml milk (Room temperature for best results.)
- 210 grams all-purpose flour
- 10 grams baking powder (2 teaspoons)
- 2 medium apples (Use tart varieties like Granny Smith.)
- 1 tablespoon sugar (for topping)
- 2 tablespoons coconut flakes (Unsweetened flakes recommended.)
Preparation
- Preheat your oven to 180°C (350°F) and line a 27×18 cm (11×7 inch) baking pan with parchment paper.
- In a large mixing bowl, beat the eggs with sugar, a pinch of salt, and vanilla extract until the mixture is creamy and slightly thickened, about 2-3 minutes.
- Gradually add the oil and milk, mixing until combined and smooth. The consistency should be fluid but not watery.
- Sift the flour and baking powder directly into the bowl, mixing gently. Use a spatula to fold the flour into the batter in two additions, being careful not to overmix.
- Pour the batter into the prepared baking pan, using a spatula to spread it evenly.
- Peel and thinly slice the apples. Arrange the apple slices artfully on top of the batter.
- Sprinkle 1 tablespoon of sugar and the coconut flakes evenly over the apples.
Baking
- Bake in the oven for 40-45 minutes, or until the edges are golden and a toothpick inserted into the center comes out clean.
- Allow the cake to cool in the pan for about 10 minutes before transferring to a wire rack to cool completely.
Allowing the cake to cool completely results in cleaner slices. Check doneness at 35 minutes to prevent over-baking.