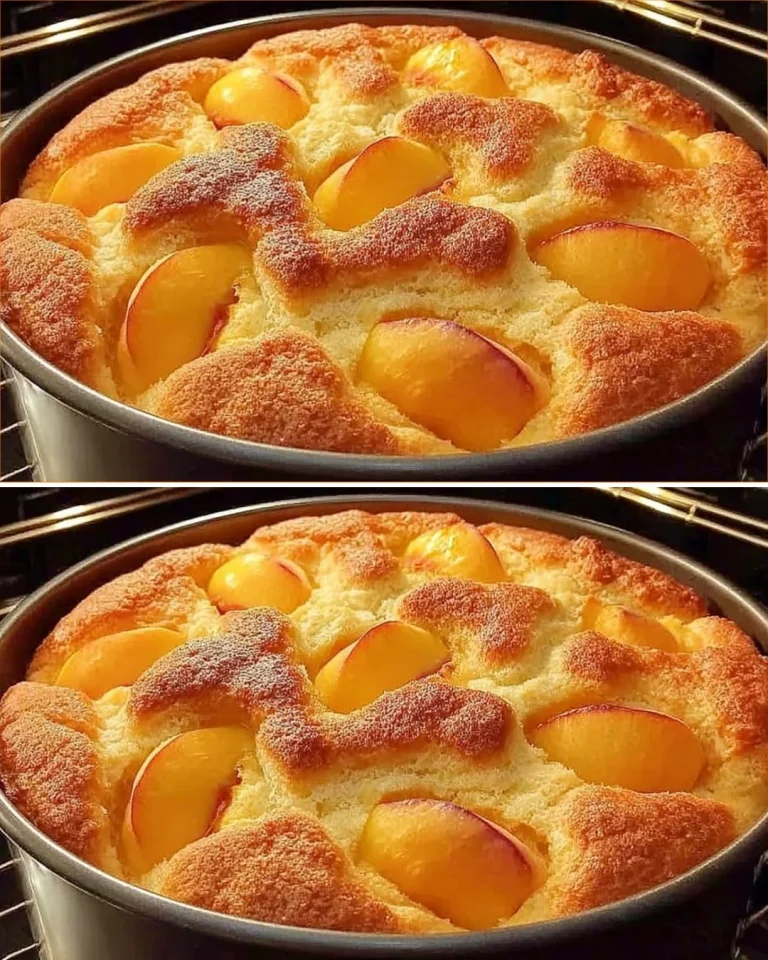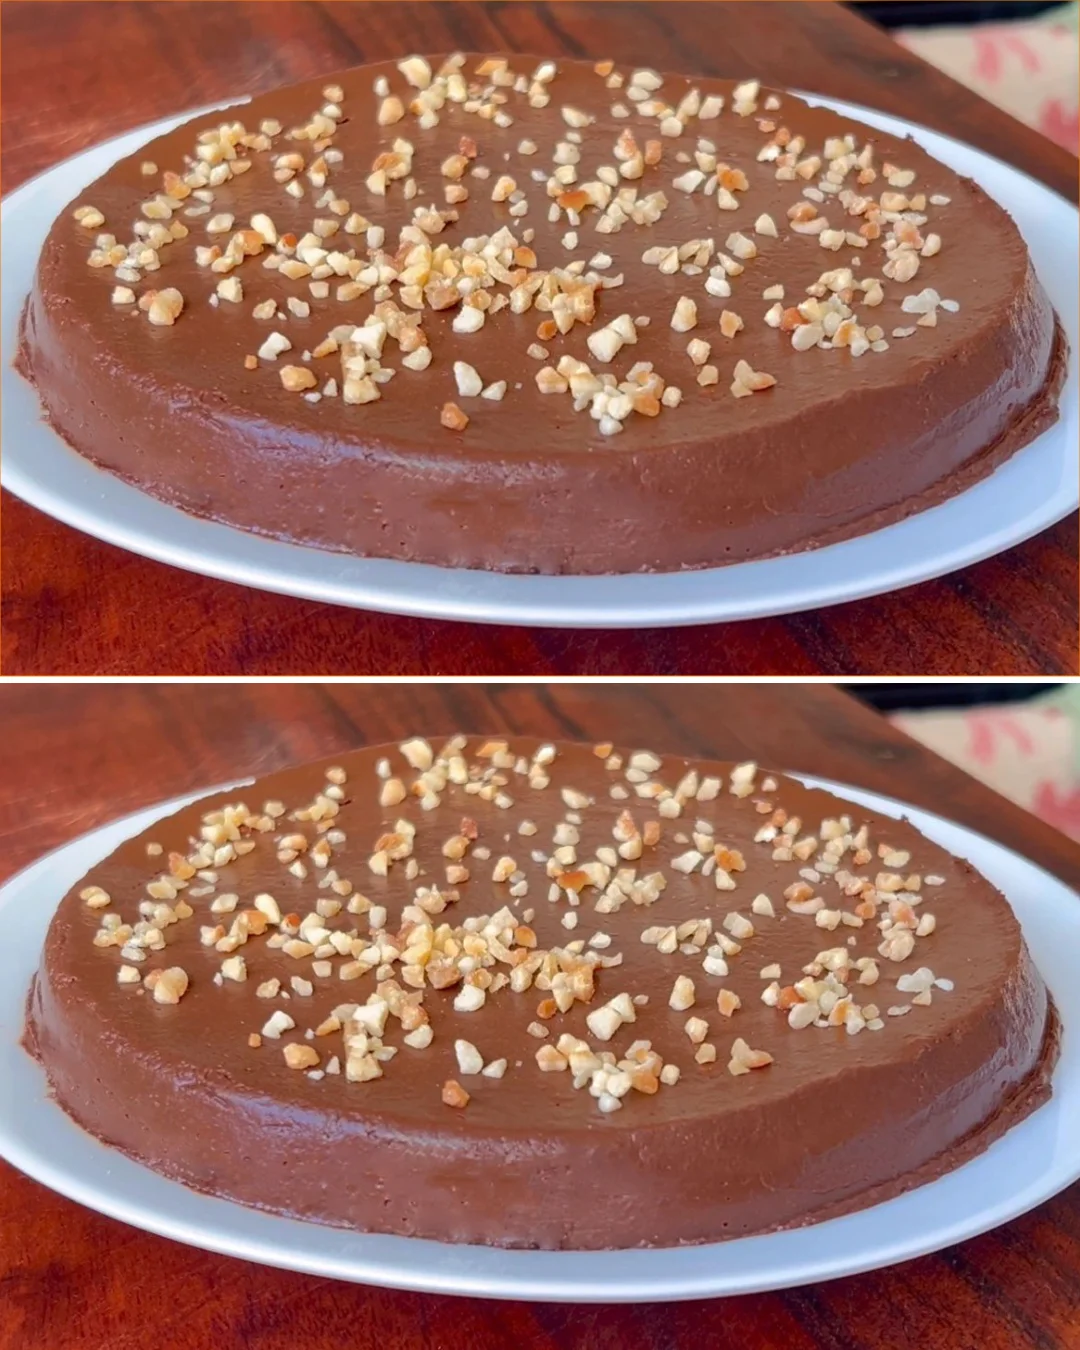
This two-ingredient chocolate fudge cake has been all over social feeds for good reason: it’s naturally sweet, deeply chocolatey, and happens to be dairy-free without trying. Pears are especially great here in late summer through winter when they’re abundant and reliably sweet—exactly what you want when the ingredient list is this short.
The first time I tested it, I expected “healthy-ish chocolate mousse.” What surprised me was how convincingly fudgy it sets once chilled, with a truffle-like density that slices cleanly. The key is using very ripe pears and letting the mixture emulsify properly—when it turns glossy, you’ll know you nailed it.
Why You’ll Love This Recipe
- Only 2 main ingredients, but it tastes like a rich chocolate truffle cake
- No baking, no flour, and naturally dairy-free
- Quick to make with a blender and a small pan
- Great make-ahead dessert for dinner parties
- Testing win: chilling in the fridge after the freezer gives the cleanest slices and best texture
Ingredients
- 250 g (about 1 1/2 cups / 250 ml) ripe pear flesh, peeled and cored (from about 2 medium pears)
- 200 g (about 7 oz) dark chocolate, 70% cocoa or higher, chopped
- Optional: 2–3 tablespoons (15–25 g) chopped hazelnuts, for topping
Ingredient Notes
- Pears: Use very ripe, sweet pears (they should smell fragrant and yield when pressed at the neck). Underripe pears make the cake bland and slightly grainy. If your pears are juicy, that’s fine—just blend thoroughly and emulsify well with the chocolate.
- Dark chocolate (70%+): Higher cocoa chocolate sets firmer and balances the pear’s sweetness. If you use 60–65%, expect a softer set and sweeter finish.
- Hazelnuts (optional): Add crunch and a roasted note that makes this taste more “bakery.” Toasting them for a few minutes makes a noticeable difference.
Kitchen Tools Needed
- Blender or food processor
- Microwave-safe bowl or double boiler
- Rubber spatula
- 6–7 inch (15–18 cm) cake pan or silicone mold
- Parchment paper (if using a metal pan)
- Kitchen scale (highly recommended for accuracy)
Step-by-Step Instructions
-
Prep the pan.
Line a 6–7 inch (15–18 cm) round pan with parchment (bottom and a little up the sides). If using a silicone mold, you can skip the parchment. Set aside. -
Make pear purée.
Peel, core, and roughly chop pears until you have 250 g (about 1 1/2 cups) pear flesh. Blend until completely smooth, scraping down the blender once or twice.- Cue: it should look like a thick smoothie with no visible bits.
-
Melt the chocolate.
Place chopped chocolate in a microwave-safe bowl. Microwave in 20–30 second bursts, stirring well between each, until melted and glossy (usually 60–90 seconds total depending on your microwave).- Alternatively, melt over a double boiler on low heat.
- Cue: melted chocolate should be shiny and fluid, not scorching hot.
-
Combine and emulsify.
Pour the melted chocolate into the pear purée. Use a spatula to fold and stir until mostly combined, then blend for 10–20 seconds to fully emulsify.- Cue: the mixture turns darker and noticeably glossy, like pudding.
-
Fill the mold.
Pour the mixture into the prepared pan. Tap the pan on the counter 3–4 times to release air bubbles and smooth the top with a spatula. -
Chill to set.
Freeze for 1 hour to firm up quickly. Then transfer to the refrigerator for at least 1 hour (or up to overnight) for the best sliceable fudge texture.- Testing note: straight from the freezer it’s a bit too firm at the edges; fridge time evens it out.
-
Unmold and finish.
Lift out using parchment (or peel from silicone). Let sit at room temperature 10–15 minutes before slicing. Sprinkle with chopped hazelnuts if using.
Pro Tips (VERY IMPORTANT FOR RANKING)
- Weigh the pear flesh (not whole pears). Pear sizes vary a lot; the 250 g target keeps the set consistent.
- Don’t overheat the chocolate. If it’s piping hot, it can seize slightly when blended with fruit purée. Warm and glossy is perfect.
- Blend briefly at the end. That 10–20 second final blend is what gave me the best shiny, truffle-like texture instead of a streaky mix.
- Use the freezer + fridge combo. Freezer firms it fast; fridge refines the texture so it slices cleanly without cracking.
- For cleaner slices, warm the knife. Dip a knife in hot water, wipe dry, then slice—repeat as needed.
Common Mistakes to Avoid
- Using pears that aren’t ripe enough. My first attempt with barely-ripe pears tasted flat and set a little grainy.
- Skipping the final blend. Stirring alone can leave tiny pear bits and dull streaks; blending makes it silky and cohesive.
- Freezing too long and slicing immediately. It becomes hard at the edges and can crack—give it 10–15 minutes on the counter.
- Guessing measurements. With only two ingredients, small ratio changes really show.
Variations
- Hazelnut-chocolate: Stir 2 tablespoons (15 g) finely chopped toasted hazelnuts into the batter, plus more on top.
- Orange twist: Add 1 teaspoon finely grated orange zest to the blended mixture (still essentially a “2-ingredient base,” but the zest is worth it).
- Espresso deepen: Add 1 teaspoon instant espresso powder to the melted chocolate to intensify the cocoa flavor.
- Spiced version: Add 1/2 teaspoon ground cinnamon or a pinch of cayenne for a subtle kick.
Serving Suggestions
Serve chilled for the fudgiest bite. I like it with a pinch of flaky salt on top, fresh berries, or a spoonful of coconut yogurt. For a dinner-party plate, add toasted hazelnuts and thin pear slices tossed with a few drops of lemon juice to keep them bright.
Storage Instructions
- Refrigerator: Store covered in the fridge for up to 5 days. Keep it well-wrapped so it doesn’t pick up fridge odors.
- Freezer: Freeze slices or the whole cake wrapped tightly for up to 2 months. Thaw overnight in the fridge for best texture.
Reheating Tips
This is meant to be served chilled or cool—no reheating needed. If it’s too firm from the fridge, let it sit at room temperature for 10–15 minutes before serving. Avoid microwaving; it can melt unevenly and turn greasy.
Nutrition Estimate
Per serving (1/8 of cake, without hazelnuts; approximate):
- Calories: 175
- Protein: 3 g
- Carbs: 18 g
- Fat: 11 g
Recipe Summary Card
- Prep Time: 15 minutes
- Cook Time: 5 minutes (melting chocolate)
- Total Time: 2 hours 20 minutes (includes chilling)
- Servings: 8
- Cuisine: Modern European-inspired
- Course: Dessert
- Calories: ~175 per serving
Frequently Asked Questions
Can I use canned pears?
Yes, but drain them very well and blot dry. Canned pears add extra water, which can make the set softer. Weigh 250 g after draining.
Why didn’t my cake set firmly?
Most often it’s either (1) chocolate under 70% cocoa, (2) too much pear purée (not weighed), or (3) not enough chill time in the fridge after the freezer.
Can I make this without a blender?
You can, but the texture won’t be as smooth. Mash pears extremely well into a fine purée (or use baby food-style pear purée), then whisk into melted chocolate vigorously.
Does it taste like pears?
It tastes like deep dark chocolate first. The pear reads more as sweetness and moisture than obvious fruit—especially after chilling.
What pan size works best?
A 6–7 inch (15–18 cm) pan gives a nice thick, fudgy slice. Larger pans will make it thinner and set faster, but it can feel less truffle-like.
Conclusion
If you like dense, chocolate-forward desserts and want something that feels a little magical for how simple it is, this is the one to keep in your back pocket. Get the pears ripe, weigh the purée, and chase that glossy finish—everything else is easy.
Tested Note (VERY IMPORTANT)
I tested this again and got the cleanest slices after freezing for 1 hour, then chilling in the fridge for another hour. I also found that blending for 15 seconds at the end makes the texture noticeably silkier and more fudge-like.
Chocolate Fudge Cake
This two-ingredient chocolate fudge cake is naturally sweet, deeply chocolatey, and dairy-free, delivering a rich dessert with a truffle-like texture.
Main Ingredients
- 250 g ripe pear flesh, peeled and cored (from about 2 medium pears) (Use very ripe, sweet pears for best flavor.)
- 200 g dark chocolate, 70% cocoa or higher, chopped (Higher cocoa chocolate sets firmer and balances the pear’s sweetness.)
Optional Toppings
- 2–3 tablespoons chopped hazelnuts (Add crunch and a roasted note; toasting enhances flavor.)
Preparation
- Line a 6–7 inch round pan with parchment (bottom and a little up the sides). If using a silicone mold, skip the parchment.
Making Pear Purée
- Peel, core, and roughly chop pears until you have 250 g of pear flesh. Blend until completely smooth.
Melting the Chocolate
- Place chopped chocolate in a microwave-safe bowl. Microwave in 20–30 second bursts until melted and glossy.
Combining Ingredients
- Pour the melted chocolate into the pear purée. Fold until mostly combined, then blend for 10–20 seconds to emulsify.
Filling the Mold
- Pour the mixture into the prepared pan. Tap to release air bubbles and smooth the top.
Chilling to Set
- Freeze for 1 hour to firm up, then transfer to the refrigerator for at least 1 hour for best texture.
Unmolding and Serving
- Lift out using parchment or peel from silicone. Let sit at room temperature for 10–15 minutes before slicing. Sprinkle with hazelnuts if desired.
For cleaner slices, warm the knife before cutting. Store in the refrigerator for up to 5 days or freeze for up to 2 months.