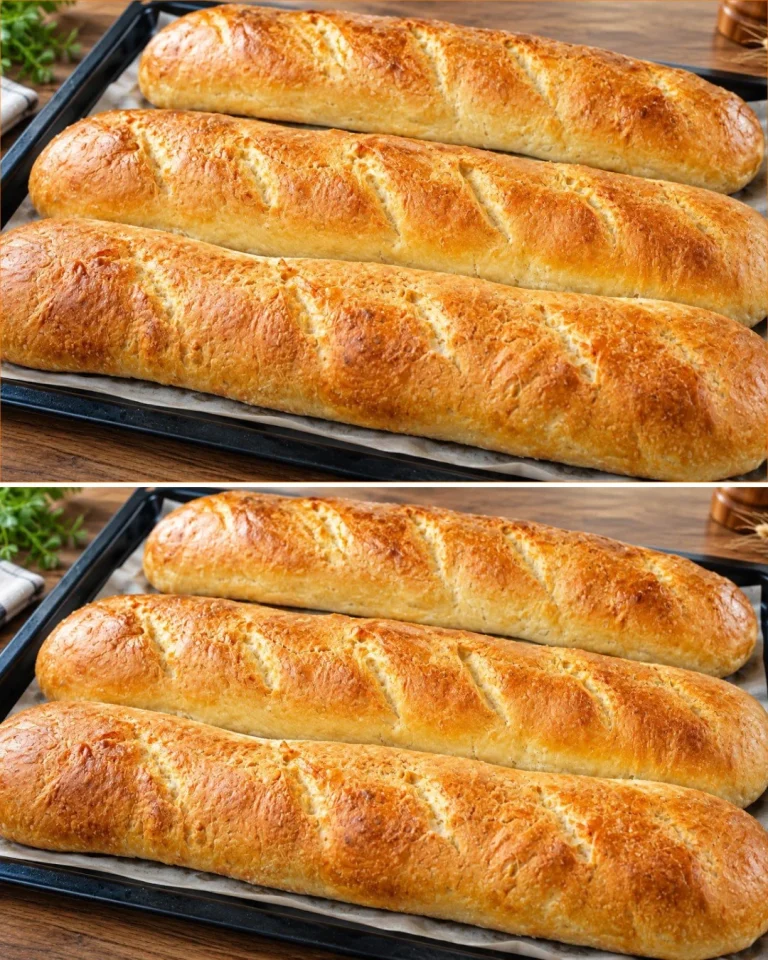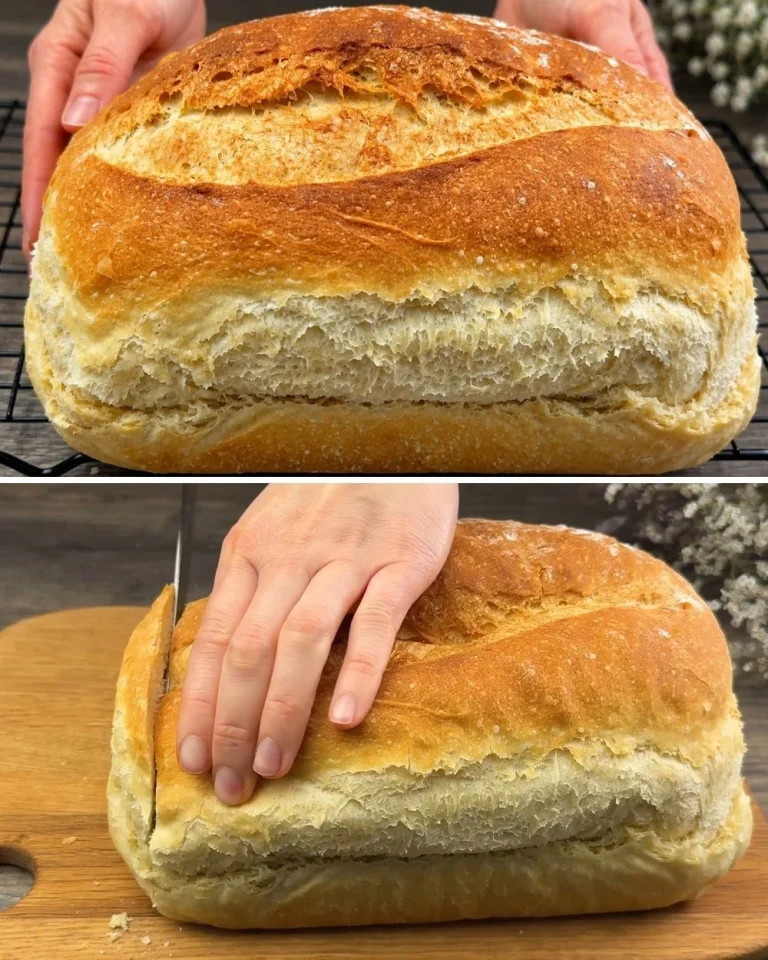
There’s something undeniably comforting about freshly baked bread. The rich aroma wafting through your kitchen can turn any ordinary day into a special occasion. The beauty of this quick bread recipe lies in its simplicity and the minimal time required to create a delicious loaf that rivals those from a bakery. Having tested it multiple times, I can assure you this bread features a crunchy crust and a soft, airy interior. Plus, it allows for personalized adjustments based on taste preferences and dietary restrictions. Let’s delve into the details that make this recipe a true delight!
Why You’ll Love This Recipe
- Quick preparation and minimal hands-on time—perfect for busy days.
- No kneading required, making it accessible even for novice bakers.
- Flexible dough that can be formed into various shapes, including rolls or a rustic loaf.
- Adjustable salt levels for those watching sodium intake.
- The bread retains freshness well, making it perfect for sandwiches or toasting.
Ingredients
- 1 cup (240 ml) water
- ¾ teaspoon (3 g) fresh yeast or ½ teaspoon (2 g) dry yeast
- 2 ½ cups (320 g) bread flour, plus extra for dusting
- 1 teaspoon (6 g) salt, or to taste
Ingredient Notes
- Bread Flour: This flour has a higher protein content compared to all-purpose flour, giving the bread its glorious rise and chew. If bread flour isn’t available, all-purpose can be used in a pinch, but the texture may vary slightly.
- Yeast: Fresh yeast can provide a slight depth of flavor, but dry yeast is convenient and readily available. Both options will yield excellent results.
- Salt: Adjusting the salt can significantly impact your bread’s flavor. Start with the recommended amount and tweak it based on your taste preference.
Kitchen Tools Needed
- Mixing bowl
- Rubber spatula or spoon
- Clean towel or plastic wrap
- Baking pan
- Sharp knife for scoring
Step-by-Step Instructions
- In a mixing bowl, combine 1 cup (240 ml) of water with ¾ teaspoon of fresh yeast or ½ teaspoon of dry yeast. Mix gently until the yeast is dissolved.
- Add 2 ½ cups (320 g) of bread flour and 1 teaspoon (6 g) of salt to the water mixture. Stir until no dry flour remains; the dough will be sticky and shaggy.
- Cover the bowl with a clean towel or plastic wrap and let the dough rest for 30 minutes. This allows the flour to hydrate and the gluten to develop without kneading.
- After resting, wet your hands and gently stretch and fold the dough from each side towards the center. Repeat this process for a total of 4 folds.
- Let the dough rest for another 30 minutes, then repeat the stretch and fold process twice more, allowing the dough to become smoother and more elastic.
- After the final fold, cover the bowl and let the dough rise until it doubles in size, which typically takes about 2 hours.
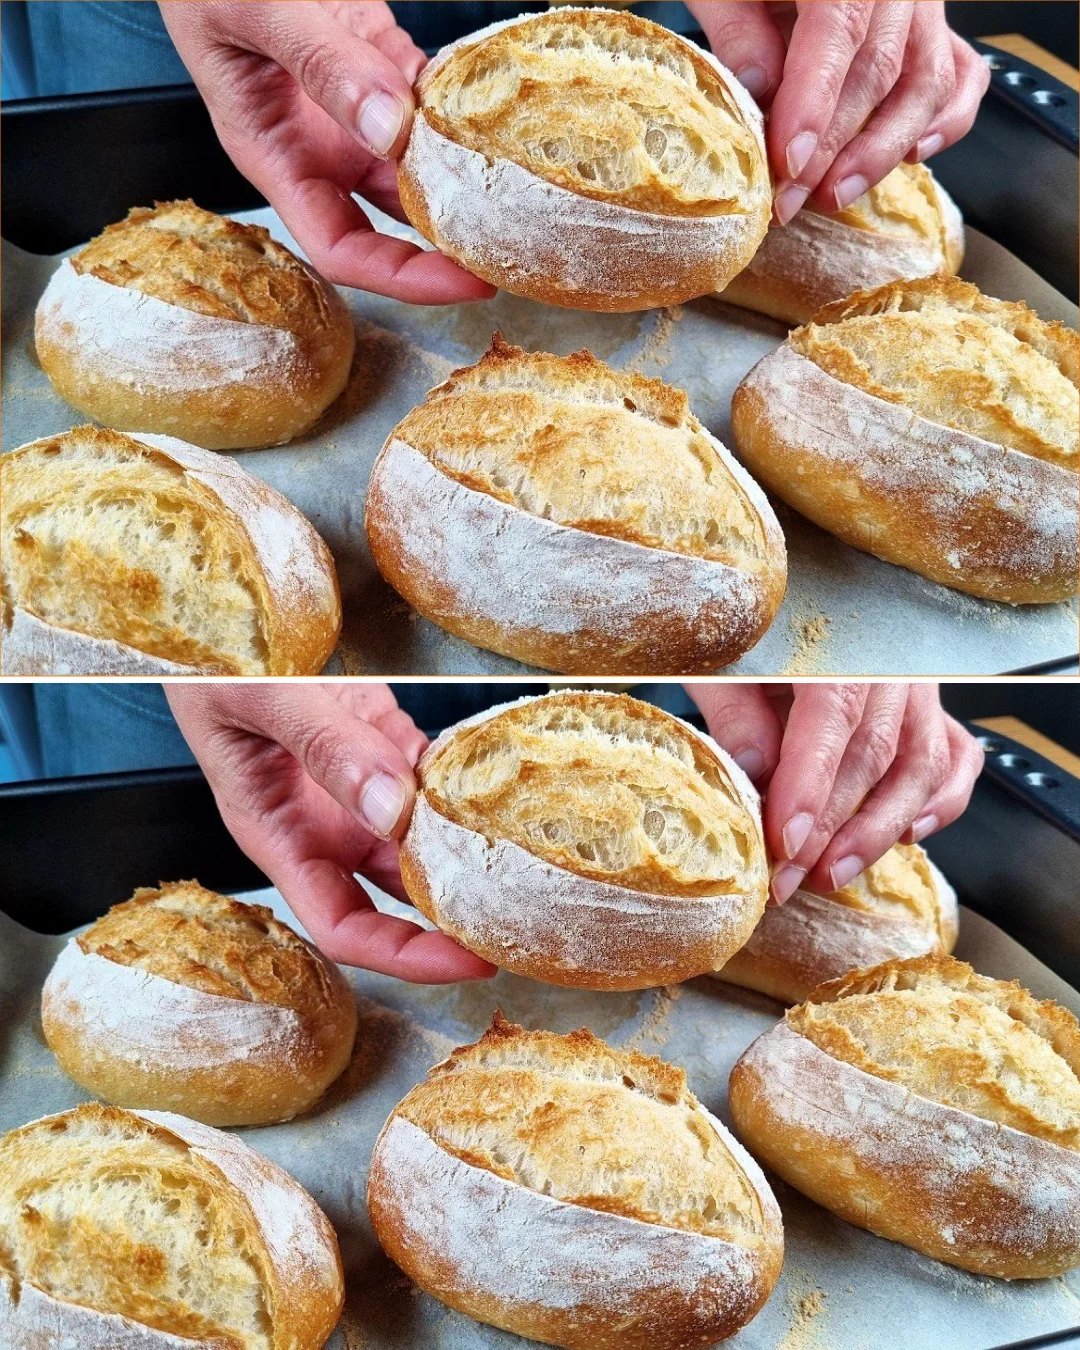
- Once risen, turn the dough out onto a floured surface and divide it into six equal parts. Shape each portion into a ball and let them rest uncovered for 10 minutes.
- Form each ball into a longer roll by folding tightly to create surface tension. Place the shaped rolls on a baking pan, cover with a towel, and let them rise for an additional 30 minutes.
- Preheat the oven to 430°F (220°C). Lightly sprinkle flour over the rolls once risen.
- Using a sharp knife, score the tops of the rolls, creating a shallow incision to allow steam to escape.
- Optionally, sprinkle a little water around the rolls to generate steam, which helps with crust formation.
- Place a second tray over the baking pan to cover. Bake for 20 minutes, then remove the top tray and bake for an additional 10 minutes until the rolls are golden brown and crusty.
- Let the bread cool slightly before digging in. Enjoy it plain, with butter, or as part of a sandwich.
Pro Tips
- For extra flavor, consider adding herbs such as rosemary or thyme into the dough during mixing.
- If you prefer a deeper crust, leave the rolls to bake 5 minutes longer, but watch closely to prevent burning.
- Experiment with different toppings like sesame seeds or sea salt sprinkled before baking to personalize your bread.
Common Mistakes to Avoid
- Overmixing the dough can lead to denser bread. Stir just until combined.
- Neglecting the resting times will result in bread that doesn’t rise properly. Give the dough time to relax and expand.
Variations
- Whole Wheat Quick Bread: Substitute half the bread flour with whole wheat flour for a nutty flavor and more fiber.
- Cheese and Herb Bread: Fold in shredded cheese and chopped fresh herbs for a savory twist.
- Sweet Bread: Add a bit of sugar and cinnamon for a sweet quick bread perfect for breakfast alongside your coffee.
Serving Suggestions
Serve this bread warm, straight from the oven, for maximum crunch, or slice it for sandwiches. It pairs wonderfully with soups and salads.
Storage Instructions
Store any leftover bread in a paper bag at room temperature for up to 2 days or freeze for up to 3 months.
Reheating Tips
To bring back the crusty texture, reheat the bread in the oven at 350°F (175°C) for 5-10 minutes.
Nutrition Estimate
Approximately 150 calories, 5 g protein, 30 g carbs, and 0.5 g fat per roll (based on 6 servings).
Recipe Summary Card
Prep Time: 1 hour 30 minutes
Cook Time: 30 minutes
Total Time: 2 hours
Servings: 6
Cuisine: Various
Course: Bread
Calories: 150
Frequently Asked Questions
- Can I use all-purpose flour instead of bread flour?
- What should I do if my dough doesn’t rise?
- How can I tell if my bread is fully baked?
- Is there a way to incorporate seeds or grains into the bread?
Conclusion
This quick bread recipe is a delightful addition to any home baker’s repertoire. I thoroughly enjoyed the process from mixing to the satisfying moment of pulling warm rolls from the oven. It’s simple enough for a weeknight, yet impressive enough for guests.
Tested Note
“I tested this bread again with a sprinkle of Parmesan on top and found it adds an extra layer of flavor that is simply irresistible.”
Quick Bread

A simple and delicious quick bread with a crunchy crust and soft, airy interior, perfect for busy days or special occasions.
Bread Ingredients
- 1 cup water (240 ml)
- ¾ teaspoon fresh yeast (or ½ teaspoon (2 g) dry yeast)
- 2 ½ cups bread flour (plus extra for dusting)
- 1 teaspoon salt (or to taste)
Preparation
- In a mixing bowl, combine 1 cup of water with ¾ teaspoon of fresh yeast or ½ teaspoon of dry yeast. Mix gently until the yeast is dissolved.
- Add 2 ½ cups of bread flour and 1 teaspoon of salt to the water mixture. Stir until no dry flour remains; the dough will be sticky and shaggy.
- Cover the bowl with a clean towel or plastic wrap and let the dough rest for 30 minutes.
Folding and Rising
- After resting, wet your hands and gently stretch and fold the dough from each side towards the center. Repeat this process for a total of 4 folds.
- Let the dough rest for another 30 minutes, then repeat the stretch and fold process twice more.
- After the final fold, cover the bowl and let the dough rise until it doubles in size, about 2 hours.
Shaping
- Once risen, turn the dough out onto a floured surface and divide it into six equal parts.
- Shape each portion into a ball and let them rest uncovered for 10 minutes.
- Form each ball into a longer roll by folding tightly to create surface tension. Place on a baking pan, cover with a towel, and let rise for another 30 minutes.
Baking
- Preheat the oven to 430°F (220°C). Lightly sprinkle flour over the rolls once risen.
- Using a sharp knife, score the tops of the rolls to allow steam to escape.
- Optionally, sprinkle a little water around the rolls to generate steam.
- Place a second tray over the baking pan to cover. Bake for 20 minutes, then remove the top tray and bake for an additional 10 minutes.
- Let the bread cool slightly before serving.
Serve this bread warm, straight from the oven, or slice it for sandwiches. Store leftovers in a paper bag at room temperature for up to 2 days or freeze for up to 3 months.