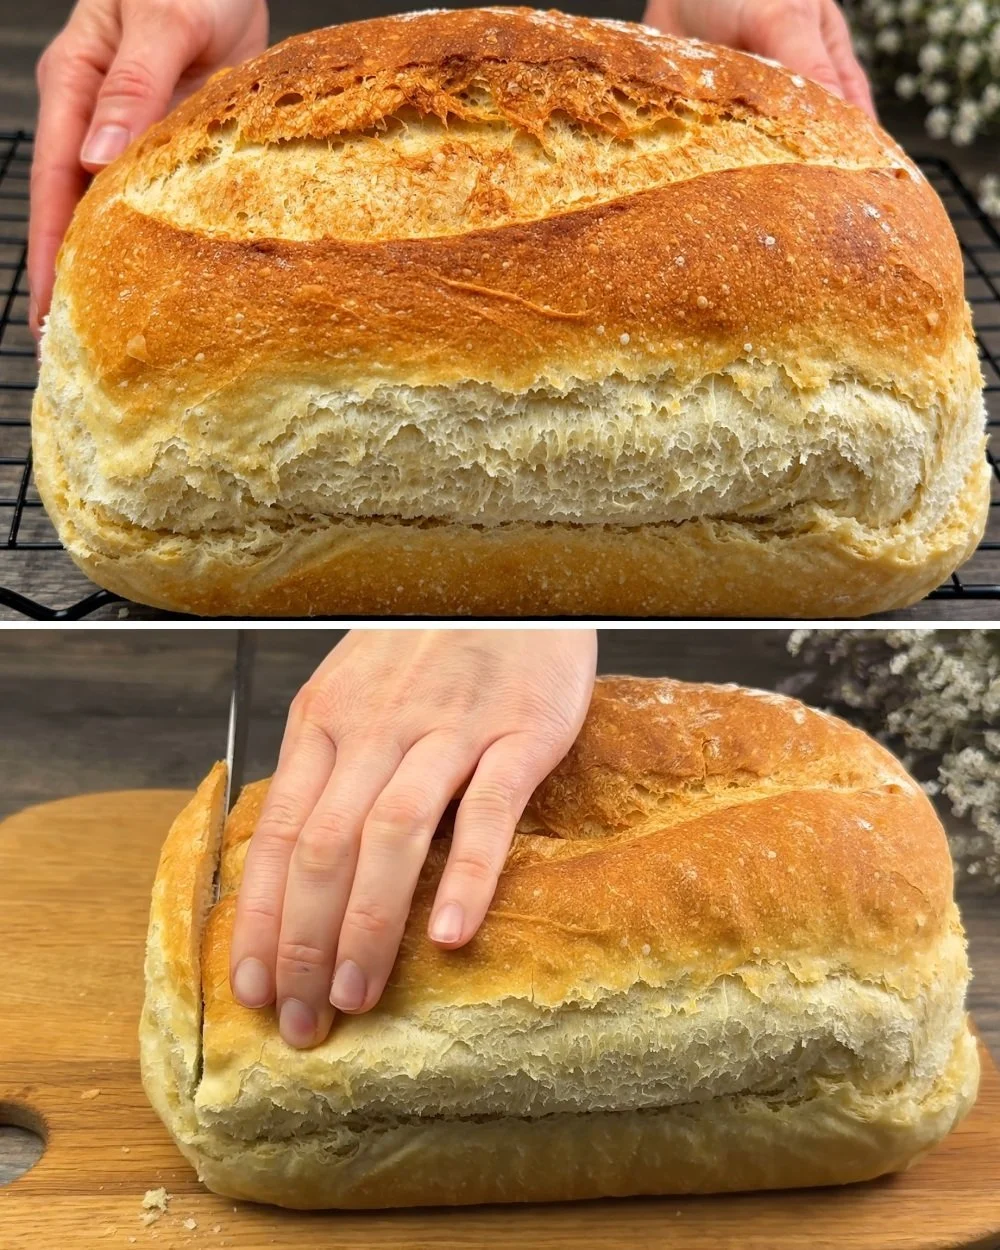
This is my go-to “everyday loaf” when I want fresh bread without a long ingredient list or a fussy method. The dough comes together fast, gets a short rise, and bakes up into a simple, sliceable loaf with a tender crumb and a classic crust. If you enjoy soft, slightly sweet sandwich-style bread, you might also like this simple milk bread with cloud-like dough for an even plusher texture. Nutrition-wise, this is a white-flour yeast bread—great as a staple, just keep portions sensible if you’re watching refined carbs.
Why This Recipe Is Helpful
- Uses pantry basics and a straightforward method—no special starter or equipment.
- Fast timeline: brief knead, short rise, and a reliable bake temperature.
- Versatile loaf for toast, sandwiches, or serving alongside soups and eggs.
Best For
Home cooks who want a dependable beginner-friendly yeast bread that fits into a weeknight or weekend schedule.
Be Careful If
This recipe is made with all-purpose (refined) flour and includes a little sugar, so it may not be ideal for those strictly limiting refined carbs.
Ingredients
- All-purpose flour: 3 cups (360 g), plus extra for dusting
- Granulated sugar: 1 tablespoon (12–13 g)
- Fine salt: 1 teaspoon (6 g)
- Instant yeast: 1 tablespoon (9–10 g)
- If using active dry yeast: same amount, but allow a slightly longer rise
- Warm water (about 105–115°F / 40–46°C): 1 cup (240 ml)
- Optional for the pan: a thin wipe of oil or butter (for greasing)
Ingredient Notes
- Flour: Spoon and level your flour if measuring by cups; too much flour makes a dense loaf.
- Yeast: If your yeast is old, the dough may not rise well—fresh yeast makes this recipe much more reliable.
- Water temperature: Warm (not hot) water helps yeast work; very hot water can slow or damage it.
- Sugar: Adds mild sweetness and helps browning; you can reduce slightly, but the crust may be paler.
Kitchen Tools Needed
- Large mixing bowl
- Measuring cups/spoons or kitchen scale
- Loaf pan (about 9×5 in / 23×13 cm)
- Clean kitchen towel or plastic wrap
- Oven
- Cooling rack (helpful)
Step-by-Step Instructions
- Combine the dry ingredients. In a large mixing bowl, whisk together the flour, sugar, salt, and yeast until evenly mixed.
- Add the warm water. Pour in the warm water gradually while stirring with a spoon or your hand. Mix until a shaggy dough forms and most dry flour is absorbed.
- Knead for 5 minutes. Turn the dough out onto a lightly floured surface and knead for about 5 minutes, until it feels smoother and elastic.
- Doneness cue: The dough should be soft and slightly tacky, but not so sticky that it smears everywhere. If it’s very sticky, dust in 1–2 teaspoons flour at a time—go slowly.
- First rise (about 30 minutes). Place the dough back in the bowl. Cover with a towel (or lightly oiled plastic wrap) and let it rise in a warm spot for about 30 minutes, or until slightly puffy (it may not fully double with this quick rise).
- Preheat the oven. Preheat to 375°F (190°C). Grease your loaf pan lightly.
- Shape the loaf. Gently press the dough to release large air bubbles. Shape into a log about the length of your pan, then place it seam-side down in the loaf pan.
- Bake. Bake for 25–30 minutes, until deeply golden on top.
- Doneness cues: The loaf should sound hollow when tapped. If you have a thermometer, aim for about 190–200°F (88–93°C) in the center.
- Cool before slicing. Let the bread cool in the pan for 5–10 minutes, then turn it out onto a rack to cool completely. Slicing too hot can make the inside gummy.
Pro Tips
- If your kitchen is cool, let the dough rise in an off oven with the light on for a gentle warm environment.
- For a softer crust, brush the top lightly with water before baking, or cover the loaf loosely with foil for the last 10 minutes if it browns too fast.
- If the loaf is browning quickly but feels underbaked, lower the oven to 350°F (175°C) and bake 5–8 minutes longer.
- For neat slices, wait until fully cool and use a serrated bread knife.
Lighter Swaps
The original version works best for the texture and rise with this quick method. If you’d like, you can replace up to 1 cup (120 g) of the all-purpose flour with whole wheat flour, but expect a slightly denser loaf.
Common Mistakes
- Adding too much extra flour while kneading: leads to a dry, heavy loaf—add only a little if truly needed.
- Water too hot: can weaken yeast activity and reduce rise.
- Cutting too soon: makes the crumb gummy and compresses the loaf.
Serving Suggestions
Slice for toast with butter or jam, make simple sandwiches, or serve alongside soup, chili, or eggs.
Storage Instructions
Store cooled bread in a bag or container at room temperature for 2–3 days. For longer storage, slice and freeze for up to 2 months.
Reheating Tips
Toast slices straight from room temperature or frozen. For a warm, soft slice, microwave briefly (about 10–15 seconds), but don’t overdo it or it turns chewy.
Nutrition Estimate
Per serving (1 of 10 slices):
Calories: ~140
Protein: ~4 g
Carbs: ~29 g
Fat: ~0.5 g
Values are estimates and may vary by ingredients and portion size.
Recipe Summary
Prep Time: 10 minutes
Cook Time: 25–30 minutes
Total Time: ~1 hour 10 minutes (includes rising/cooling)
Servings: 10 slices
Cuisine: American-style baking
Course: Bread
Calories: ~140 per slice
Frequently Asked Questions
Can I use active dry yeast instead of instant yeast?
Yes. Use the same amount, but expect the rise to take a bit longer. If your dough isn’t puffy at 30 minutes, give it another 15–25 minutes.
Why is my loaf dense?
Most often it’s from too much flour or not enough rising time. Measure flour carefully and let the dough rise until noticeably puffy, even if it needs extra time.
Do I have to use a loaf pan?
A loaf pan gives the classic shape and more even slices. If you don’t have one, you can shape it into a small boule and bake on a lined sheet pan, but the bake time may change slightly.
Conclusion
This is a practical, no-fuss yeast bread you can make with everyday pantry ingredients and a short rise. Once you learn what the dough should feel like, it becomes an easy, repeatable loaf for toast and sandwiches.