There’s something magical about homemade bread, especially when it comes to Italian bread. The perfect loaf boasts a golden crust, a chewy interior, and an aroma that fills the kitchen with warmth and comfort. As the weather cools, bread baking becomes a warm, inviting activity. I remember the first time I tried making Italian bread; I was nervous but excited. What I discovered through my trials is that with patience and a few simple ingredients, you can create a loaf that rivals any artisanal bakery. This recipe promises not only wonderful results but also an opportunity to connect with the timeless art of bread-making.
Why You’ll Love This Recipe
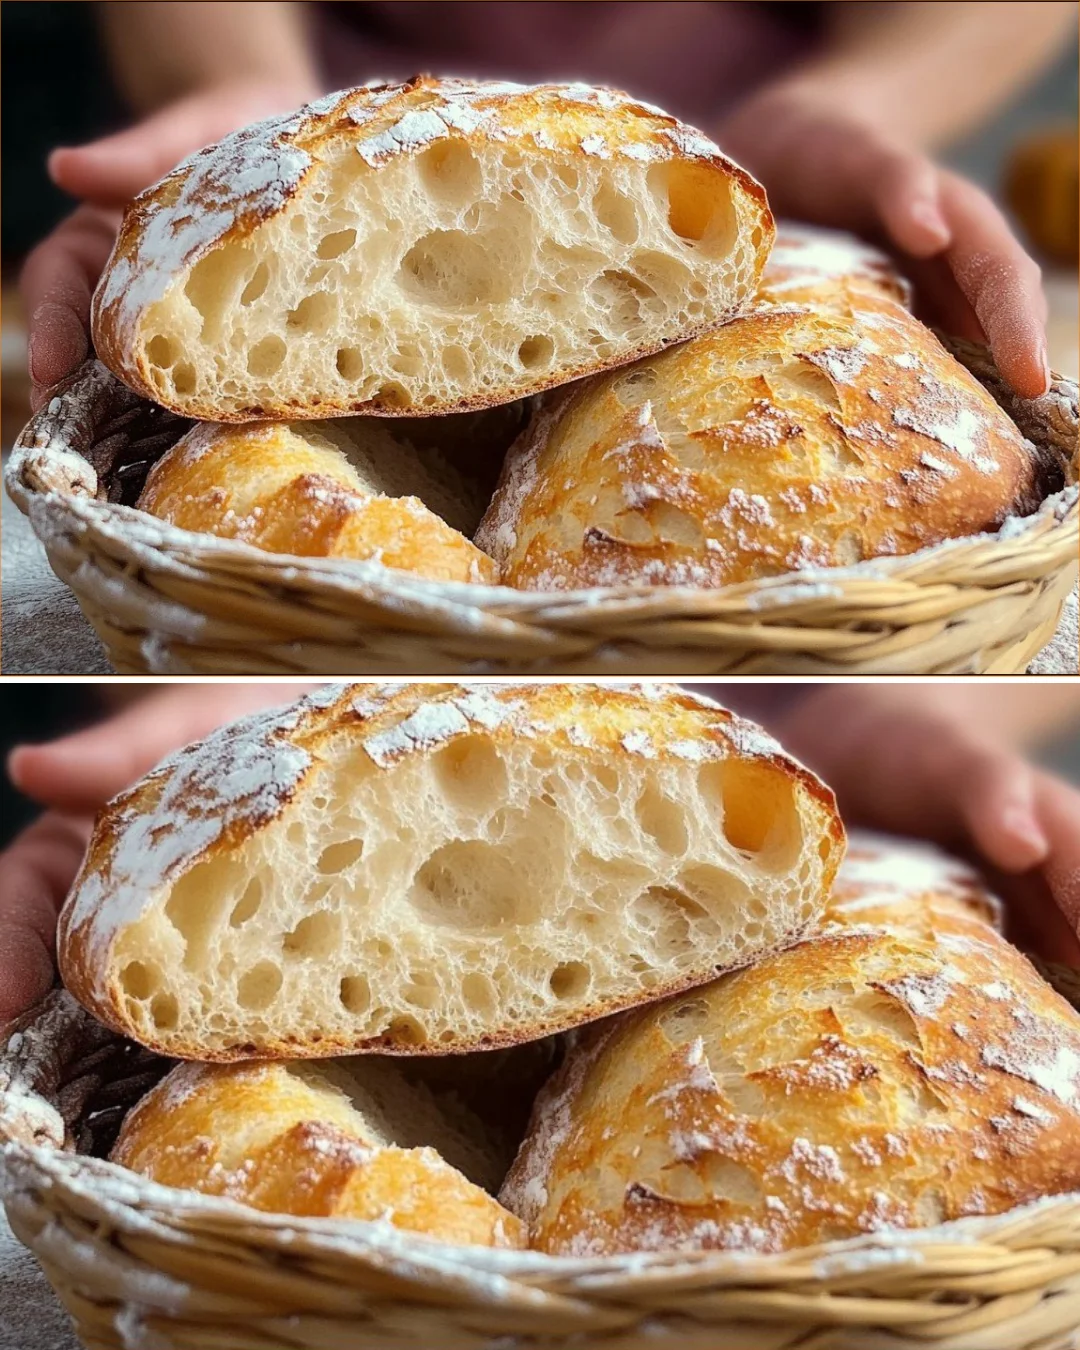
- Learn how to achieve a beautifully crusty exterior and soft, airy interior perfect for sandwiches or dipping.
- This recipe uses simple ingredients that are likely already in your pantry.
- With hands-on kneading and resting techniques, you’ll understand the dough’s development.
- Experience the joy of creating a loaf that will impress friends and family without complicated tools.
- The delightful aroma of baking bread will uplift your home.
Ingredients
- 3.4 oz (100 ml) warm water (110°F/43°C)
- 0.28 oz (8 g) active dry yeast
- 1 teaspoon sugar
- 1.3 lb (575 g) all-purpose flour, plus extra for dusting
- 1.5 cups (350 ml) warm water (110°F/43°C)
- 1 teaspoon salt
- 2 tablespoons (30 ml) extra virgin olive oil
Kitchen Tools Needed
- Large mixing bowl
- Wooden spoon or dough whisk
- Clean kitchen towel
- Baking sheet or stone
- Parchment paper (optional)
Step-by-Step Instructions
-
In a large mixing bowl, combine 100 ml of warm water (make sure it’s lukewarm, neither too hot nor too cold) with the yeast and sugar. Let it sit for about 15 minutes until frothy. This step ensures that your yeast is alive and kicking.
-
Once the yeast mixture is bubbly, add in the flour and the remaining 350 ml of warm water. Using a wooden spoon or a dough whisk, mix until no dry flour is visible. The dough will start to form but will still be somewhat sticky.
-
Sprinkle the salt over the dough, then knead it by hand inside the bowl, or transfer it to a floured surface. Knead for about 10 minutes until the dough becomes smooth and elastic. Don’t rush this step; kneading is essential for developing gluten. If the dough is too sticky, add a little more flour, but be careful not to overdo it.
-
Pour in the olive oil and continue kneading for another 2-3 minutes until fully incorporated. This will give your bread a lovely flavor and richness.
-
Cover the bowl with a clean kitchen towel and let the dough rest for 15 minutes to develop.
-
After the initial rest, gently fold the dough over itself 8-10 times. This helps with texture and strength.
-
Allow the dough to rest for another 15 minutes, then repeat the folding process.
-
Lightly grease the dough with a little olive oil, cover, and let it rise in a warm place for 1 hour or until it doubles in size.
-
Once risen, punch the dough down gently, then turn it out onto a lightly floured surface. Divide it into four equal pieces. Shape each piece into a ball, dusting with flour to prevent sticking.
-
Cover the shaped dough balls with a towel and let them rest for 30 minutes while you preheat your oven to 392°F (200°C).
-
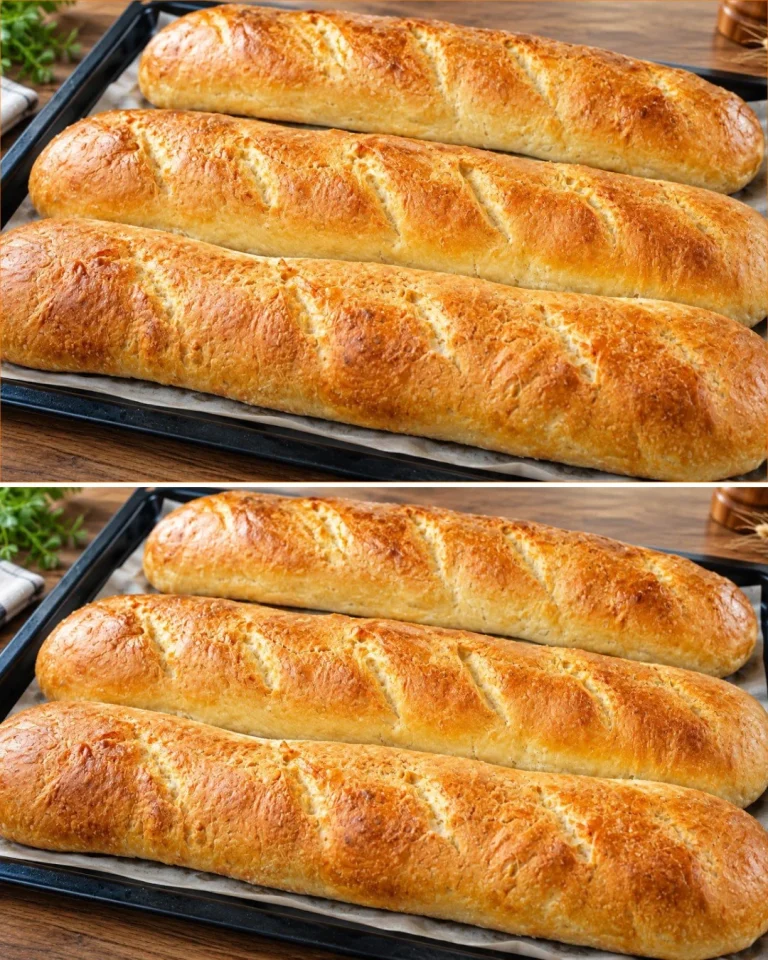
Arrange the dough on a baking sheet lined with parchment paper, leaving adequate space for expansion. Make a few shallow slashes on top of each loaf with a sharp knife.
-
Bake in the preheated oven for 25 minutes, switching to top-and-bottom heat for the last 10 minutes, until golden brown and sounds hollow when tapped on the bottom.
-
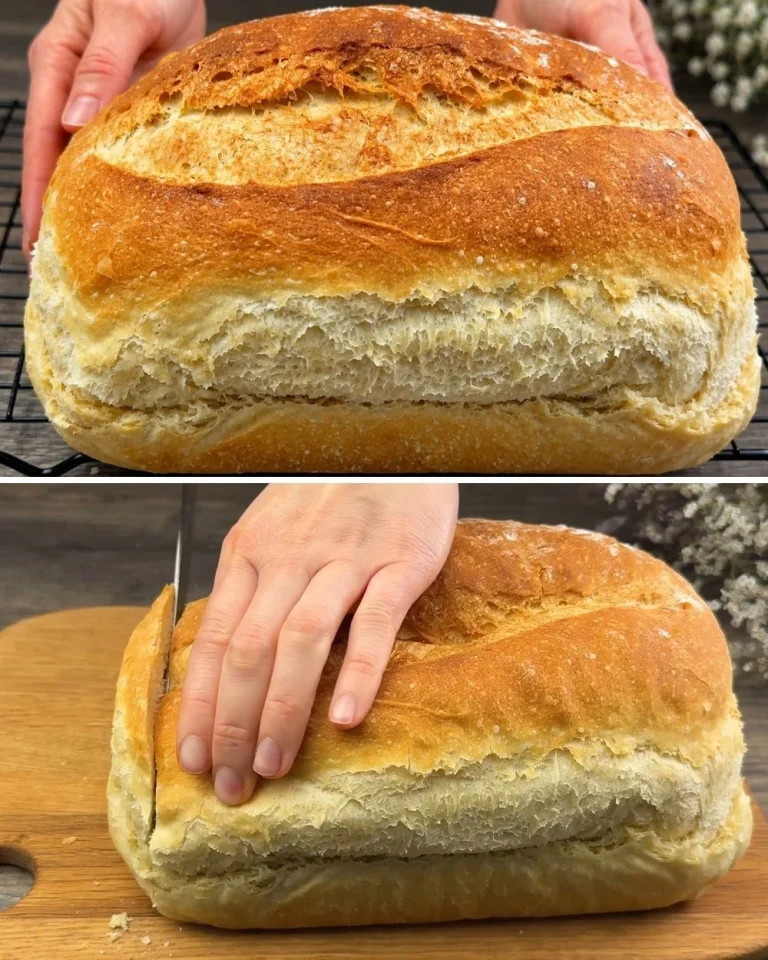
Remove from the oven and let the bread cool on a wire rack for at least 10 minutes before slicing.
Pro Tips
- If your yeast doesn’t foam, it may be old or the water temperature may have been wrong; start over for best results.
- Use a kitchen scale to ensure precise measurements, as weight can yield more consistent results.
- For a deeper flavor, consider adding some dried herbs or garlic powder to the dough during mixing.
Common Mistake
A common mistake is not allowing the dough enough time to rise. Rushing this step can lead to dense bread, so be patient!
Tested Note
I tested this recipe multiple times to check consistency, and I found that letting the dough rest longer on the second rise improved the texture significantly.
Variations
- Herb Infused: Add 1 tablespoon of dried Italian herbs to the flour for a delightful flavor.
- Garlic Bread: Incorporate minced garlic into the dough for a fragrant addition.
- Cheesy Loaf: Fold in shredded mozzarella or Parmesan during kneading for a savory twist.
Serving Suggestions
Enjoy your freshly baked Italian bread warm, slathered with butter, or accompanied by olive oil and balsamic vinegar for dipping. It also makes excellent bruschetta or sandwiches.
Storage Instructions
Store any leftover bread wrapped in plastic wrap at room temperature for up to 3 days. For longer storage, freeze the loaf in a airtight freezer bag for up to 3 months.
Reheating Tips
To reheat, wrap the bread in aluminum foil and place it in a preheated oven at 350°F (175°C) for about 10-15 minutes, or until warmed through. This will restore some of the original crustiness.
Nutrition Estimate
- Calories: 190 per serving (based on 8 servings)
- Protein: 6g
- Carbs: 37g
- Fat: 3g
Recipe Summary Card
Prep Time: 30 minutes
Cook Time: 25 minutes
Total Time: 2 hours (including rising)
Servings: 8
Cuisine: Italian
Course: Bread
Calories: 190
Frequently Asked Questions
-
Can I use whole wheat flour instead of all-purpose?
Yes, but it may require additional water and will yield a denser loaf. -
What if my dough is too dry?
Gradually add a bit more warm water until it reaches the right consistency. -
Can I prepare the dough in advance?
Absolutely! You can refrigerate the dough overnight and let it come to room temperature before baking. -
What’s the best way to know when the bread is fully baked?
It should be golden brown and sound hollow when tapped on the bottom. -
Can I double this recipe?
Yes, simply multiply the ingredients by two and use a larger bowl for mixing.
In conclusion, this Italian bread recipe is a staple that opens the door to countless culinary possibilities. With a little time and dedication, you’ll be rewarded with a stunning loaf perfect for any occasion. Enjoy the process, and happy baking!
Italian Bread

Learn how to make a beautifully crusty Italian bread with a soft, airy interior, perfect for sandwiches or dipping.
Dough Ingredients
- 3.4 oz 100 ml warm water (110°F/43°C)
- 0.28 oz 8 g active dry yeast
- 1 teaspoon sugar
- 1.3 lb 575 g all-purpose flour, plus extra for dusting
- 1.5 cups 350 ml warm water (110°F/43°C)
- 1 teaspoon salt
- 2 tablespoons 30 ml extra virgin olive oil
Preparation
- In a large mixing bowl, combine 100 ml of warm water with the yeast and sugar. Let it sit for about 15 minutes until frothy.
- Once the yeast mixture is bubbly, add in the flour and the remaining 350 ml of warm water. Mix until no dry flour is visible.
- Sprinkle the salt over the dough, then knead it by hand inside the bowl, or transfer it to a floured surface. Knead for about 10 minutes until the dough becomes smooth and elastic.
- Pour in the olive oil and continue kneading for another 2-3 minutes until fully incorporated.
- Cover the bowl with a clean kitchen towel and let the dough rest for 15 minutes to develop.
Folding and Rising
- After the initial rest, gently fold the dough over itself 8-10 times.
- Allow the dough to rest for another 15 minutes, then repeat the folding process.
- Lightly grease the dough, cover, and let it rise in a warm place for 1 hour or until it doubles in size.
Shaping
- Once risen, punch the dough down gently, then turn it out onto a lightly floured surface. Divide it into four equal pieces.
- Shape each piece into a ball, dusting with flour to prevent sticking.
- Cover the shaped dough balls with a towel and let them rest for 30 minutes while you preheat your oven to 392°F (200°C).
Baking
- Arrange the dough on a baking sheet lined with parchment paper, leaving adequate space for expansion. Make a few shallow slashes on top of each loaf.
- Bake in the preheated oven for 25 minutes, switching to top-and-bottom heat for the last 10 minutes, until golden brown and sounds hollow when tapped on the bottom.
- Remove from the oven and let the bread cool on a wire rack for at least 10 minutes before slicing.
For best results, use a kitchen scale for precise measurements. Make sure your yeast is fresh, and allow adequate rising time to avoid dense bread. You can refrigerate the dough overnight and let it come to room temperature before baking.