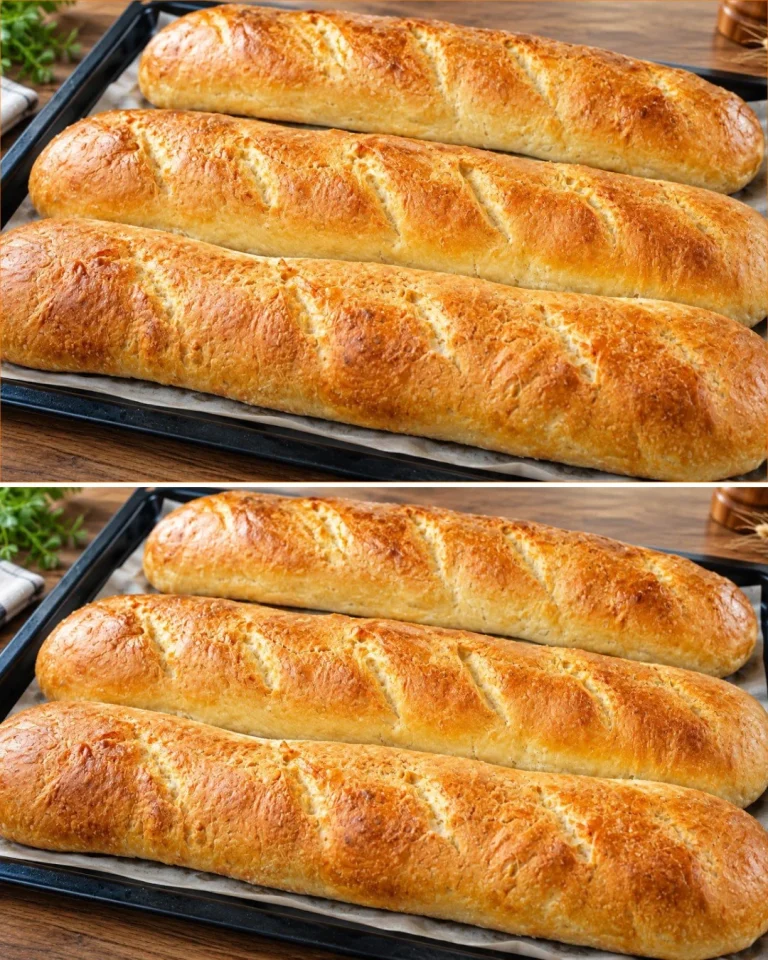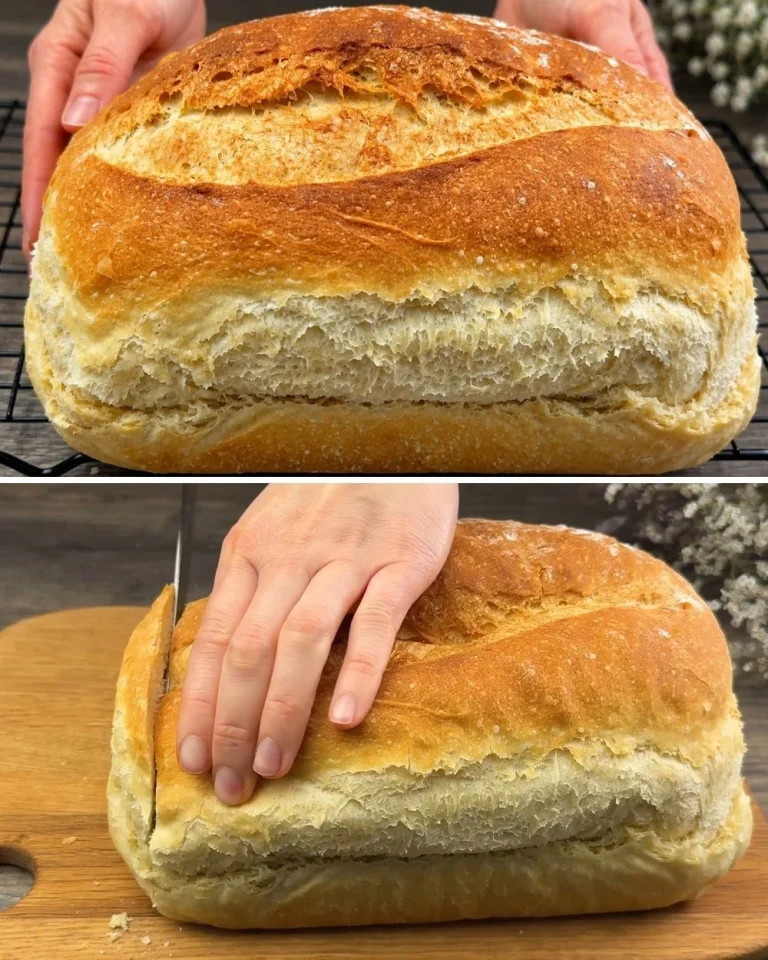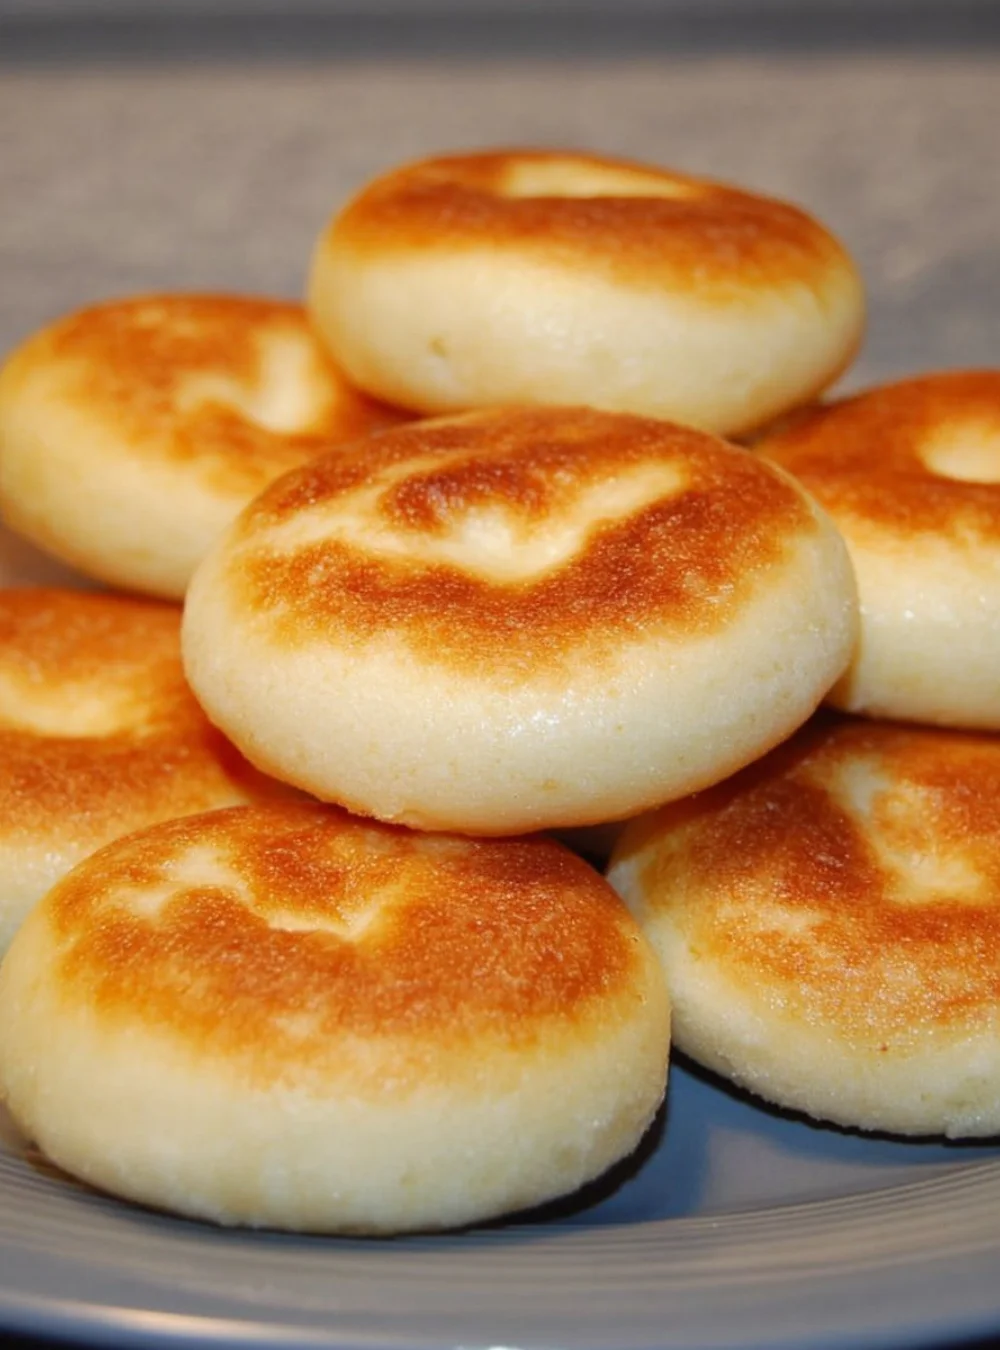
Transforming ordinary ingredients into warm, delightful bread is always a rewarding experience, especially when time is tight. This quick and easy fry pan method allows you to whip up fresh bread in just about 10 minutes, making it a perfect option for busy days or spontaneous gatherings. I recently tried this recipe on a hectic Saturday morning, and was pleasantly surprised by how simple and satisfying the process was. The result? Tender, soft bread discs with a crispy exterior, ready to enjoy alongside your favorite spreads or toppings.
Whether you’re out of yeast, don’t have time to wait for dough to rise, or just want a unique technique to expand your bread-making skills, this recipe is a game changer. Let’s dive into the details of creating your very own no-yeast, no-oven bread!
Why You’ll Love This Recipe
- Quick preparation and cooking time — perfect for last-minute meals.
- No yeast or eggs needed, making it suitable for vegan diets.
- Simple ingredients that you likely already have in your pantry.
- Customizable — add herbs, cheese, or spices for an extra flavor kick.
- Fools even the most experienced bread lovers — you won’t believe it’s so easy!
Ingredients
- 1 ½ cups (200 g) all-purpose flour
- 1 teaspoon (5 g) baking powder
- A pinch of salt
- 1 tablespoon (20 g) vegetable oil
- ½ cup (125 ml) milk (dairy or non-dairy)
Ingredient Notes
- All-purpose flour: This serves as the base for your dough. You can substitute with whole wheat flour for added nutrition, though it may alter the texture slightly.
- Baking powder: Essential for leavening in this recipe, allowing the bread to rise. Ensure it’s fresh for best results.
- Milk: The liquid component that binds the dough. Non-dairy alternatives, such as almond or oat milk, work well without compromising flavor.
Kitchen Tools Needed
- Mixing bowl
- Rolling pin (or a bottle)
- Non-stick fry pan with a lid
- Wire rack (for cooling)
- Cutter or knife (for shaping)
Step-by-Step Instructions
- In a mixing bowl, combine the all-purpose flour, baking powder, and salt.
- Add the vegetable oil and milk to the dry ingredients. Mix gently until a soft, cohesive dough forms. If the dough feels too dry, add small amounts of milk, one tablespoon at a time. If too sticky, sprinkle a little flour.
- Lightly flour your surface and roll out the dough to a thickness of about 0.5 cm (1/4 inch).
- Use a cutter (or knife) to cut out individual discs of dough, about 4 inches (10 cm) in diameter.
- Heat your non-stick fry pan over medium heat. Once hot, place a few dough discs in the pan, ensuring there’s space between them.
- Cover the pan with a lid and cook for about 5 minutes, or until the bottom is golden brown. Flip carefully, cover again, and cook for another 5 minutes. Adjust the heat as necessary to avoid burning.
- Transfer the cooked bread to a wire rack to cool slightly. Continue cooking the remaining discs, keeping the already-cooked bread warm under a kitchen towel.
- Serve warm with spreads of your choice, such as butter, jam, or hummus.
Pro Tips
- Experiment with adding dried herbs or spices, like garlic powder or Italian seasoning, directly into the dough for extra flavor.
- Swap out some of the all-purpose flour for whole wheat flour for a nuttier taste and more fiber.
- Keep an eye on the heat; if the bread is browning too quickly, reduce the heat to medium-low.
Common Mistakes to Avoid
- Using too much liquid: This can result in a very sticky dough that’s difficult to handle. Gradually add milk to find the right consistency.
- Cooking at too high a temperature: Keep the heat medium to prevent burning the bread before it’s cooked through.
Variations
- Cheese and Herb Bread: Add shredded cheese and your favorite dried herbs into the dough for a savory twist.
- Sweet Cinnamon Bread: Include a tablespoon of sugar and a teaspoon of cinnamon for a sweet version. Perfect with a touch of butter!
- Stuffed Discs: Roll the dough around a filling of your choice, such as spinach and feta or cooked sausage, for a wholesome meal.
Serving Suggestions
These bread discs are incredibly versatile and can be served alongside soups, stews, or salads. For breakfast, enjoy them slathered with butter or jam. For lunch or dinner, fill them with your favorite proteins and vegetables for delicious wraps.
Storage Instructions
Store any leftover bread in an airtight container at room temperature for up to 2 days. For longer storage, freeze them between layers of parchment paper in an airtight bag for up to a month.
Reheating Tips
Reheat in a non-stick pan over low heat for a few minutes on each side until warmed through. Alternatively, you can pop them in a toaster for a crispy finish.
Nutrition Estimate
Calories: 150, Protein: 4g, Carbohydrates: 22g, Fat: 5g (per bread disc, serves 4)
Recipe Summary Card
- Prep Time: 5 minutes
- Cook Time: 10 minutes
- Total Time: 15 minutes
- Servings: 4
- Cuisine: Versatile
- Course: Bread
- Calories: 150
Frequently Asked Questions
- Can I use gluten-free flour? Yes, but you might need to adjust the liquid slightly as gluten-free flours absorb more moisture.
- What can I do if my dough is too dry? Gradually add more milk, a tablespoon at a time, until you reach the desired consistency.
- How can I flavor these bread discs? Add herbs, spices, cheese, or even sweet ingredients like chocolate chips directly into the dough.
- Can I double this recipe? Absolutely! Just be mindful of the size of your frying pan when cooking, as you might need to work in batches.
- What’s the best way to serve these? Serve warm with spreads, or create sandwiches or wraps with your favorite fillings!
Conclusion
Creating fresh bread doesn’t have to be a lengthy process. This quick fry pan method is both straightforward and incredibly satisfying. It’s definitely worth trying, whether you’re an experienced baker or new to bread-making.
Tested Note
I tried using whole wheat flour for the second batch, and while the texture was slightly denser, the flavor had a wonderful nuttiness that paired beautifully with savory fillings!
Quick Fry Pan Bread
This quick and easy fry pan bread recipe allows you to whip up fresh, tender, and soft bread discs with a crispy exterior in just about 10 minutes, perfect for busy days or spontaneous gatherings.
For the bread
- 1.5 cups 1 ½ cups all-purpose flour (Can substitute with whole wheat flour for added nutrition.)
- 1 teaspoon 1 teaspoon baking powder (Ensure it’s fresh for best results.)
- a pinch A pinch of salt
- 1 tablespoon 1 tablespoon vegetable oil
- 0.5 cups ½ cup milk (dairy or non-dairy) (Non-dairy alternatives like almond or oat milk work well.)
Preparation
- In a mixing bowl, combine the all-purpose flour, baking powder, and salt.
- Add the vegetable oil and milk to the dry ingredients. Mix gently until a soft, cohesive dough forms.
- Lightly flour your surface and roll out the dough to a thickness of about 0.5 cm (1/4 inch).
- Use a cutter (or knife) to cut out individual discs of dough, about 4 inches (10 cm) in diameter.
Cooking
- Heat your non-stick fry pan over medium heat.
- Once hot, place a few dough discs in the pan, ensuring there’s space between them.
- Cover the pan with a lid and cook for about 5 minutes, or until the bottom is golden brown.
- Flip carefully, cover again, and cook for another 5 minutes. Adjust the heat as necessary.
- Transfer the cooked bread to a wire rack to cool slightly.
Serving
- Serve warm with spreads of your choice, such as butter, jam, or hummus.
Store leftover bread in an airtight container at room temperature for up to 2 days. For longer storage, freeze them between layers of parchment paper for up to a month. Reheat in a non-stick pan or toaster.