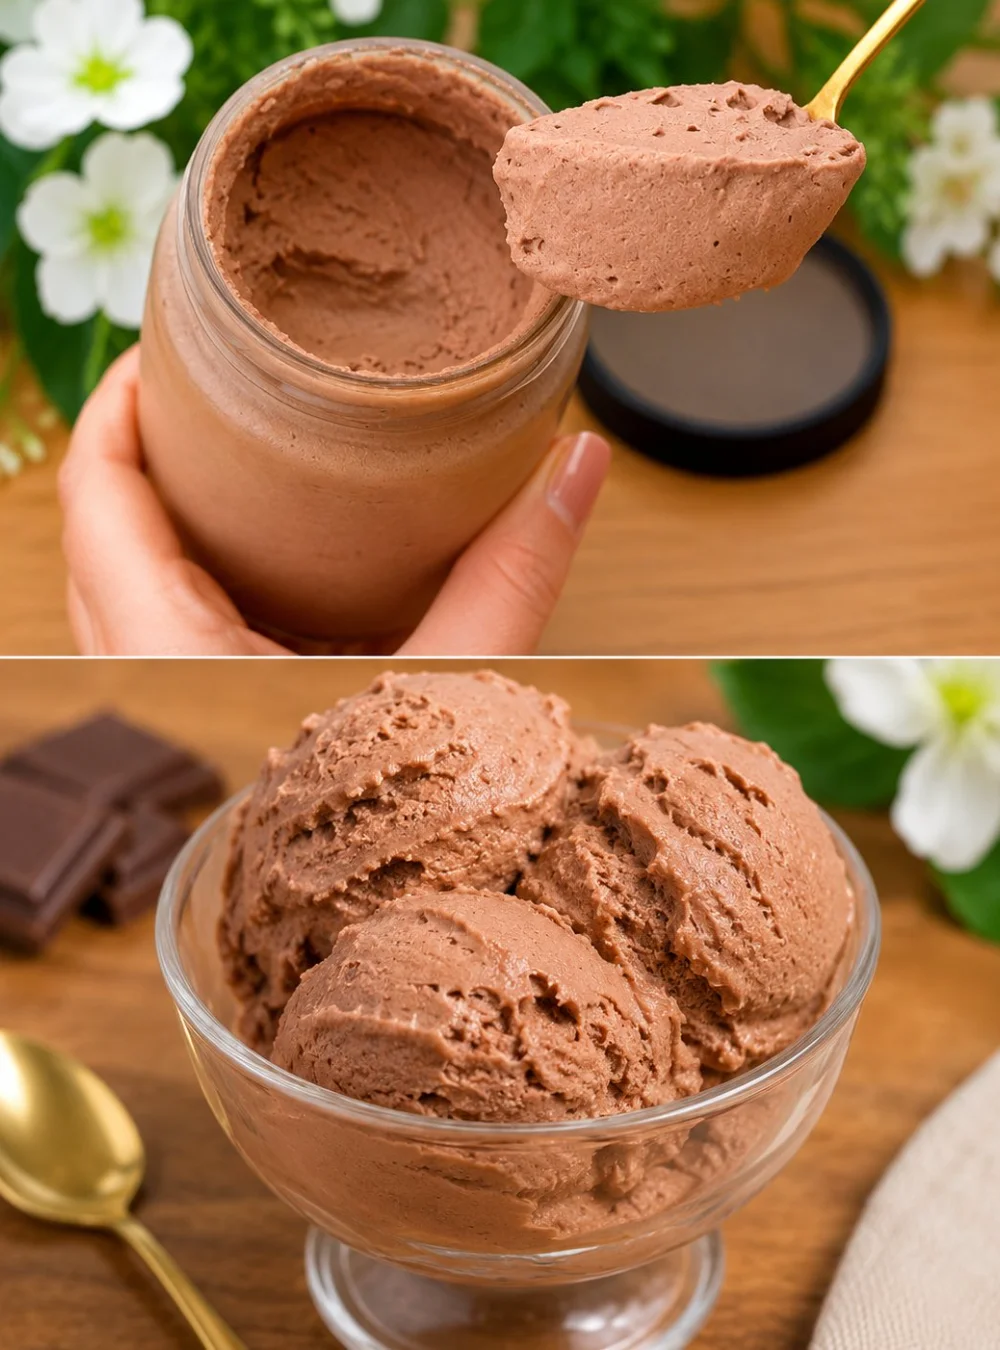
There’s something special about homemade chocolate ice cream that store-bought just can’t compete with. The rich, velvety texture and the deep chocolate flavor come together to create a delicious treat that’s perfect for hot days or any time you need a little sweet indulgence. Plus, with just a few simple ingredients, you can whip this up without needing an ice cream maker! It’s a fun way to involve the kids in the kitchen or to treat yourself after a long day.
Why You’ll Love This Recipe
- Quick and easy: No ice cream maker needed, just a jar and a little shake!
- Rich chocolate flavor using simple ingredients.
- Perfectly creamy texture that can be made to your liking.
- A great activity for kids to join in on the fun.
- Perfect for customizing with your favorite mix-ins or toppings!
Ingredients
- 1/2 tablespoon (7.5 ml) vanilla extract
- 3 tablespoons (45 ml) hot water
- 2-3 tablespoons (25-38 g) sugar, adjust to taste
- 2 tablespoons (15 g) cocoa powder
- 1 cup (250 ml) whipping cream
Ingredient Notes
- Whipping Cream: The star of this recipe! It gives the ice cream its creamy texture. You can use heavy cream if you prefer, which will also yield a richer taste.
- Sugar: Adjust the sweetness to your taste. If you like your chocolate ice cream a little sweeter, don’t hesitate to add more.
- Cocoa Powder: Choose a high-quality unsweetened cocoa powder for the best flavor.
Kitchen Tools Needed
- Jar with a tight-fitting lid
- Mixing spoon
- Freezer
Step-by-Step Instructions
- In a jar, combine the vanilla extract and hot water. Stir until well mixed.
- Add the sugar and cocoa powder to the jar. Mix thoroughly until the sugar and cocoa are dissolved and the mixture is smooth.
- Pour in the whipping cream and stir gently until everything is fully incorporated.
- Secure the lid tightly on the jar to avoid any spills.
- Shake the jar vigorously for about 5-7 minutes. You’ll feel the mixture thickening and becoming creamy—this is the fun part!
- Once thickened, place the jar in the freezer and allow it to set for at least 3 hours, or until fully frozen.
- When ready to serve, scoop out your delicious homemade chocolate ice cream and enjoy every creamy bite!
Pro Tips
- Shake the jar more vigorously if you want an even creamier texture.
- For a softer serve ice cream, you can let it sit out at room temperature for a few minutes before scooping.
- If you have an immersion blender, blend the mixture after shaking for extra smoothness before freezing.
Common Mistakes
- Not mixing the sugar and cocoa powder well enough, which can lead to grainy ice cream.
- Skipping the vigorous shake can result in a less creamy texture.
- Forgetting to let it set long enough in the freezer.
Variations
- Add a handful of chocolate chips for extra chocolatey goodness!
- Mix in some crushed nuts or your favorite cookies for a bit of crunch.
- Swirl in caramel or peanut butter before freezing for a delightful twist.
Serving Suggestions
Serve your homemade chocolate ice cream in bowls or cones. Top with whipped cream, sprinkles, or even a drizzle of chocolate syrup for an extra treat.
Storage Instructions
Store any leftover ice cream in the jar in the freezer. Make sure the lid is secured to prevent freezer burn. It should keep well for up to 2 weeks.
Reheating Tips
This recipe doesn’t require reheating, but if you want to soften the ice cream for easier scooping, simply let it sit at room temperature for about 5-10 minutes.
Nutrition Estimate
Approximately 150 calories, 2g protein, 10g carbs, and 12g fat per serving (1/2 cup or 125 ml).
Recipe Summary
- Prep Time: 10 minutes
- Total Time: 3 hours 10 minutes
- Servings: 2-4 servings
- Cuisine: American
- Course: Dessert
- Calories: 150
Frequently Asked Questions
Can I use milk instead of whipping cream?
While you can substitute milk, it won’t be as creamy and will result in a less rich flavor.
What if I don’t have hot water?
If you don’t have hot water, warm it slightly in the microwave to help dissolve the sugar and cocoa.
Is it possible to make this without vanilla extract?
Yes, you can skip the vanilla, but it adds a nice flavor that complements the chocolate beautifully.
How long does it take to thicken?
Shaking the jar for about 5-7 minutes should yield a nice, creamy texture.
Can I double the recipe?
Certainly! Just ensure you have a larger jar or container for shaking and freezing.
Enjoy making this delightful homemade chocolate ice cream! It’s sure to satisfy your sweet tooth and become a new summer favorite for your family.