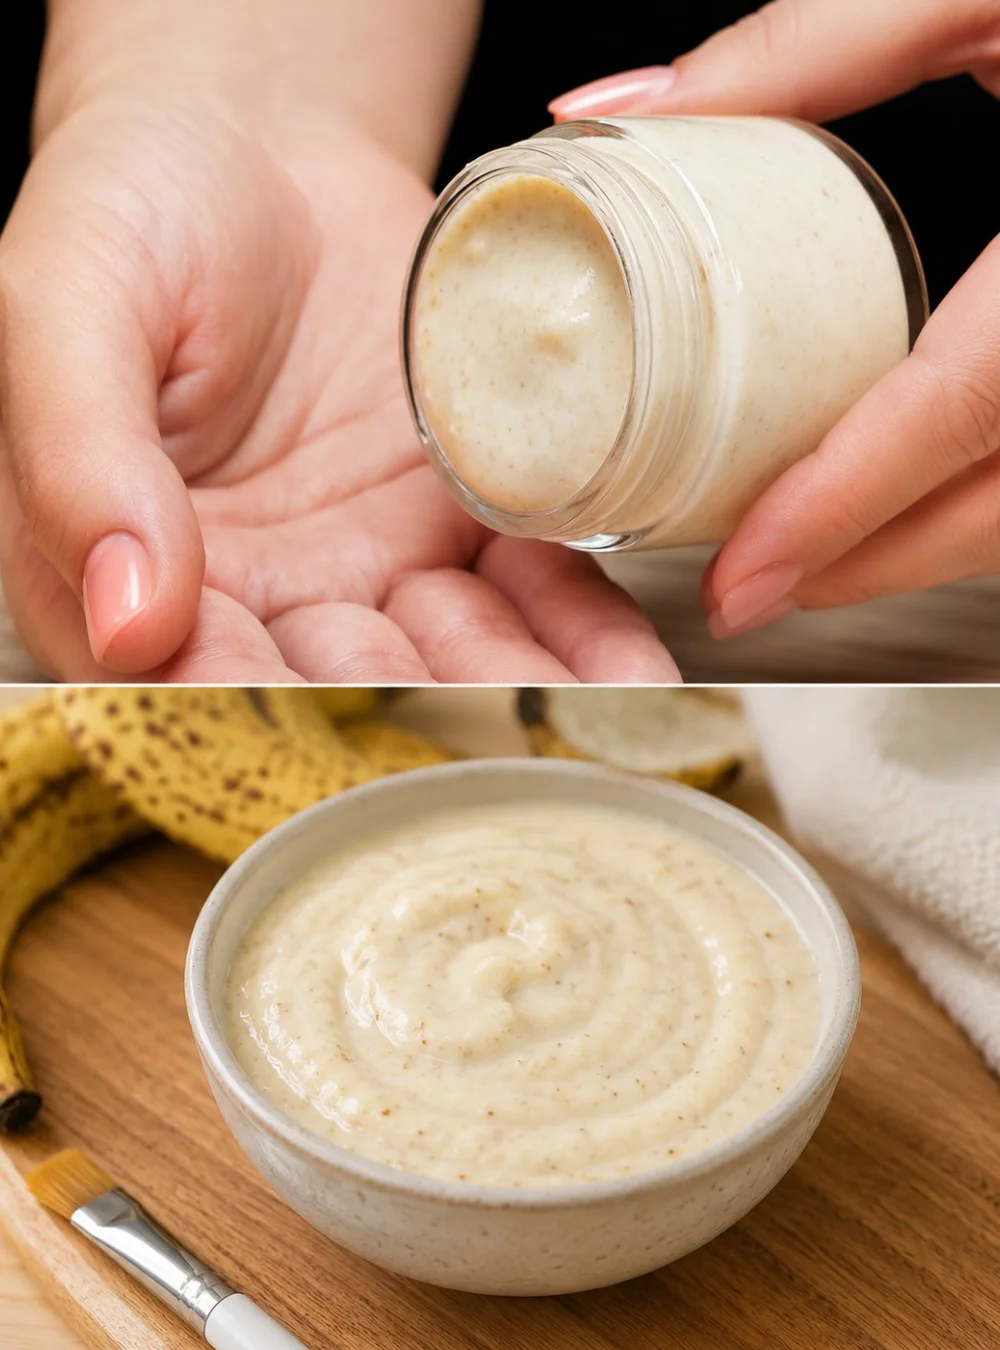
When it comes to skincare, many of us often overlook the treasures offered by nature, right in our kitchens. If you’ve ever tossed a banana peel after enjoying the fruit, you might want to think twice. This wrinkle-reducing banana peel face mask brings together the nourishing properties of banana peels with a few other simple ingredients to create a rejuvenating treatment for your skin. It’s an easy and affordable way to give your complexion a boost, leaving it feeling smoother and more hydrated. Plus, it’s a wonderful opportunity to embrace an eco-friendly approach by utilizing every part of the banana!
Why You’ll Love This Recipe
- Uses everyday ingredients you probably already have at home.
- Eco-friendly: reduces food waste by using banana peels.
- Hydrating and nourishing for your skin, thanks to natural oils and milk.
- Gentle enough for nightly use with cumulative benefits.
- A simple way to pamper yourself without expensive products.
Ingredients
- 1 banana peel, cut into small pieces
- 200 ml (about ¾ cup) high-fat milk
- 2 teaspoons (15 g) cornstarch
- 2 tablespoons (30 g) flaxseed
- 200 ml (about ¾ cup) water
- 1 teaspoon (5 ml) sweet almond oil
- 12-13 drops rosehip oil
- 12-13 drops Vitamin E oil
Ingredient Notes
Banana peels are rich in antioxidants and vitamins that can help improve skin health. High-fat milk adds moisture and soothe irritation, while flaxseed provides natural hydration through its gel, enhancing the mask’s texture. Sweet almond and rosehip oils are both known for their skin-nourishing properties, making them wonderful companions in this rejuvenating recipe.
Kitchen Tools Needed
- Saucepan
- Blender or food processor
- Sieve or fine mesh strainer
- Pot for heating flaxseed
- Medical gauze or cheesecloth
- Mixing bowl
Step-by-Step Instructions
- Start by washing the banana peel thoroughly to remove any residues or dirt. Cut it into small pieces.
- In a saucepan, combine the high-fat milk and the banana peel pieces. Heat over low flame for about 8 minutes, stirring occasionally. This step helps to infuse the milk with the nutrients from the peel.
- Remove the saucepan from heat and allow the mixture to cool slightly. Then, blend the banana peel with the milk until smooth.
- Pour the puree through a sieve to separate any solid bits from the liquid.
- Return the strained mixture to the saucepan and add cornstarch. Place it back on low heat, stirring constantly until it thickens to a creamy consistency (about 3-4 minutes).
- Once thickened, remove from heat and let it cool slightly.
- In a separate pot, combine the flaxseed and water. Heat on moderate heat for 7-8 minutes, stirring occasionally.
- After cooking, let the mixture cool before straining it through medical gauze to extract the gel-like flaxseed extract.
- Add 2 tablespoons of the flaxseed gel to the banana mixture and stir until well combined.
- Refrigerate any leftover flaxseed gel for use within the next 7 days.
- Mix in the sweet almond oil, rosehip oil, and Vitamin E oil to the banana peel mixture until fully incorporated.
- Apply a thick layer of the mask to your face, neck, and décolleté. It’s best to do this in the evening when you can relax.
- Allow the mask to dry completely. This should take around 20-30 minutes.
- Rinse off the mask with warm water.
Pro Tips
- For best results, use ripe bananas for the peel—they’re richer in nutrients.
- Make sure to blend the banana peel until completely smooth for a pleasant application.
- Experiment with the thickness of the mask by adjusting the cornstarch. Less cornstarch will yield a thinner consistency, while more will thicken it up.
- Test a small amount on your wrist first to ensure there are no allergic reactions, particularly from the oils.
Common Mistakes
- Not washing the banana peel thoroughly, which may lead to irritation.
- Overheating the milk mixture, causing it to curdle—keep it on low heat!
- Applying the mask too thinly; a thick layer works best for effective results.
- Not straining the mixture properly, which can lead to a gritty texture.
Variations
- Substitute high-fat milk with almond or soy milk for dairy-free options.
- Add a few drops of lavender oil for a soothing scent.
- Mix in a teaspoon of honey for extra hydration and antibacterial benefits.
- Use avocado instead of banana peel for a different texture and benefits.
Serving Suggestions
Apply the mask in the evening as part of your nighttime skincare routine. It pairs well with a warm herbal tea to enhance relaxation.
Storage Instructions
Store any leftover banana face mask in an airtight container in the fridge for up to 3 days. It’s best used fresh, though!
Reheating Tips
Reheating the mask isn’t necessary; it’s applied cold for a refreshing effect on the skin.
Nutrition Estimate
This recipe doesn’t have a traditional nutritional breakdown since it’s for skincare, but it’s filled with nourishing ingredients that benefit your skin rather than your stomach.
Recipe Summary
Prep Time: 15 minutes
Cook Time: 15 minutes
Total Time: 30 minutes
Servings: 1 mask application
Cuisine: Skincare
Course: Beauty Routine
Frequently Asked Questions
Q: Can I use this mask if I have sensitive skin?
A: Yes, but always perform a patch test first to check for any reactions.
Q: How often should I use this mask?
A: For best results, use it nightly for a week, and then you can maintain with once or twice a week.
Q: Is it okay to use the mask if I have active acne?
A: While it’s gentle, those with active acne should consult with a dermatologist before trying new skincare treatments.
Q: Can I add other oils to this mask?
A: Absolutely! Just ensure they are suitable for facial use.
Q: How long will the mask last in the fridge?
A: Use it within 3 days for the best results.
This banana peel face mask not only showcases the beauty benefits of ingredients right from your kitchen but also adds a ritual to your skincare routine that feels nourishing and indulgent. Give this natural solution a try; your skin will thank you!