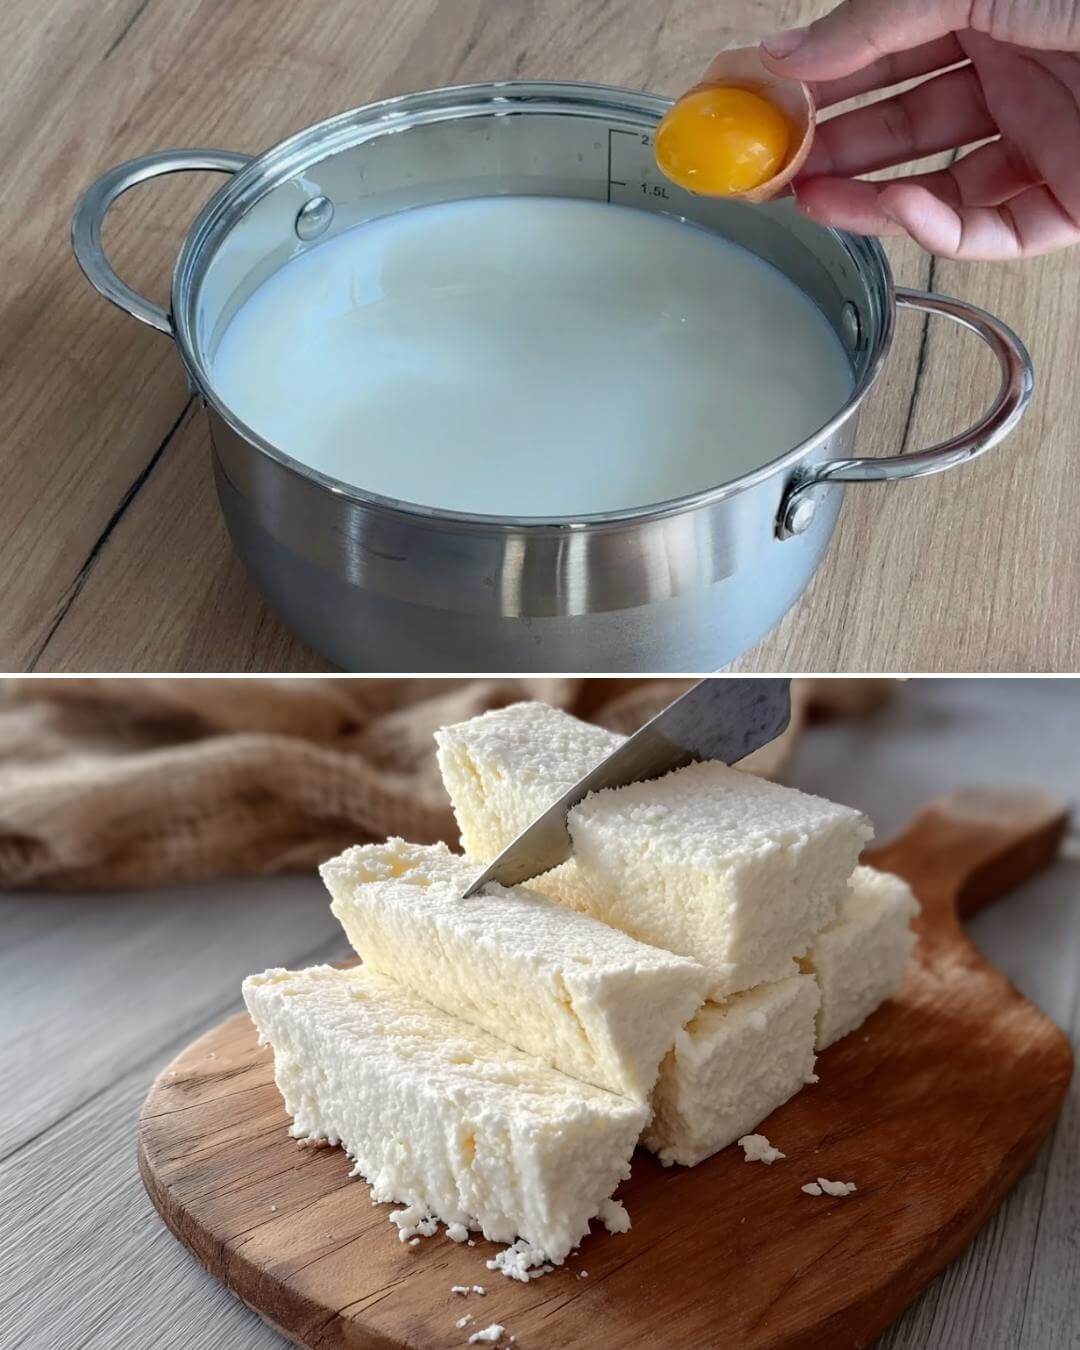
Forget expensive artisan cheese from the store when you can make creamy, delicious homemade cheese right in your own kitchen with just three simple ingredients. This traditional method transforms ordinary milk into a firm, sliceable cheese that’s perfect for sandwiches, salads, or enjoying on its own. The best part? You control exactly what goes into it, ensuring a pure, preservative-free product that tastes fresher than anything you’ll find at the supermarket. Once you try this simple recipe, you’ll wonder why you ever bought cheese at all.
Ingredients
- 2 liters (8.5 cups) whole milk
- 3 large eggs
- ½ teaspoon salt
- 3 tablespoons plain yogurt or sour cream
Instructions
Pour 2 liters of whole milk into a large pot and place it on the stove over medium heat. Add ½ teaspoon of salt to the milk and stir gently.
While the milk is heating, crack 3 eggs into a medium bowl. Add 3 tablespoons of plain yogurt or sour cream to the eggs along with an additional pinch of salt. Whisk the mixture thoroughly until well combined and smooth.
Monitor the milk carefully as it heats. When the milk is almost at boiling point and you see small bubbles forming around the edges, slowly pour in the egg and yogurt mixture while stirring gently with a wooden spoon.
Continue heating and bring the mixture to a gentle boil. You’ll notice the milk beginning to curdle and separate into curds and whey. Let it boil for 5 to 7 minutes, stirring occasionally to prevent sticking to the bottom of the pot.
While the mixture is boiling, prepare your straining setup. Place a fine-mesh sieve or colander over a large bowl and line it with cheesecloth or a clean kitchen towel.
Once the whey has completely separated from the curds and appears yellowish-green, remove the pot from heat. Carefully pour the entire mixture into the prepared sieve, allowing the whey to drain into the bowl below.
Let the curds drain for a few minutes, then gather the corners of the cheesecloth and gently squeeze out excess liquid. You can save the whey for other recipes or discard it.
Transfer the drained cheese curds to a container or mold. Press down gently to compact the cheese and create an even surface. Cover and refrigerate for 3 to 4 hours to allow the cheese to firm up completely.
After chilling, your homemade cheese is ready to slice and enjoy. Store it in an airtight container in the refrigerator for up to 5 days.
Time and Serving
Prep Time: 10 minutes
Cook Time: 15 minutes
Chilling Time: 3-4 hours
Total Time: 4 hours 25 minutes
Yield: Approximately 400g (14 oz) of cheese
Servings: 8-10 servings
Nutrition (Per Serving)
Calories: 110 | Protein: 8g | Fat: 7g | Carbohydrates: 5g | Calcium: 180mg | Sodium: 180mg | Cholesterol: 85mg
Why This Recipe Works
Making cheese at home ensures you get a product free from artificial preservatives, stabilizers, and excessive sodium found in many commercial cheeses. This recipe provides high-quality protein from both milk and eggs, along with calcium essential for bone health. The fermentation process created by adding yogurt or sour cream introduces beneficial probiotics that support digestive health. By using whole milk, you retain the natural vitamins A and D that are fat-soluble and important for immune function. This homemade cheese is also more economical than store-bought varieties, especially artisan or specialty cheeses. The simple ingredients mean you know exactly what you’re eating, making it ideal for those with food sensitivities who need to avoid additives. Plus, the fresh taste and creamy texture are unmatched by mass-produced alternatives.
Creamy Homemade Cheese

Make creamy, delicious homemade cheese with just three simple ingredients. This easy recipe transforms ordinary milk into sliceable cheese that’s perfect for sandwiches and salads.
For the Cheese
- 2 liters whole milk (Use whole milk for best results.)
- 3 large eggs
- ½ teaspoon salt (Adjust to taste.)
- 3 tablespoons plain yogurt or sour cream (Yogurt or sour cream helps with curd formation.)
Preparation
- Pour 2 liters of whole milk into a large pot and place it on the stove over medium heat.
- Add ½ teaspoon of salt to the milk and stir gently.
- While the milk is heating, crack 3 eggs into a medium bowl. Add 3 tablespoons of plain yogurt or sour cream and an additional pinch of salt. Whisk the mixture until well combined and smooth.
Cooking
- Monitor the milk carefully. When it’s almost boiling and small bubbles form around the edges, slowly pour in the egg and yogurt mixture while stirring gently with a wooden spoon.
- Bring the mixture to a gentle boil, stirring occasionally. Boil for 5 to 7 minutes until the milk begins to curdle and separate into curds and whey.
- Prepare your straining setup by placing a fine-mesh sieve or colander over a bowl and lining it with cheesecloth or a clean kitchen towel.
- When the whey has completely separated and appears yellowish-green, remove the pot from heat and carefully pour the mixture into the sieve.
- Let the curds drain for a few minutes, then gather the corners of the cheesecloth and gently squeeze out excess liquid.
- Transfer the drained cheese curds to a container or mold, pressing gently to compact the cheese. Cover and refrigerate for 3 to 4 hours.
Serving
- After chilling, your homemade cheese is ready to slice and enjoy. Store in an airtight container in the refrigerator for up to 5 days.
You can save the drained whey for other recipes or discard it. This cheese is free from artificial preservatives, making it ideal for those with dietary sensitivities.