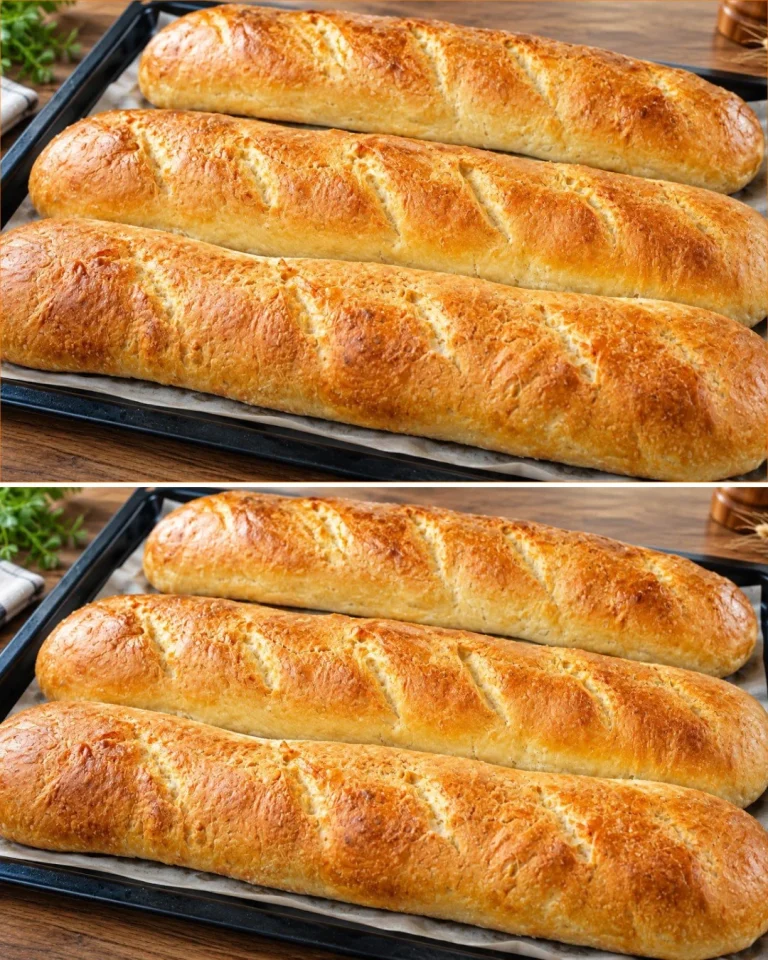
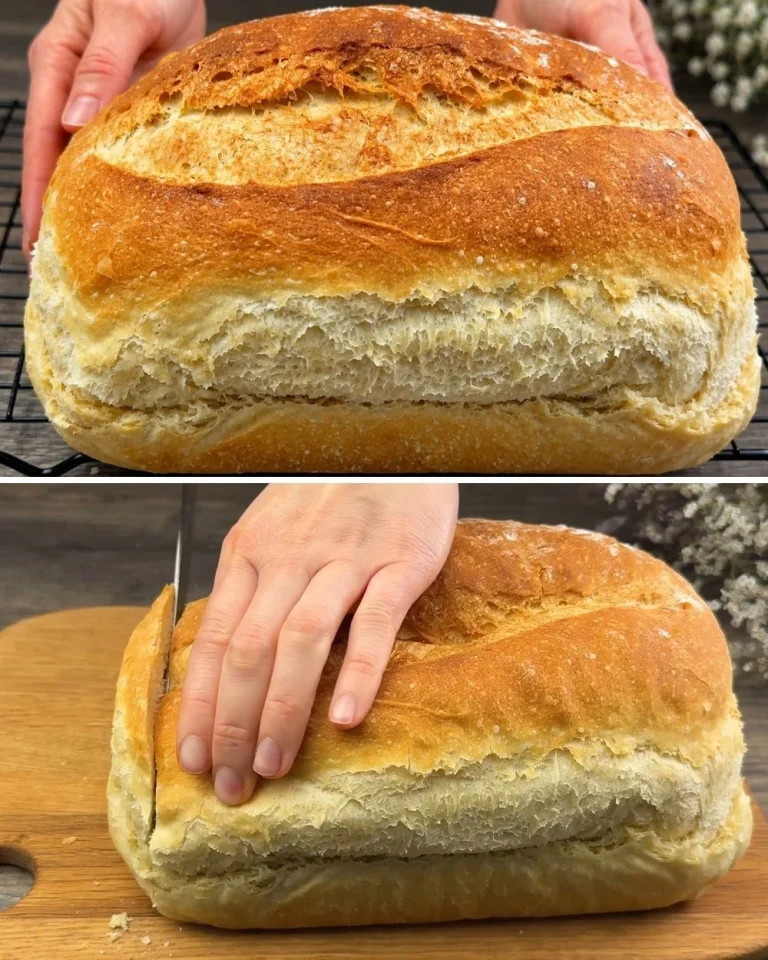
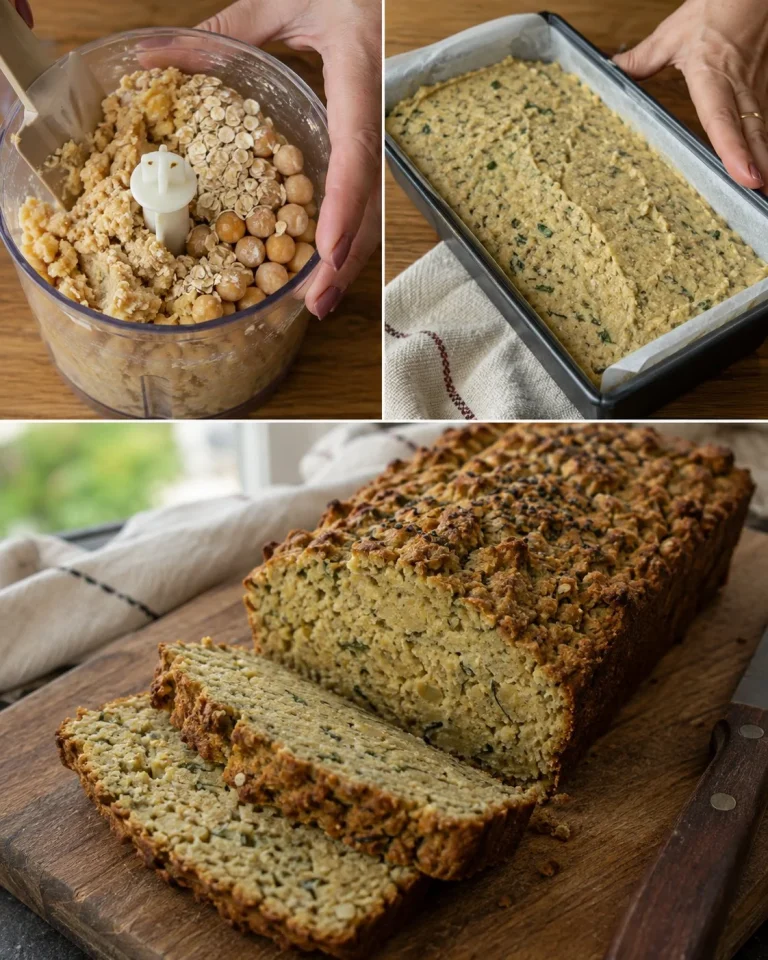
There’s something incredibly satisfying about the aroma of freshly baked bread wafting through your kitchen. This easy, no-knead bread recipe has been making waves in home kitchens for good reason: it delivers a crusty exterior with a soft, chewy interior, all while requiring minimal effort and time. I remember the first time I pulled this bread out of the oven; the sight of the golden crust made all the waiting worth it. And the best part? Even if you’re new to baking, you can achieve professional results with just a few simple steps. Curious to learn how this method can elevate your homemade bread game? Let’s dive right into the details.
Why You’ll Love This Recipe
- Requires no kneading, making it accessible for all skill levels.
- Great for beginners or anyone short on time.
- The bread develops incredible flavor from the long fermentation.
- Perfect crust that balances a soft and airy inside.
- Customizable with seasonings to suit your taste.
Ingredients
- 4 cups (550 g) bread flour (12% protein)
- 1 ⅔ cups (400 ml) lukewarm water
- 1 packet (7 g) instant dry yeast
- 1 ½ teaspoons (8 g) salt
- Bread seasoning (optional, for added flavor)
Ingredient Notes
- Bread Flour: High-protein flour creates a better gluten structure, essential for bread texture. You can substitute with all-purpose flour, but the result may be slightly less chewy.
- Instant Dry Yeast: Ensures a quick rise. If using active dry yeast, allow it to bloom in water first before mixing.
- Salt: Enhances flavor and controls yeast activity. Never skip this ingredient.
Kitchen Tools Needed
- Large mixing bowl
- Whisk or wooden spoon
- Plastic wrap or kitchen towel
- Baking paper
- 9.5-inch (24 cm) round baking pan
- Oven safe bowl for steaming (optional)
Step-by-Step Instructions
- In a large mixing bowl, whisk together 4 cups (550 g) of bread flour and 1 ½ teaspoons (8 g) of salt until well combined.
- Add 1 packet (7 g) of instant dry yeast to the flour mixture, whisk again briefly.
- Pour in 1 ⅔ cups (400 ml) of lukewarm water, and stir with a wooden spoon until you have a shaggy dough with no dry flour left.
- If using, sprinkle in your preferred bread seasoning and gently mix it into the dough.
- Cover the bowl with plastic wrap or a kitchen towel, and let the dough rest for 30 minutes at room temperature. You will notice it starting to rise.
- Using wet hands, fold the dough over itself from each side about 10 times. This will help develop the gluten without kneading.
- Cover the dough again and refrigerate it for 8 to 10 hours, or up to 24 hours for more flavor.
- When ready to bake, preheat your oven to 410°F (210°C) and place a bowl of boiling water at the bottom of the oven for steam.
- Transfer the dough to a floured surface. Shape it gently into a round shape, being careful not to knock out too much air.
- Place the dough on a piece of baking paper, then place it in your round baking pan, and let it rest for 20 minutes to puff up.
- Bake in the preheated oven for 25 to 30 minutes, or until the bread is golden brown and sounds hollow when tapped on the bottom.
- Allow the bread to cool on a wire rack for at least 20 minutes before slicing. This helps keep the inside moist.
Pro Tips
- Resting the Dough: If you can let the dough rest longer, even overnight, for about 12-24 hours, the flavors will deepen significantly.
- Steam Effect: The steam from the boiling water is essential for creating the crispy crust. Don’t skip this step!
- Baking Time: If your bread doesn’t have a deep golden color after 25 minutes, bake it an extra few minutes to develop that perfect crust.
- Slicing: Use a serrated knife to slice your bread to ensure clean cuts without compressing the bread.
Common Mistakes to Avoid
- Not measuring ingredients accurately can lead to dry or overly wet dough. Always use a kitchen scale if possible.
- Skipping the refrigeration step can affect texture. The longer fermenting time enhances flavor and structure.
- Overworking the dough during shaping can deflate it; handle it gently.
Variations
- Herbed Bread: Add chopped fresh herbs like rosemary or thyme to the dough for an aromatic twist.
- Cheesy Bread: Fold in shredded cheese before the final rise for a cheesy delight.
- Seeded Bread: Top with sesame or poppy seeds before baking for added texture.
Serving Suggestions
This bread is perfect for serving with soups, salads, or as a base for sandwiches. Slather on some butter or dipping oil for an extra treat!
Storage Instructions
Store the bread at room temperature in a paper bag for 2-3 days. For longer storage, wrap tightly in plastic and freeze for up to 3 months.
Reheating Tips
To revive the crust, simply pop the bread in a preheated oven at 350°F (175°C) for about 10 minutes.
Nutrition Estimate
- Calories: 190 per slice
- Protein: 6 g
- Carbs: 36 g
- Fat: 1 g
Recipe Summary Card
- Prep Time: 10 minutes
- Cook Time: 30 minutes
- Total Time: 10 hours (includes rest time)
- Servings: 8 slices
- Cuisine: Bread
- Course: Side
- Calories: 190 per slice
Frequently Asked Questions
-
Can I use regular yeast instead of instant yeast?
- Yes, but you’ll need to activate it in warm water before adding it to the flour.
-
What if my dough doesn’t rise?
- Ensure your yeast is fresh. The lukewarm water should be around 100°F (37°C) to activate the yeast.
-
Can I add sweeteners like honey?
- Yes, but start with a small amount as it can impact the dough’s structure.
-
Why is my crust not crispy?
- Ensure you’ve used steam in the oven or increase the baking time slightly.
Conclusion
Homemade bread doesn’t have to be complicated. This no-knead recipe takes minimal time and effort, allowing you to enjoy the rewards of warm, crusty bread without the hassle of traditional methods. Give it a try and transform your kitchen into a bakery!
Tested Note
I tested this recipe again and found that letting the dough rest for 24 hours in the fridge truly enhances the flavor and texture significantly.
Easy No-Knead Bread
A simple no-knead bread recipe yielding a crusty exterior and soft, chewy interior, perfect for beginners and those short on time.
Main Ingredients
- 4 cups bread flour (High-protein flour creates a better gluten structure.)
- 1 ⅔ cups lukewarm water (Water should be around 100°F (37°C).)
- 1 packet instant dry yeast (For a quick rise; can substitute with active dry yeast.)
- 1 ½ teaspoons salt (Enhances flavor and controls yeast activity.)
- to taste bread seasoning (optional) (Customize with seasonings like herbs or cheese.)
Preparation
- In a large mixing bowl, whisk together the bread flour and salt until well combined.
- Add the instant dry yeast to the flour mixture and whisk briefly.
- Pour in the lukewarm water and stir with a wooden spoon until you have a shaggy dough.
- If using, sprinkle in your preferred bread seasoning and mix gently into the dough.
- Cover the bowl with plastic wrap or a kitchen towel and let the dough rest for 30 minutes at room temperature.
- Using wet hands, fold the dough over itself from each side about 10 times.
- Cover the dough again and refrigerate for 8 to 10 hours, or up to 24 hours for more flavor.
Baking
- Preheat your oven to 410°F (210°C) and place a bowl of boiling water at the bottom for steam.
- Transfer the dough to a floured surface and shape gently into a round shape.
- Place the dough on a piece of baking paper, let it rest for 20 minutes to puff up.
- Bake in the preheated oven for 25 to 30 minutes, until golden brown and sounds hollow when tapped.
- Allow the bread to cool on a wire rack for at least 20 minutes before slicing.
For a crispy crust, ensure steam is created in the oven. Use a serrated knife for clean slicing. Store in a paper bag for 2-3 days, or freeze for up to 3 months.