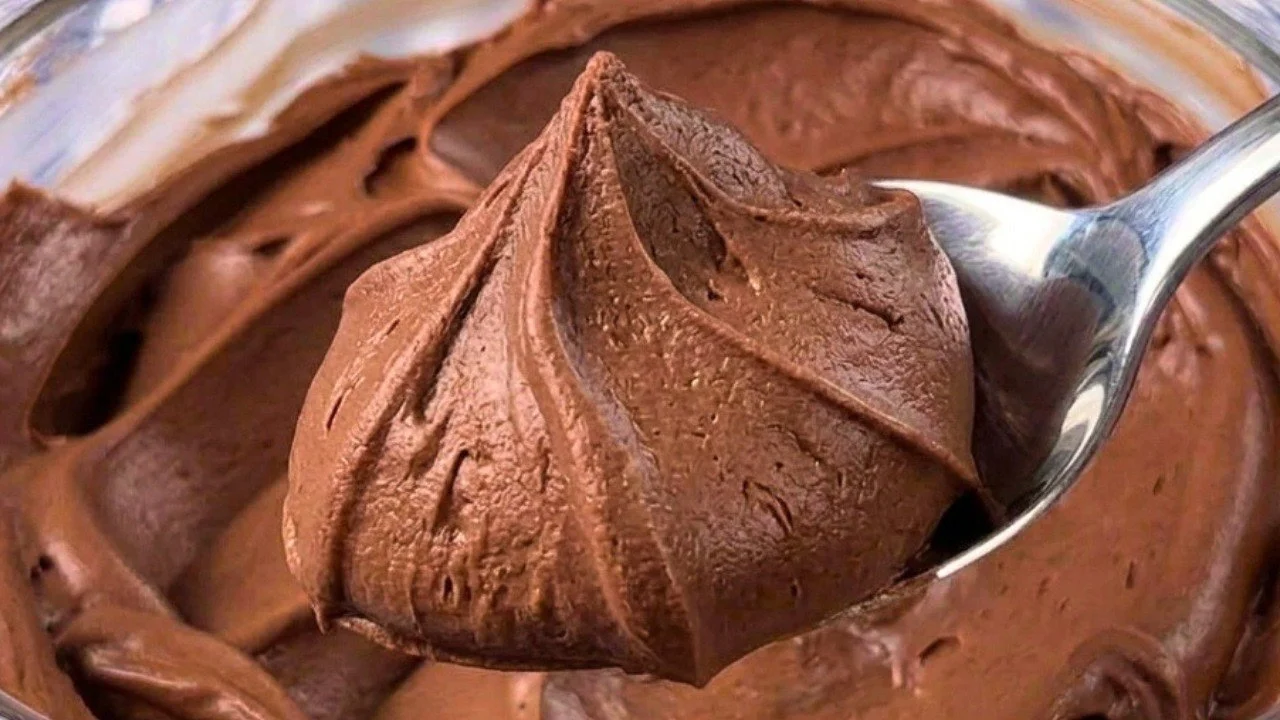
This apple-based chocolate paste is a cozy, pantry-friendly spread that tastes far richer than you’d expect from fruit. The apples cook down into a naturally thick, smooth base, and the cocoa, butter, and a touch of sugar turn it into something that feels dessert-like without being overly complicated. It’s perfect if you want a homemade alternative to store-bought chocolate spreads for toast, pancakes, or cake filling. For a really satisfying pairing, I love it on warm slices of homemade garlic herb bread (it’s a sweet-salty moment). This is still a treat, thanks to the sugar and butter, so smaller portions go a long way.
Why This Recipe Is Helpful
- Uses simple ingredients you can find almost anywhere (apples, cocoa, sugar, butter).
- No special equipment required—just a saucepan and a fork (a blender is optional).
- Makes a spreadable chocolate paste that sets up nicely in the fridge.
Best For
Anyone who likes chocolate spreads but wants a homemade version with a fruit base and a short ingredient list.
Be Careful If
This contains butter (dairy) and optional nuts, and it’s sweetened—so it’s best enjoyed in moderate portions, especially if you’re watching sugar intake.
Ingredients
- 2 large apples, peeled and cored, diced (about 12 oz / 350 g total)
- 1/3 cup cocoa powder (30 g)
- 1/3 cup granulated sugar (60 g)
- 5 1/2 tablespoons unsalted butter (80 g)
- 1/4 cup nuts, finely ground or very finely chopped, optional (30 g; walnuts, hazelnuts, or peanuts)
Ingredient Notes
- Apples: Sweeter apples (like Fuji or Gala) give a rounder flavor; tarter apples will taste more cocoa-forward.
- Cocoa powder: Unsweetened cocoa works best; sift if it’s clumpy.
- Butter: Adds shine and a “chocolate spread” mouthfeel—don’t skip if you want that Nutella-like richness.
- Nuts (optional): Grinding them helps the paste stay smooth and spreadable.
Kitchen Tools Needed
- Microwave-safe bowl (or small pot to simmer apples)
- Medium saucepan
- Fork or potato masher (or blender/immersion blender)
- Whisk or sturdy spoon
- Jar or airtight container
Step-by-Step Instructions
- Prep the apples. Peel and core the apples, then cut into small cubes so they soften evenly.
- Mix the dry ingredients first. In a medium saucepan (off the heat), whisk together the cocoa powder and sugar until no cocoa lumps remain. This step prevents stubborn clumps later.
- Soften the apples. Put the diced apples in a microwave-safe bowl with 1–2 tablespoons of water (15–30 ml). Cover loosely and microwave for 5–6 minutes, stirring once halfway, until very soft and easily mashed.
- Mash into applesauce. Mash with a fork for a slightly rustic texture, or blend for a smoother, more “store-bought” finish. You should have a thick applesauce.
- Combine. Add the warm applesauce to the saucepan with the cocoa-sugar mixture. Stir until you have a uniform chocolatey paste with no dry pockets.
- Heat briefly to bring it together. Set the pan over medium heat and stir constantly. Once you see the first bubbles and it just comes to a gentle boil, reduce heat to low and keep stirring for about 1 minute. You’re not trying to cook it down hard—just marry the flavors and slightly thicken.
- Finish with butter (and nuts). Remove from heat. Stir in the butter until completely melted and glossy. If using nuts, stir in the finely ground nuts now.
- Jar and chill to set. Spoon into a clean jar/container. Press cling film directly onto the surface (helps prevent condensation and a skin), cover, and refrigerate at least 2 hours, or overnight, until thick and spreadable.
- Serve. Stir once before using if needed, especially if it’s been chilled overnight.
Pro Tips
- Keep the boil brief: overcooking can make it tighten too much once chilled.
- For the smoothest texture without a blender, mash apples very thoroughly while they’re hot.
- If it tastes slightly sharp right after cooking, give it time—flavor rounds out after chilling.
- Chop/ground nuts very fine so the spread doesn’t feel gritty.
Lighter Swaps
The original version works best for a true chocolate-spread texture; reducing butter or sugar significantly can make it less glossy and less spreadable.
Common Mistakes
- Skipping the cocoa-sugar whisk: it’s the main reason spreads turn lumpy.
- Cooking too long on the stove: it can become stiff after refrigeration.
- Using large nut pieces: they interrupt spreading and can make the paste feel dry.
Serving Suggestions
Spread on toast, swirl into oatmeal, spoon over pancakes, or use as a simple cake or crepe filling.
Storage Instructions
Store in a sealed jar in the refrigerator for up to 7 days. Keep it covered to prevent it picking up fridge odors.
Reheating Tips
No reheating needed—just let it sit at room temperature for 10–15 minutes if it feels too firm to spread.
Nutrition Estimate
Per serving (about 1 tablespoon / ~20 g):
- Calories: ~80
- Protein: ~1 g
- Carbs: ~8 g
- Fat: ~6 g
Values are estimates and may vary by ingredients and portion size.
Recipe Summary
- Prep Time: 10 minutes
- Cook Time: 10 minutes
- Total Time: 2 hours 20 minutes (includes chilling)
- Servings: About 16 tablespoons
- Cuisine: European-inspired
- Course: Spread / Sweet condiment
- Calories: ~80 per tablespoon
Frequently Asked Questions
Can I cook the apples without a microwave?
Yes. Simmer the diced apples in a small pot with a splash of water over low heat for about 10–12 minutes, covered, until very soft.
Why did my spread turn out grainy?
Usually it’s from cocoa lumps or nuts that weren’t ground finely enough. Whisk cocoa and sugar thoroughly first, and grind nuts to a powdery texture.
Can I reduce the sugar?
You can slightly reduce it, but the spread will taste more cocoa-bitter and may set a bit less smoothly. If you cut it a lot, expect a more “chocolate applesauce” vibe than a classic chocolate spread.
Conclusion
This chocolate apple paste is a smart little recipe when you want a homemade sweet spread without complicated steps. It sets up beautifully in the fridge and feels rich thanks to cocoa and butter. Keep it chilled, spread it on your favorite bread, and treat it like the dessert topping it is.