Growing up in the American South, I’ve always believed that the best recipes are passed down through generations, and this 5-minute fudge recipe is no exception. Made famous by cooking legend Paula Deen, this quick and foolproof fudge recipe transforms simple pantry ingredients into a luxurious chocolate treat that rivals any artisanal confection. What makes this recipe particularly special is its accessibility – you don’t need any special equipment or candy-making expertise to achieve perfect results.
A Brief History of Quick Fudge
The innovation of quick-cooking fudge emerged in the 1950s when marshmallows became a popular shortcut ingredient in American kitchens. This variation revolutionized traditional fudge-making, which typically required precise temperature control and extensive beating. The addition of marshmallows acts as a stabilizer, ensuring a smooth, creamy texture every time.
Perfect Timing and Yield
Preparation Time: 5 minutes
Cooking Time: 10 minutes
Setting Time: 2 hours
Total Time: 2 hours 15 minutes
Yield: 36 squares (1-inch each)
Ingredients
For US Measurements:
- 1⅔ cups white sugar
- ⅔ cup evaporated milk
- 1 tablespoon unsalted butter
- ½ teaspoon salt
- 6 ounces milk chocolate chips (about 1 cup)
- 16 large marshmallows
- 1 teaspoon pure vanilla extract
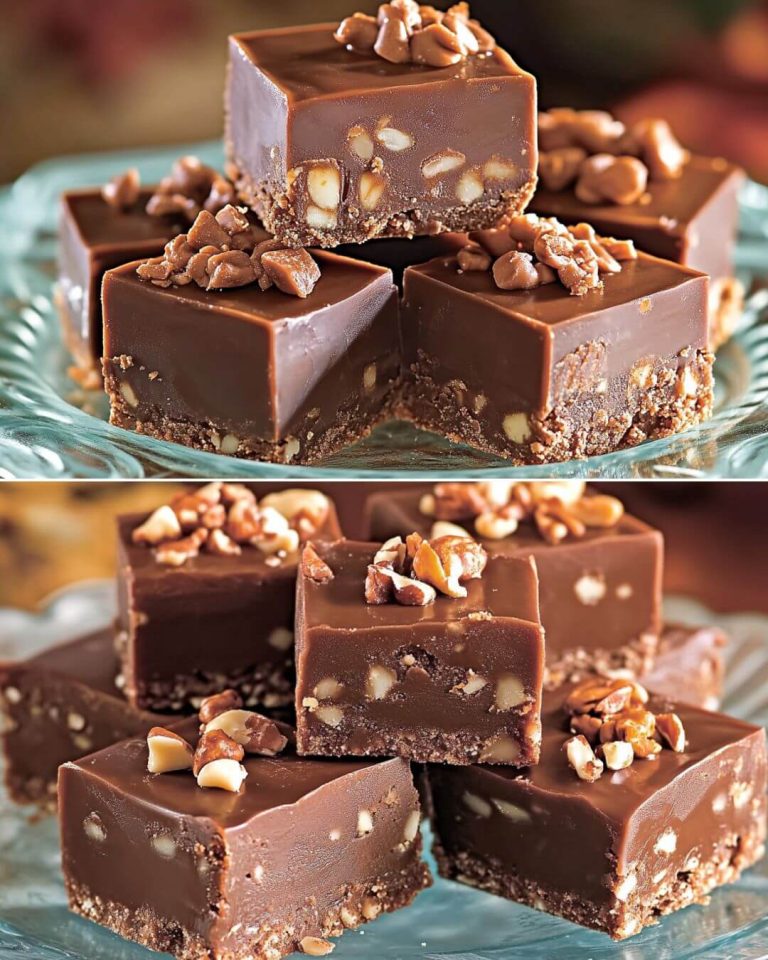
- 1 cup chopped nuts (optional)
For European Measurements:
- 335g white sugar
- 160ml evaporated milk
- 15g unsalted butter
- 2.5g salt
- 170g milk chocolate chips
- 16 large marshmallows (approximately 160g)
- 5ml pure vanilla extract
- 120g chopped nuts (optional)
Essential Equipment
- Medium-sized heavy-bottomed saucepan
- Wooden spoon or heat-resistant silicone spatula
- 8-inch (20cm) square baking pan
- Parchment paper or aluminum foil
- Cooking spray or additional butter for greasing
Detailed Instructions
- Preparation Phase
I always start by preparing my workspace. I line an 8-inch square pan with parchment paper or aluminum foil, leaving overhang for easy removal. I then lightly grease the lining with cooking spray or butter. - Creating the Base Mixture
In my medium saucepan, I combine the sugar, evaporated milk, butter, and salt. I place this over medium heat, stirring constantly with my wooden spoon. This constant motion prevents the mixture from sticking or burning. - Reaching the Perfect Temperature
I continue stirring until the mixture comes to a boil. This usually takes about 4-5 minutes. The key here is patience – rushing this step can result in grainy fudge. - Incorporating the Chocolate
Once boiling, I add the chocolate chips and stir continuously until they’re completely melted and the mixture is smooth and glossy. This typically takes about 2 minutes. - Adding the Finishing Touches
I remove the pan from heat and immediately add the marshmallows, vanilla extract, and nuts (if using). I stir vigorously until the marshmallows are fully melted and incorporated. This creates the signature smooth, creamy texture. - Setting the Fudge
Working quickly, I pour the mixture into my prepared pan. I use my spatula to smooth the top, ensuring an even thickness throughout.
Setting and Storage
Allow the fudge to cool completely at room temperature, which typically takes about 2 hours. Once set, I lift it out using the parchment paper overhang and cut it into 36 one-inch squares.
Storage Tips
Store in an airtight container:
- Room temperature: Up to 1 week
- Refrigerated: Up to 2 weeks
- Frozen: Up to 3 months
Nutritional Information
(Per 1-inch square, without nuts)
- Calories: 75
- Total Fat: 2.5g
- Saturated Fat: 1.5g
- Cholesterol: 2mg
- Sodium: 35mg
- Total Carbohydrates: 14g
- Sugar: 13g
- Protein: 0.5g
- Fiber: 0.2g
Expert Tips for Perfect Fudge
To achieve the best results, I recommend:
- Using room temperature marshmallows for better melting
- Having all ingredients measured and ready before starting
- Stirring constantly throughout the cooking process
- Avoiding making this on particularly humid days
- Using high-quality chocolate chips for superior taste
This classic fudge recipe has stood the test of time because it consistently delivers exceptional results while requiring minimal effort. Whether you’re making it for a holiday gathering, gift-giving, or simply to satisfy a sweet craving, this recipe promises to become a favorite in your collection of trusted desserts.