The Baked Rain Cake, known for its fluffy texture and delightful sweetness, is a traditional treat that brings warmth and joy to any gathering. Often referred to as “bolinho de chuva,” this cake is perfect for breakfast, snacks, or dessert. With its simple ingredients and easy preparation method, you can whip up this delicious cake in no time. Let’s explore how to create this sensational baked delight that will surely impress your family and friends.
Ingredients
For the Dough
- 1 small box of cream (200 g / 7 oz)
- 1 whole egg
- 2 tbsp (30 g) sugar
- 1 pinch of salt
- 1 tbsp (35 g) butter or margarine, or 3 tbsp (45 ml) oil
- 2 ½ cups + 2 tbsp (320 g) wheat flour
- 1 tsp (4 g) baking powder
For Finishing
- Syrup made with 3 tbsp sugar mixed with 3 tbsp water
- Grated coconut, powdered milk, or sugar mixed with powdered cinnamon, to taste
Step-by-Step Preparation Method
1. Mix the Base Ingredients
We start by taking a large mixing bowl and adding the small box of cream, one whole egg, two tablespoons of sugar, a pinch of salt, and one tablespoon of butter or margarine (or 3 tablespoons of oil). Using a whisk, we mix these ingredients thoroughly until they are well combined and smooth.
2. Incorporate the Wheat Flour
Next, we add the first cup of wheat flour to the mixture, whisking again to ensure it is fully integrated. Gradually, we incorporate the second cup of flour, continuing to mix. As the mixture thickens, we slowly add the final half cup plus 2 tablespoons of flour. At this stage, the dough will become quite heavy, so we switch to a spoon to mix it thoroughly.
3. Achieve the Right Dough Consistency
The ideal consistency for this dough is one that can be removed from the bowl without sticking to our hands. If the dough is too sticky, we can add a little more flour as needed. Once we achieve the right texture, we add one teaspoon of baking powder, mixing and kneading with our hands until the dough is slightly sticky but manageable.
4. Shape the Dumplings
To form the dumplings, we grease our hands with a little oil, then take a portion of the dough and shape it into small balls or ovals. We place the shaped dumplings in a greased rectangular baking pan, ensuring there is enough space between each one for expansion during baking. We repeat this process until all the dough is shaped and placed in the pan.
5. Bake the Rain Cakes
We preheat our oven to 200°C (392°F) and then bake the dumplings for about 35 minutes. In the last 10 minutes of baking, we increase the temperature to 250°C (482°F) to achieve a lovely golden brown color on top. If our oven has a broiler function, we can use it during this time instead of increasing the temperature.
6. Prepare the Syrup
While the cakes are baking, we can prepare the syrup. In a small saucepan, we mix 3 tablespoons of sugar with 3 tablespoons of water, stirring over low heat until the sugar dissolves completely. This syrup will add a delicious glaze to our baked cakes.
7. Finish and Serve
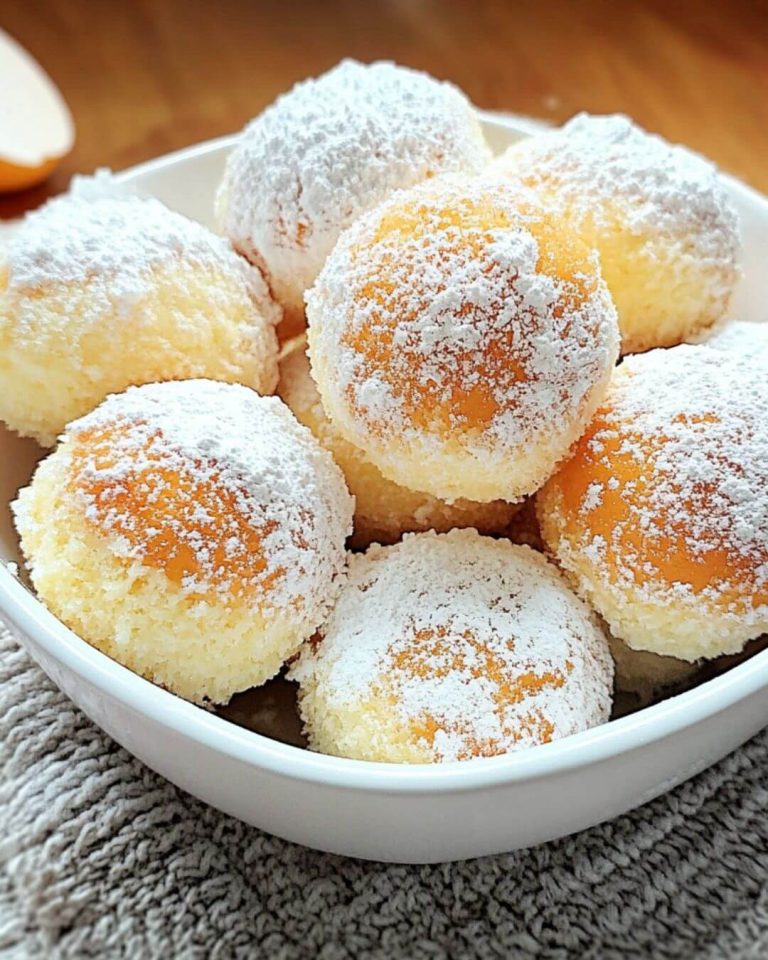
Once the rain cakes are baked to perfection, we remove them from the oven and let them cool for a few minutes. After cooling, we dip each cake into the syrup, allowing any excess to drip off. Then, we roll them in a bowl filled with grated coconut, powdered milk, or a mix of sugar and cinnamon powder.
Finally, we transfer the beautifully coated rain cakes to a serving dish, ready to be enjoyed.
Conclusion
Baked Rain Cake is a delightful treat that offers a soft, fluffy texture and a hint of sweetness. This easy-to-make recipe is perfect for any occasion, providing a comforting and satisfying snack that everyone will love. Whether enjoyed on its own or with a cup of coffee or tea, these rain cakes are sure to brighten your day. Serve them warm and watch as your loved ones savor each bite!