Homemade bread has become increasingly popular on blogs and social media recently, thanks to its comforting aroma and delightful texture straight from the oven. There’s something incredibly fulfilling about crafting your own bread, and I remember the first time I baked a loaf; the smell wafting through my home was almost magical. As you knead the dough and watch it rise, you gain an appreciation for the artistry and love that goes into every loaf. This recipe delivers a simple yet rewarding process that gives great results, perfect for beginner and experienced bakers alike. By the end, you’ll have a warm, crusty loaf ready to slice and serve with butter or as a base for your favorite sandwich.
Why You’ll Love This Recipe
- Easy Ingredients: Made with simple pantry staples, no bread machine required.
- Flexible Timing: The dough can rise according to your schedule, making it adaptable to busy days.
- Freshness Guaranteed: Enjoy the wonderful taste of fresh-baked bread without preservatives.
- Baking Fun: Perfect for families to gather around, everyone can help shape the dough.
- Satisfying Texture: The crust is perfectly crisp, while the interior remains soft and chewy.
Ingredients
- 2 cups (480 ml) cold water
- 1 teaspoon (3 g) dry yeast
- 5 cups (600 g) all-purpose flour, plus extra for dusting
- 1 teaspoon (6 g) salt
- 1 teaspoon (5 ml) vegetable oil
Ingredient Notes
- Flour: Using all-purpose flour provides a good balance of structure and tenderness. For heartier bread, consider using whole wheat or bread flour.
- Yeast: Ensure your dry yeast is fresh for optimal rise. You can also substitute with active dry yeast; just let it bloom in the water for about 5 minutes before mixing in the flour.
- Vegetable Oil: This adds moisture and slight flavor; however, olive oil can be a delightful substitute.
Kitchen Tools Needed
- Large mixing bowl
- Wood spoon or dough spatula
- Clean surface for kneading
- Plastic wrap or a clean kitchen towel
- Baking sheet lined with parchment paper
Step-by-Step Instructions
- In a large mixing bowl, combine 2 cups of cold water with 1 teaspoon of dry yeast. Stir gently until the yeast dissolves.
- Gradually mix in 5 cups of flour using a wooden spoon until a shaggy dough forms.
- Add 1 teaspoon of salt and knead the dough on a lightly floured surface for 7-8 minutes, until smooth and elastic. The dough should feel slightly tacky but not sticky.
- Place the dough in a greased bowl (using the teaspoon of vegetable oil) and cover it with plastic wrap or a damp kitchen towel. Let it rise in a warm place until it doubles in size, about 1-3 hours depending on the room temperature.
- Once risen, punch the dough down gently to release air. Divide it into 6 equal portions, shaping each into a ball. Let them rest for 10 minutes, covered with a cloth.
- Preheat the oven to 220°C (425°F) and lightly grease a baking tray.
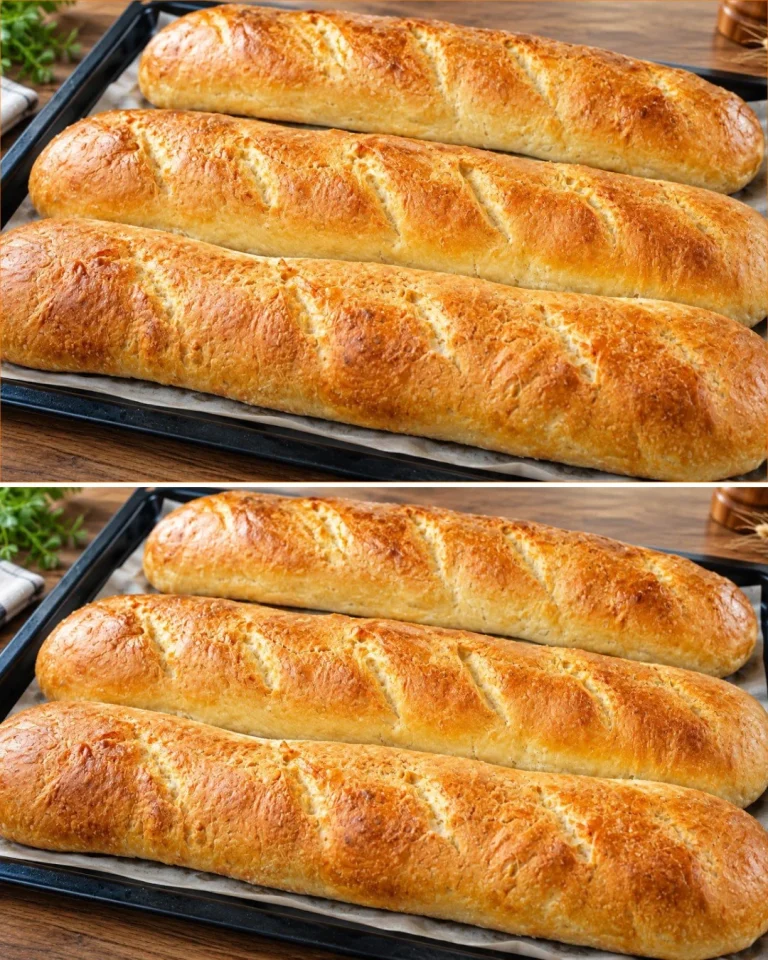
- Roll out each dough ball, folding it gently into a loaf shape. Pinch the seams to seal, and place the shaped loaves on the prepared baking tray. Cover with a food-safe bag and let rise for an additional 15 minutes.
- Before baking, score the tops of each loaf with a sharp knife and brush lightly with water. Bake for about 25 minutes or until golden brown.
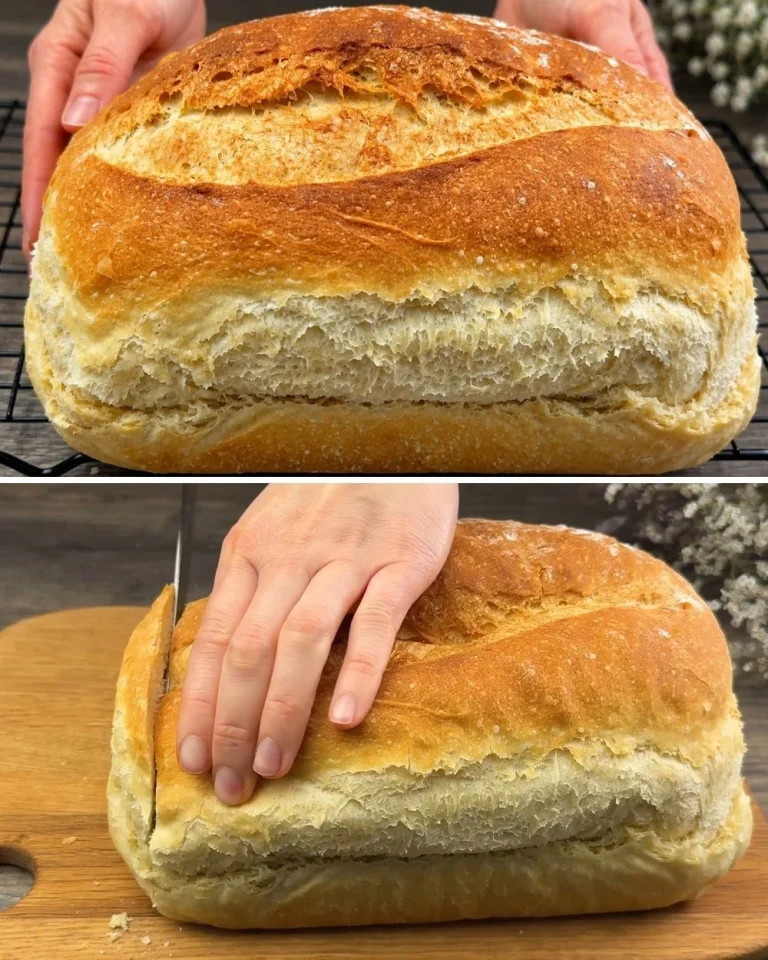
- Remove from the oven and allow to cool on a wire rack before slicing.
Pro Tips
- Use cold water to slow down the yeast’s activity for better flavor development.
- Don’t skip the resting times! They are crucial for gluten development and bread structure.
- Ensure your hands and work surface are greased when handling the dough to prevent sticking.
Common Mistakes to Avoid
- Under-Kneading: Properly knead the dough to develop gluten; it should be smooth and elastic by the end.
Variations
- Herb and Cheese Bread: Mix in 1 tablespoon of dried herbs (like rosemary or thyme) and 1 cup of shredded cheese for extra flavor.
- Whole Grain Bread: Substitute half of the all-purpose flour with whole wheat flour for a nuttier taste and added nutrition.
- Sweet Bread: Add 2 tablespoons of sugar and 1 teaspoon of vanilla extract for a subtly sweet flavor.
Serving Suggestions
Serve slices warm with butter, use as a sandwich base, or toast for a delightful breakfast alongside your favorite jam.
Storage Instructions
Store leftover bread at room temperature for up to 3 days in a bread box or wrapped in a kitchen towel.
Reheating Tips
To refresh stale bread, wrap in foil and heat in a preheated oven at 350°F (175°C) for about 10 minutes.
Nutrition Estimate
Approximately 150 calories per slice, with 4 g protein, 30 g carbs, 1.5 g fat.
Recipe Summary Card
- Prep Time: 20 minutes
- Cook Time: 25 minutes
- Total Time: 1 hour 15 minutes (plus rising time)
- Servings: 6 loaves
- Cuisine: American
- Course: Bread
- Calories: 150 (per slice)
Frequently Asked Questions
- Can I use whole wheat flour? Yes, just combine it with all-purpose flour to maintain the light texture.
- What if my dough doesn’t rise? Ensure your yeast is fresh and the dough is kept in a warm place.
- Can I freeze the loaves? Yes! Once cooled, wrap tightly and freeze for up to 3 months.
- How long does the bread last? It stays fresh for about 3 days at room temperature, or longer in the freezer.
Conclusion
This homemade bread recipe opens the door to endless possibilities and flavor combinations. Whether you’re enjoying the warm slices alone or sharing with friends and family, the satisfaction of making your own bread is truly unparalleled.
Tested Note
I tested this recipe again and discovered that allowing the dough to rise longer when it’s a bit chilly out really enhances the flavor development, making the bread taste even better!
Homemade Bread

This homemade bread recipe delivers a simple yet rewarding process, resulting in a warm, crusty loaf that is perfect for sandwiches or enjoying with butter.
Main Ingredients
- 2 cups cold water
- 1 teaspoon dry yeast (Ensure your dry yeast is fresh for optimal rise.)
- 5 cups all-purpose flour (Using all-purpose flour provides a good balance of structure and tenderness.)
- 1 teaspoon salt
- 1 teaspoon vegetable oil (Adds moisture and slight flavor; can substitute with olive oil.)
Preparation
- In a large mixing bowl, combine 2 cups of cold water with 1 teaspoon of dry yeast. Stir gently until the yeast dissolves.
- Gradually mix in 5 cups of flour using a wooden spoon until a shaggy dough forms.
- Add 1 teaspoon of salt and knead the dough on a lightly floured surface for 7-8 minutes, until smooth and elastic.
- Place the dough in a greased bowl (using the teaspoon of vegetable oil) and cover it with plastic wrap or a damp kitchen towel. Let it rise in a warm place until it doubles in size, about 1-3 hours depending on the room temperature.
- Once risen, punch the dough down gently to release air. Divide it into 6 equal portions, shaping each into a ball. Let them rest for 10 minutes, covered with a cloth.
Baking
- Preheat the oven to 220°C (425°F) and lightly grease a baking tray.
- Roll out each dough ball, folding it gently into a loaf shape. Pinch the seams to seal, and place the shaped loaves on the prepared baking tray. Cover with a food-safe bag and let rise for an additional 15 minutes.
- Before baking, score the tops of each loaf with a sharp knife and brush lightly with water. Bake for about 25 minutes or until golden brown.
- Remove from the oven and allow to cool on a wire rack before slicing.
Use cold water to slow down the yeast’s activity for better flavor development. Don’t skip the resting times; they are crucial for gluten development and bread structure.