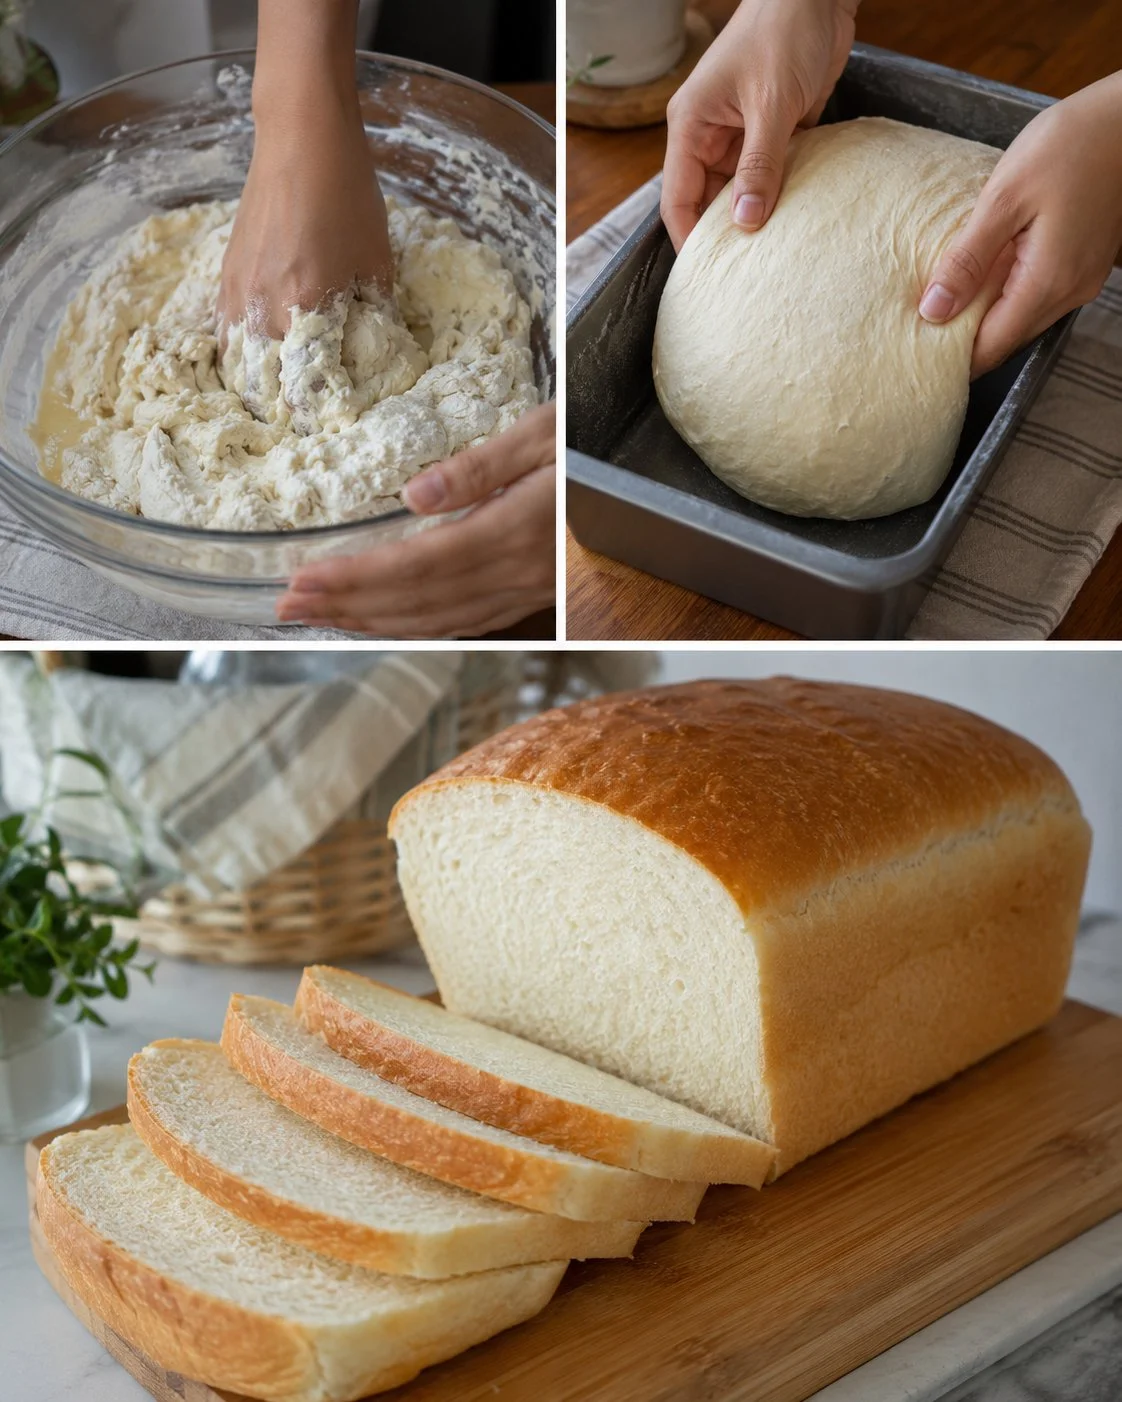
This whole-week sandwich bread is the kind of practical, no-fuss loaf that makes weekday meals easier: it slices cleanly for lunches, toasts well for breakfast, and holds up to hearty fillings without turning gummy. It’s made with bread flour (so you get that springy structure), a touch of honey for gentle sweetness and browning, and a straightforward yeast rise. Nutrition-wise, it’s a refined-flour bread with a moderate carb load—great for everyday eating, but not something to mindlessly graze on if you’re watching blood sugar or trying to increase fiber.
If you like baking once and being set for several days, this recipe is for you. The dough is pleasantly easy to handle once it’s kneaded—smooth, elastic, and only lightly tacky—and it bakes into two reliable loaves (one for now, one to freeze). And if you ever want a cozy way to use up a few extra slices later in the week, this savory bread bake idea is a handy next step.
Why This Recipe Is Helpful
- Makes two loaves, so you can freeze one and avoid midweek store runs.
- Soft but sturdy crumb that works for sandwiches, toast, and grilled cheese.
- Simple pantry ingredients—no dairy, no eggs, no fancy add-ins required.
- Honey helps with color and flavor without making the bread “sweet.”
- A stand mixer keeps it low-effort, but the dough is also workable by hand.
- Budget-friendly way to get consistent bread for the week.
Who This Recipe Is Best For
This is great for home cooks who want a dependable sandwich loaf that fits into real life: school lunches, quick breakfasts, soup nights, and “what can I make with what I have” dinners. It’s also a nice choice if you prefer breads without butter or milk but still want a soft interior and a thin, sliceable crust.
Who Should Be Careful
Because this loaf uses bread flour (refined wheat flour) and includes a small amount of honey, it’s relatively high in carbohydrates and lower in fiber than whole-grain bread. If you’re managing blood sugar, aiming for higher fiber, or limiting refined grains, you may want smaller portions, a whole-grain blend (see swaps below), or to pair it with protein/fat (like eggs, nut butter, tuna salad) to make it feel more balanced. Anyone with gluten intolerance or wheat allergy should avoid it.
Ingredients
- Bread flour — 8 cups (1,000 g)
- Lukewarm water (about 100–110°F / 38–43°C) — 2 1/2 cups minus 1 tablespoon (585 ml)
- Honey — 2 teaspoons (14 g)
- Instant dry yeast — 2 tablespoons (19 g)
- Salt — 3 generous pinches (about 2–3 teaspoons / 12–18 g, to taste)
Ingredient Notes
- Bread flour: This is what gives the loaf its chew and strength for sandwiches. All-purpose flour can work, but the bread may be a little less tall and slightly more tender.
- Water temperature matters: Lukewarm helps yeast get going without killing it. If your water feels hot to the touch, let it cool a bit.
- Honey: You won’t taste “honey bread,” but it helps yeast activity and gives better browning. Sugar works as a substitute if that’s what you have.
- Salt: The “pinch” measurement is vague, so I recommend starting at 2 teaspoons (12 g) and adjusting next bake if you want it saltier.
Kitchen Tools Needed
- Stand mixer with dough hook (or a large bowl and your hands)
- Measuring cup/jug and spoons (or kitchen scale)
- Small bowl (for blooming yeast)
- 2 loaf pans (9×5 in / 23×13 cm) or 2 baking sheets for free-form loaves
- Clean kitchen towel or plastic wrap
- Wire rack
Step-by-Step Instructions
- Activate the yeast (quick bloom). In a small bowl, stir the instant yeast and honey with a splash of the lukewarm water (just enough to make it creamy). Let it sit about 5 minutes until it looks foamy or visibly active.
- Mix dry ingredients. Add the bread flour to your stand mixer bowl. Sprinkle in the salt and mix briefly to distribute it so you don’t get salty pockets.
- Add liquids. Pour in the remaining lukewarm water, then add the yeast-honey mixture.
- Knead until smooth. Knead with the dough hook for about 5 minutes. The dough should look smooth and elastic and feel slightly tacky but not sticky.
- If it’s sticking heavily to the bowl and your fingers, add flour 1 tablespoon at a time.
- If it looks dry or shaggy, add water 1 tablespoon at a time.
- First rise. Cover the bowl and let the dough rise in a warm spot for about 40 minutes, or until doubled. (If your kitchen runs cool, it may take closer to 60 minutes.)
- Shape. Punch down gently, then divide into two equal pieces. Shape each into a tight loaf: flatten slightly, roll into a log, and pinch the seam closed.
- Second rise. Place into greased loaf pans (or seam-side down on a lined baking sheet). Cover and let rise 20–30 minutes, until puffy and the dough slowly springs back when lightly pressed.
- Bake. Heat the oven to 390°F (200°C). Bake for about 25 minutes, until golden and the loaves sound hollow when tapped underneath. If you have a thermometer, the center should read about 190–200°F (88–93°C).
- Cool before slicing. Cool on a wire rack at least 45 minutes. Slicing too early can make the crumb gummy, even if the crust looks perfect.
Pro Tips
- Watch the dough, not the clock. Rising time changes with room temperature; doubled and puffy is the real cue.
- Tight shaping = better sandwich slices. A snug roll helps avoid big tunnels inside.
- For a softer crust, brush the hot loaves lightly with water or a tiny bit of oil when they come out of the oven.
- For neater slices, let the bread cool fully, then slice with a serrated knife using gentle sawing motions.
- Freeze the second loaf early. If you won’t finish it in 2–3 days, freezing while fresh tastes better than “saving it” on the counter.
Healthier or Lighter Swaps
- Add some whole grains (gradually): Replace 2 cups (250 g) of bread flour with whole wheat flour to bump fiber. You may need an extra 2–4 tablespoons (30–60 ml) water.
- Reduce the honey slightly: You can drop to 1 teaspoon—browning will be a little lighter, but it still works.
- Smaller portions, better balance: Make open-faced sandwiches and pile on protein (turkey, eggs, beans) and veggies to keep the meal more filling.
- Boost seeds (optional): Mix in 2–3 tablespoons (20–30 g) sesame or flax for texture (flax adds a bit of fiber). The loaf will be slightly denser.
Common Mistakes
- Using too-hot water, which can slow or kill yeast activity and lead to a dense loaf.
- Adding too much flour during kneading. A slightly tacky dough bakes up softer; too much flour can make it dry.
- Under-rising the second proof, which can cause tearing along the sides and a tight crumb.
- Slicing while warm, which compresses the crumb and makes it feel gummy.
Variations
- Dinner roll version: Divide into 12–16 rolls, rise until puffy, bake at 390°F (200°C) for 12–15 minutes.
- Herb loaf: Knead in 1–2 teaspoons dried Italian herbs (keep it modest so it still works for sandwiches).
- Seeded crust: Brush the shaped loaves with water before the second rise and sprinkle with sesame or poppy seeds.
- Honey-oat topping: Brush with a little water and press on a thin layer of rolled oats before baking (rustic look, light crunch).
Serving Suggestions
- Classic: turkey/cheese with mustard and crunchy lettuce.
- Breakfast: toast with peanut butter or tahini and banana; or avocado with a boiled egg.
- Alongside: hearty soups, lentil stew, or a big salad (a good way to balance a bread-forward meal).
- Quick dinner: grilled cheese plus tomato soup—simple, always welcome.
Storage Instructions
- Store cooled bread in a bread bag or airtight container at room temperature for 2–3 days.
- For longer storage, slice and freeze up to 2 months. (Slicing before freezing makes it easy to grab what you need.)
Reheating Tips
- From frozen: toast slices straight from the freezer.
- To refresh a whole loaf: warm in a 325°F (165°C) oven for 10–12 minutes. Let it cool a few minutes before slicing so it doesn’t crumble.
Nutrition Estimate
Per serving (1 slice, assuming 24 slices total across