
Rustic Homemade Seed Bread: A Hearty Delight
Introduction
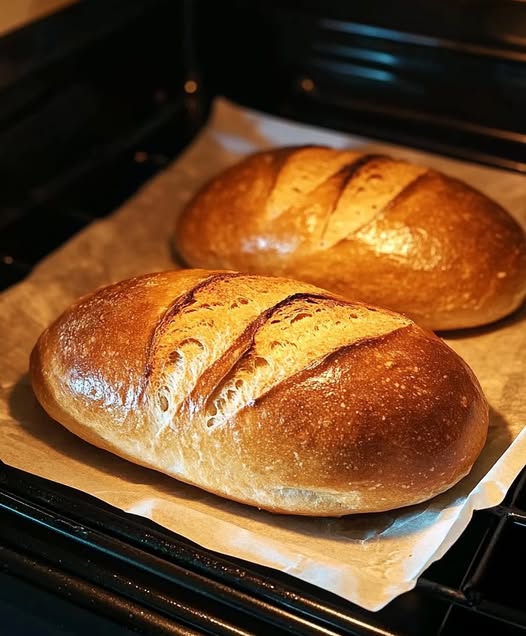
There’s something magical about the aroma of freshly baked bread wafting through your home. Our Rustic Seed Bread brings together the nutty flavors of assorted seeds with the wholesome goodness of rye and wheat flours, creating a loaf that’s both nutritious and delicious. This no-fuss recipe yields a hearty, dense bread with a delightfully crunchy crust and a tender interior studded with seeds. Whether enjoyed with a bowl of soup, spread with butter for breakfast, or as the foundation for a hearty sandwich, this versatile loaf is sure to become a staple in your baking repertoire. The beauty of this bread lies in its simplicity—minimal hands-on time with maximum flavor payoff!
Ingredients
- 400ml warm water (approximately 110°F/45°C)
- 250g rye flour
- 250g wheat flour
- 1 tablespoon sugar
- 1 packet dry yeast (7g or 2¼ teaspoons)
- 100g mixed seeds (combination of sunflower seeds, flax seeds, sesame seeds, pumpkin seeds)
- 1 teaspoon salt
- Additional seeds for topping (optional)
- Small amount of oil or butter for greasing the baking tray
Instructions
Step 1: Prepare Your Ingredients
- Ensure your water is warm but not hot (approximately 110°F/45°C) to properly activate the yeast without killing it.
- Measure out all dry ingredients and have them ready.
- Lightly grease a baking tray or line it with parchment paper.
Step 2: Mix the Dough
- In a large mixing bowl, combine the rye flour, wheat flour, sugar, dry yeast, mixed seeds, and salt.
- Briefly mix the dry ingredients to distribute everything evenly.
- Pour in the warm water.
- Using a dough hook attachment on your mixer, mix on high speed for approximately 3 minutes until well combined. The dough will be somewhat sticky and not as firm as traditional bread dough.
Step 3: Shape the Bread
- Transfer the dough onto your prepared baking tray.
- Using wet hands (to prevent sticking), shape the dough into an oval or rectangular loaf, about 2 inches (5cm) thick.
- Smooth the surface with wet hands or a wet spatula.
- If desired, sprinkle additional seeds on top, gently pressing them into the surface so they adhere.
- Using a sharp knife or bread lame, score the top of the loaf lengthwise with a cut about 1cm (½ inch) deep. This helps the bread expand properly during baking.
Step 4: Bake the Bread
- Place the baking tray with the dough in the center of your cold (non-preheated) oven.
- Set the oven temperature to 191°C (375°F) with heat from both top and bottom elements.
- Bake for one hour, until the bread is golden brown and sounds hollow when tapped on the bottom.
- Remove from the oven and transfer to a wire rack to cool completely before slicing.
Nutritional Information
Per Slice (based on 12 slices per loaf):
- Calories: 175 kcal
- Protein: 5g
- Carbohydrates: 30g
- Fiber: 3g
- Fat: 4g
- Sodium: 200mg
- Iron: 1.5mg
- Calcium: 20mg
Preparation Time: 10 minutes Rising Time: None (this is a no-rise bread) Baking Time: 60 minutes Total Time: 1 hour 10 minutes Servings: 1 loaf (approximately 12 slices)
Cooking Tips and Tricks
- Water Temperature: The water should be warm to the touch but not hot—aim for 110°F (45°C). Too hot will kill the yeast, while too cold won’t activate it properly.
- Seed Variations: Feel free to customize your seed mixture. Pumpkin seeds, chia seeds, poppy seeds, and even chopped nuts can work well in this recipe.
- Dough Consistency: This dough is wetter than traditional bread dough. If it seems too dry, add a tablespoon of water at a time; if too wet, add a tablespoon of flour.
- No Kneading Required: This bread doesn’t need extended kneading or rising time, making it perfect for busy days.
- Scoring the Bread: The lengthwise cut allows steam to escape and helps the bread expand evenly. Make sure your knife is sharp to create a clean cut.
- Cold Oven Start: Starting in a cold oven creates a gradual rise in temperature that works particularly well with this dense, seed-filled dough.
- Testing for Doneness: The bread should be golden brown and sound hollow when tapped on the bottom. If it’s browning too quickly but isn’t done inside, cover loosely with foil.
Variations and Substitutions
- Flour Alternatives: Replace part of the wheat flour with whole wheat flour for extra nutrition, or use spelt flour for a different flavor profile.
- Gluten-Free Option: Substitute the wheat and rye flours with a gluten-free all-purpose flour blend plus 1 teaspoon of xanthan gum. The texture will be different but still delicious.
- Herb Infusion: Add 1-2 tablespoons of dried herbs like rosemary, thyme, or oregano to the dough for an aromatic twist.
- Cheese Addition: Fold in 100g of grated hard cheese like Parmesan or aged cheddar for a savory variation.
- Honey Substitution: Replace the sugar with honey or maple syrup for a different sweetness profile.
- Sourdough Variation: Replace the dry yeast with 100g of active sourdough starter and reduce the water to 350ml.
- Individual Rolls: Instead of one large loaf, divide the dough into 12 portions and bake as rolls for approximately 30-35 minutes.
Common FAQs
Can I make this bread by hand if I don’t have a mixer with a dough hook?
Yes! Simply mix the ingredients in a large bowl with a wooden spoon until well combined, then proceed with shaping and baking as directed. The mixing might take 4-5 minutes by hand to achieve the same consistency.
Why doesn’t this bread need to rise before baking?
This particular bread is a “direct method” bread where the rising happens during baking. The yeast activates in the oven’s warmth, creating a rustic, dense texture that’s characteristic of many European-style seed breads.
How should I store this bread to keep it fresh?
Once completely cooled, store in a bread box or paper bag at room temperature for up to 3 days. For longer storage, slice the bread and freeze it in a freezer-safe bag for up to 3 months.
Can I use fresh yeast instead of dry yeast?
Yes, replace the packet of dry yeast with 15g of fresh yeast. Dissolve it in the warm water with the sugar before adding to the dry ingredients.
Why is my bread dense and heavy?
This is a naturally dense bread due to the rye flour and seeds. If it’s excessively heavy, you might need to adjust your flour-to-water ratio slightly or ensure your yeast is fresh and active.
Storage and Make-Ahead Tips
- Room Temperature: Store the completely cooled bread in a paper bag or bread box for up to 3 days. Avoid plastic bags as they can make the crust soft and encourage mold growth.
- Freezing: This bread freezes exceptionally well. Slice before freezing for convenience, then store in a freezer-safe bag with parchment paper between slices to prevent sticking. Freeze for up to 3 months.
- Refreshing: To refresh day-old bread, sprinkle with a little water and heat in a 300°F (150°C) oven for 5-10 minutes.
- Make-Ahead Dry Mix: Combine all the dry ingredients (except yeast) and store in an airtight container for up to one month. When ready to bake, just add the yeast and water.
- Toasting: This bread makes excellent toast. Slice it a bit thicker than usual for the best texture when toasted.
This Rustic Seed Bread is more than just a recipe—it’s an invitation to embrace the simple pleasure of homemade baking. With its nutritious blend of seeds and grains, straightforward preparation, and satisfying results, it’s perfect for both novice bakers and seasoned bread enthusiasts. Whether you’re serving it alongside a hearty stew, using it as the foundation for avocado toast, or simply enjoying a slice with butter and honey, this versatile loaf brings wholesome, rustic charm to your table. Happy baking!