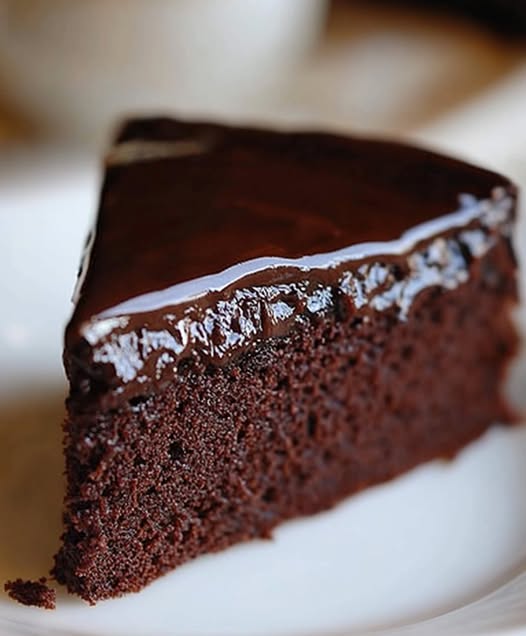
There’s something magical about a perfectly executed chocolate cake. Its rich aroma fills the kitchen, creating anticipation before the first bite even touches your lips. This classic chocolate cake recipe delivers everything chocolate lovers crave – a moist, tender crumb with deep chocolate flavor that manages to be both rich and light at the same time. Whether you’re celebrating a birthday, anniversary, or simply satisfying a chocolate craving, this cake stands as a testament to the simple pleasure of homemade baking.
Ingredients
- 1 1/2 cups all-purpose flour (180g / 6.3oz)
- 1 cup granulated sugar (200g / 7oz)
- 1/2 cup unsweetened cocoa powder (50g / 1.8oz)
- 1 teaspoon baking powder (4g)
- 1/2 teaspoon baking soda (2.5g)
- 1/2 teaspoon salt (3g)
- 2 large eggs, room temperature
- 1/2 cup milk (120ml / 4fl oz)
- 1/2 cup vegetable oil (120ml / 4fl oz)
- 1 teaspoon vanilla extract (5ml)
- 1 cup boiling water or hot coffee (240ml / 8fl oz)
Instructions
- Preheat your oven to 350°F (175°C). Grease a 9-inch (23cm) round cake pan, then line the bottom with parchment paper for easy removal. If you prefer, you can also dust the pan with cocoa powder instead of flour to avoid white residue on the finished cake.
- In a large mixing bowl, combine the dry ingredients: all-purpose flour, sugar, cocoa powder, baking powder, baking soda, and salt. Whisk thoroughly to ensure even distribution of the leavening agents.
- Add the eggs, milk, vegetable oil, and vanilla extract to the dry ingredients. Beat with an electric mixer on medium speed for about 2 minutes, or until the batter is smooth and well combined. The batter will be quite thick at this stage.
- Carefully add the boiling water or hot coffee to the batter. Mix on low speed until incorporated, then increase to medium speed for about 30 seconds. Note that the batter will become very thin – this is normal and creates the cake’s moist texture.
- Pour the batter into your prepared cake pan. Tap the pan gently on the countertop a few times to remove any large air bubbles.
- Bake in the preheated oven for 30-35 minutes, or until a toothpick inserted into the center comes out clean or with just a few moist crumbs attached. Avoid opening the oven during the first 25 minutes of baking to prevent the cake from sinking.
- Allow the cake to cool in the pan for 10 minutes. Run a butter knife around the edge of the pan to loosen the cake, then invert onto a wire cooling rack. Carefully peel off the parchment paper if used, and allow the cake to cool completely before frosting.
- Once cooled, frost with your favorite chocolate frosting if desired, or dust with powdered sugar for a simpler presentation.
Nutritional Information and Timing
Preparation Time: 15 minutes
Cooking Time: 30-35 minutes
Cooling Time: At least 1 hour
Total Time: Approximately 2 hours
Servings: 8-10 slices
Nutritional Information (per slice, unfrosted, based on 10 servings):
- Calories: 270
- Protein: 4g
- Carbohydrates: 36g
- Fiber: 2g
- Fat: 13g
- Saturated Fat: 2g
- Cholesterol: 40mg
- Sodium: 230mg
- Sugar: 21g
Cooking Tips and Tricks
- Room Temperature Ingredients: Allow eggs and milk to come to room temperature before mixing for a smoother batter and more even rising.
- Coffee Enhancement: Using hot coffee instead of water intensifies the chocolate flavor without adding coffee taste. The heat also helps “bloom” the cocoa powder, releasing more flavor compounds.
- Don’t Overmix: Once the flour is added, mix just until combined. Overmixing can develop gluten and result in a tougher cake.
- Pan Preparation: For easy removal, use parchment paper in the bottom of your pan and grease the sides well. For bundt pans, ensure every crevice is greased.
- Testing Doneness: A toothpick inserted in the center should come out clean or with a few moist crumbs (not wet batter). The cake should also spring back when lightly pressed in the center.
- Cooling Completely: Ensure the cake is completely cool before frosting to prevent the frosting from melting or the cake from crumbling.
- Even Baking: For perfectly even layers, use cake strips around your pans or reduce oven temperature to 325°F (165°C) and bake for slightly longer.
Variations and Substitutions
- Gluten-Free Version: Substitute the all-purpose flour with a 1:1 gluten-free flour blend. Add 1/4 teaspoon xanthan gum if your blend doesn’t already contain it.
- Dairy-Free Alternative: Replace milk with almond milk, soy milk, or coconut milk (the beverage, not canned).
- Reduced Sugar Option: Decrease sugar to 3/4 cup without significantly affecting texture. Consider adding a pinch of salt to enhance the remaining sweetness.
- Flavor Enhancers:
- Add 1 teaspoon of espresso powder to the dry ingredients
- Include 1/2 teaspoon of cinnamon for a Mexican chocolate variation
- Mix in 1 tablespoon of orange zest for a chocolate-orange flavor
- Add 1/4 teaspoon of almond extract along with the vanilla
- Mix-ins: Fold in 1/2 cup of mini chocolate chips, chopped nuts, or dried cherries before pouring the batter into the pan.
- Layer Cake Conversion: Double the recipe and divide between two 9-inch pans for a classic layer cake. Reduce baking time to 25-30 minutes.
Common FAQs
Q: Why is the cake batter so thin? Is that normal?
A: Yes, this is completely normal and actually key to the cake’s moist texture. The addition of hot water or coffee creates a thin batter that results in a tender crumb.
Q: Can I make this cake ahead of time?
A: Absolutely! The cake layers can be baked up to 2 days in advance. Wrap cooled layers tightly in plastic wrap and store at room temperature. For longer storage, freeze wrapped layers for up to 3 months.
Q: My cake sank in the middle. What went wrong?
A: This typically happens due to underbaking, opening the oven door too early, overmixing the batter, or inaccurate oven temperature. Use an oven thermometer and avoid opening the oven during the first 25 minutes of baking.
Q: Is Dutch-processed cocoa powder okay to use in this recipe?
A: This recipe is designed for natural cocoa powder. If using Dutch-processed, replace the combination of baking powder and baking soda with 1 1/2 teaspoons of baking powder only, as Dutch-processed cocoa isn’t acidic.
Q: Can this recipe be used for cupcakes?
A: Yes! This batter makes approximately 18-24 standard cupcakes. Fill liners 2/3 full and bake at 350°F (175°C) for 18-22 minutes. The thin batter may benefit from using sturdy cupcake liners or doubling up on regular ones.
Storage and Make-Ahead Tips
- Room Temperature Storage: Unfrosted cake can be stored at room temperature, wrapped in plastic wrap or in an airtight container, for up to 3 days.
- Refrigerator Storage: Frosted cake or cakes with perishable fillings should be refrigerated. Bring to room temperature before serving for the best flavor and texture.
- Freezing Instructions: For longer storage, freeze unfrosted cake layers:
- Cool completely
- Wrap each layer tightly in plastic wrap, then in aluminum foil
- Freeze for up to 3 months
- Thaw overnight in the refrigerator before frosting and serving
- Make-Ahead Timing: For special occasions, consider this timeline:
- 3 days ahead: Bake cake layers and freeze
- 1 day ahead: Prepare frosting and store in refrigerator
- Day of serving: Thaw cake layers, bring frosting to room temperature, assemble and frost
- Frosting Storage: If you make frosting separately, store in an airtight container in the refrigerator for up to 1 week. Bring to room temperature and beat briefly before using.
This chocolate cake recipe stands as a testament to the beauty of simple, well-executed baking. Rich in flavor yet light in texture, it’s versatile enough for everyday enjoyment while special enough for celebrations. The straightforward preparation belies the impressive results – a tender, moist cake that satisfies chocolate cravings and creates sweet memories with every slice.