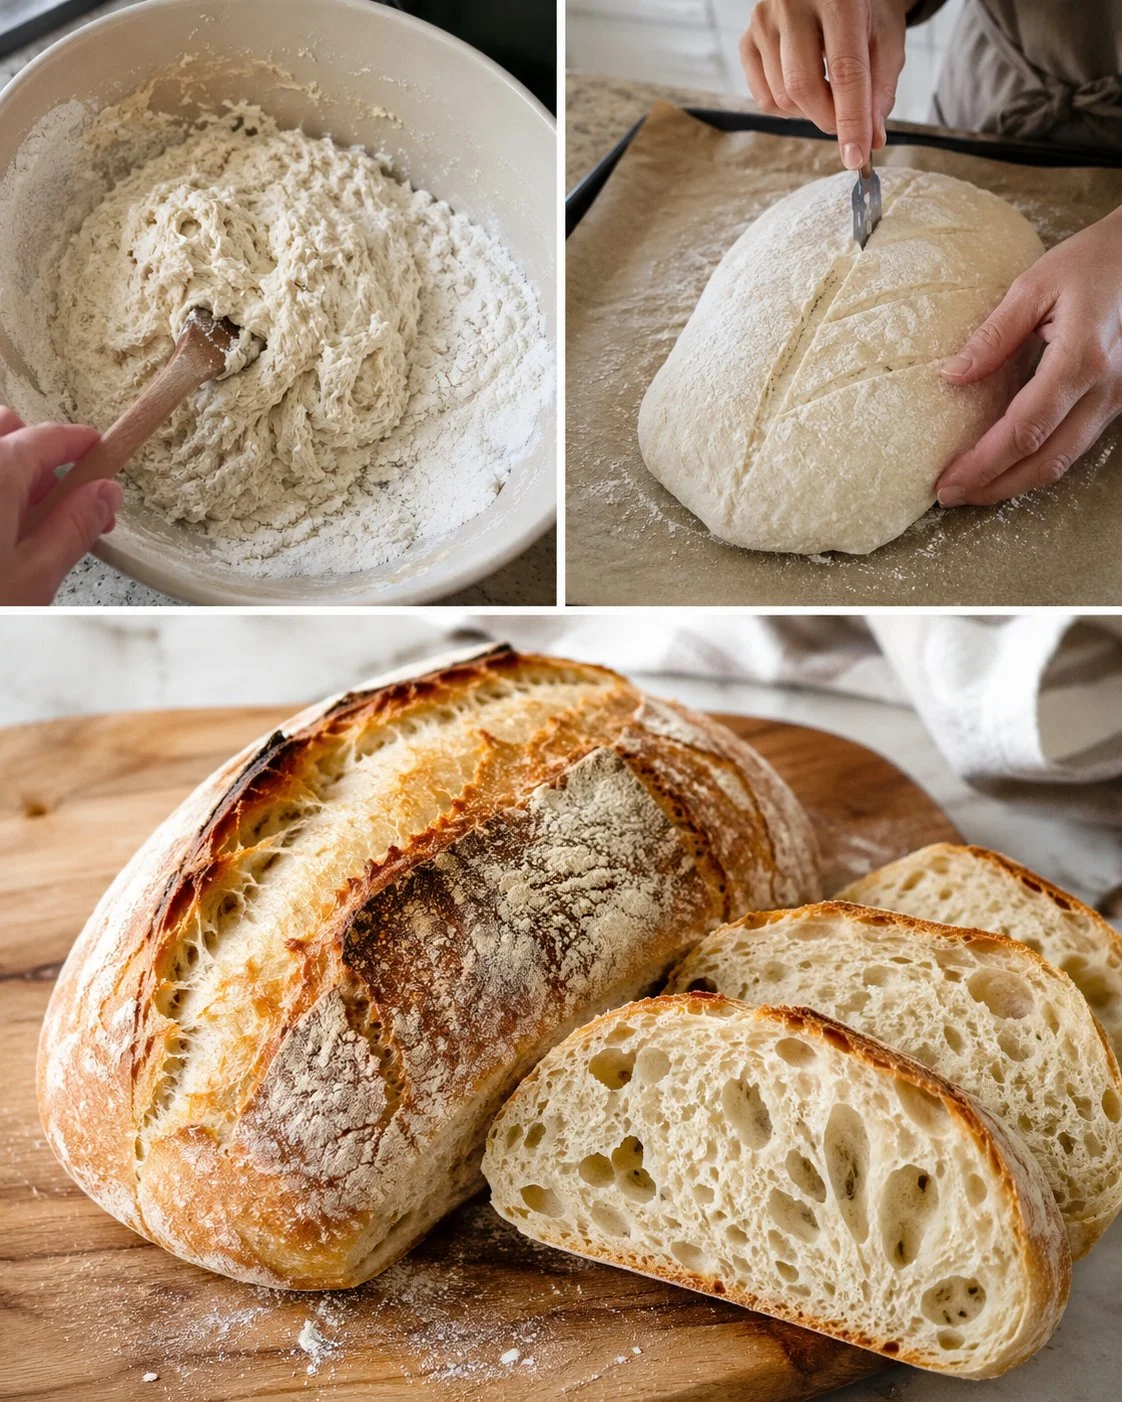
If you want homemade bread with a crackly crust and a soft, fluffy middle—but you don’t want to knead for 10 minutes—this no-knead crusty white bread is the kind of recipe that earns a permanent spot in your routine. It uses simple pantry ingredients (water, yeast, flour, salt, and a touch of sugar), and the folding method builds structure without hard work. Nutrition-wise, it’s classic white bread made with refined flour, so it’s best enjoyed as part of a balanced meal (think protein + veggies alongside), and it may not be ideal for people closely managing blood sugar.
This one is especially good for newer bakers who want a reliable rise and a bakery-style crust without special equipment. The dough is sticky at first—don’t fight it. A spatula plus wet hands for folding makes it manageable, and the short chill before baking helps the loaf hold its shape and score cleanly.
Why This Recipe Is Helpful
- No stand mixer needed—just a bowl and a spatula.
- Folding replaces kneading, so it’s easier on your hands and faster to learn.
- Two-temperature bake gives you a crisp crust without drying out the inside.
- Budget-friendly ingredients you likely already have.
- Great “everyday bread” for toast, sandwiches, soups, and weekend brunch.
- The chill step makes the dough easier to score and can improve the crust.
Who This Recipe Is Best For
This bread is a great fit for home cooks who want a simple yeast bread without complicated shaping or a sourdough starter. If you like a crusty loaf for dipping into soup, making garlic bread, or building a hearty sandwich, this delivers. It’s also family-friendly: mild flavor, soft interior, and it slices well once fully cooled.
If you enjoy this style of loaf, you may also like the slower-fermented approach in this no-knead overnight crusty bread guide, which leans on time (instead of extra handling) for flavor development.
Who Should Be Careful
- People managing blood sugar: This is made with all-purpose (refined) flour and includes a small amount of sugar to help yeast activity, so it may raise blood sugar more quickly than whole-grain breads.
- Anyone limiting sodium: There’s a full tablespoon of salt; you can reduce it slightly, but too little salt affects flavor and structure.
- Gluten-related needs: This is a wheat-based loaf and not suitable for gluten-free diets.
- Very sensitive digestion: Yeast breads can feel heavy for some people, especially if sliced while still warm (it can seem “gummy” and harder to tolerate).
Ingredients
- 2 1/2 cups warm water (600 ml), about 100–110°F (38–43°C)
- 1 tablespoon sugar (12–15 g)
- 2 1/4 teaspoons active dry yeast (8 g)
- 3 cups all-purpose flour (about 360 g; spooned and leveled)
- 1 tablespoon salt (15–18 g)
Ingredient Notes
- Warm water: If it’s too hot, it can weaken the yeast. Think warm bath water, not steaming.
- Sugar: This isn’t a “sweet bread.” The sugar mostly helps the yeast get moving quickly and supports browning.
- All-purpose flour: Keeps the crumb soft and fluffy. If you measure by cups, spoon and level—packing flour into the cup can make the dough too stiff.
- Salt: Essential for flavor and dough strength. If you reduce it, don’t go lower than about 2 teaspoons (10–12 g) or the loaf can taste flat and rise oddly.
Kitchen Tools Needed
- Large mixing bowl
- Measuring cups/spoons or a kitchen scale
- Spatula or sturdy spoon
- Plastic wrap (or a reusable cover) and a towel
- Baking sheet
- Parchment paper
- Sharp knife or bread lame for scoring
- Cooling rack
Step-by-Step Instructions
- Bloom the yeast. In a large bowl, mix warm water and sugar until dissolved. Stir in the dry yeast. Cover and let stand for 5 minutes, until the surface looks foamy or cloudy.
- Add flour in batches. Sift (or whisk) about 1 cup (120 g) flour to break up lumps, then stir it into the bowl. Add the remaining flour in a second batch and mix until you have a sticky, thick dough.
- Add salt and mix well. Sprinkle in the salt and mix thoroughly with a spatula, scraping the bowl, until no dry streaks remain. The dough should look shaggy and sticky, but evenly combined.
- First rise (30 minutes). Cover the bowl with plastic wrap, then a towel. Let rise at room temperature for 30 minutes, until slightly puffed.
- Fold the dough (4–5 folds). Wet your hands (this prevents sticking). Lift one side of the dough and fold it over itself. Turn the bowl and repeat until you’ve done 4–5 folds. You’ll feel it tighten up a bit.
- Second rise (30 minutes). Lightly grease a clean bowl with a small amount of vegetable oil. Transfer the dough in, folding it over itself once or twice. Cover with plastic wrap and a towel, and let rise 30 minutes.
- Pre-shape and rest (10 minutes). Dust the counter with flour. Gently turn out the dough, keeping as much air in it as you can. Shape into a loose ball, cover, and let rest 10 minutes so it’s easier to form.
- Shape the loaf. Shape into a tighter round or an oval loaf (depending on your preference). Place on a parchment-lined baking sheet.
- Final rise + chill. Let the shaped dough rise 40 minutes at room temp. Then refrigerate 20 minutes—this firms it up for cleaner scoring and helps it keep height in the oven.
- Score and bake. Heat oven to 450°F (230°C). Score the top of the loaf with a sharp knife (one long slash or a cross). Bake 15 minutes at 450°F (230°C), then reduce heat to 350°F (180°C) and bake 20 minutes more, until deeply golden and the loaf sounds hollow when tapped underneath.
- Cool completely. Transfer to a rack and cool at least 1 hour before slicing. This finishes the crumb so it’s not gummy.
Pro Tips
- Use wet hands for folds: It’s the easiest way to handle sticky dough without adding lots of extra flour (extra flour can make the loaf dense).
- Don’t rush the cooling: The inside continues setting as it cools; slicing too early is the #1 reason bread seems underbaked.
- Go by look and sound: You want a deep golden crust and a hollow sound when tapped on the bottom.
- If your kitchen is cold: Let the dough rise in a turned-off oven with the light on for gentle warmth.
- For a thicker crust: Place an empty metal pan on the oven floor and add a splash of hot water right after loading the bread (carefully).
Healthier or Lighter Swaps
- Swap in some whole wheat flour: Replace up to 1 cup (120 g) of the all-purpose flour with whole wheat for more fiber and a heartier slice. Expect a slightly denser crumb.
- Reduce the salt slightly: If you’re watching sodium, try 2 to 2 1/2 teaspoons (10–15 g) instead of 1 tablespoon, knowing the loaf will taste less seasoned.
- Balance at serving time: Pair with protein (eggs, tuna, beans) and produce (salad, tomatoes, fruit) to make it a more filling, balanced meal.
Common Mistakes
- Water too hot (or too cold): Too hot can weaken yeast; too cold slows the rise so much the dough seems “dead.”
- Adding lots of extra flour while shaping: A little flour is fine, but too much makes the loaf tight and dry.
- Skipping the chill: It’s not mandatory, but it really helps scoring and oven spring, especially with wetter doughs.
- Slicing while warm: Leads to a gummy, compressed crumb even if the bread is fully baked.
Variations
- Seeded crust: Brush the loaf lightly with water before baking and sprinkle with sesame or poppy seeds.
- Garlic-herb loaf: Mix 1–2 teaspoons dried Italian herbs into the flour; serve with olive oil or soups.
- Mini loaves: Divide into two smaller loaves and start checking a little early during the second bake stage.
- Dinner rolls: Shape into 10–12 rolls; bake at 450°F (230°C) for about 10–12 minutes, then finish at 350°F (180°C) until golden.
Serving Suggestions
- Serve with soup, stew, or chili for an easy, cozy dinner.
- Toast slices and top with eggs, avocado, or nut butter for a more filling breakfast.
- For a balanced plate, pair bread with a protein (chicken, beans, lentils, tuna) and a big salad or roasted vegetables.
- Make simple bruschetta: toasted bread, chopped tomatoes, olive oil, salt, and basil.
Storage Instructions
- Store cooled bread at room temperature in a bread bag or wrapped in a clean towel for 1–2 days.
- For longer storage, slice and freeze in a freezer