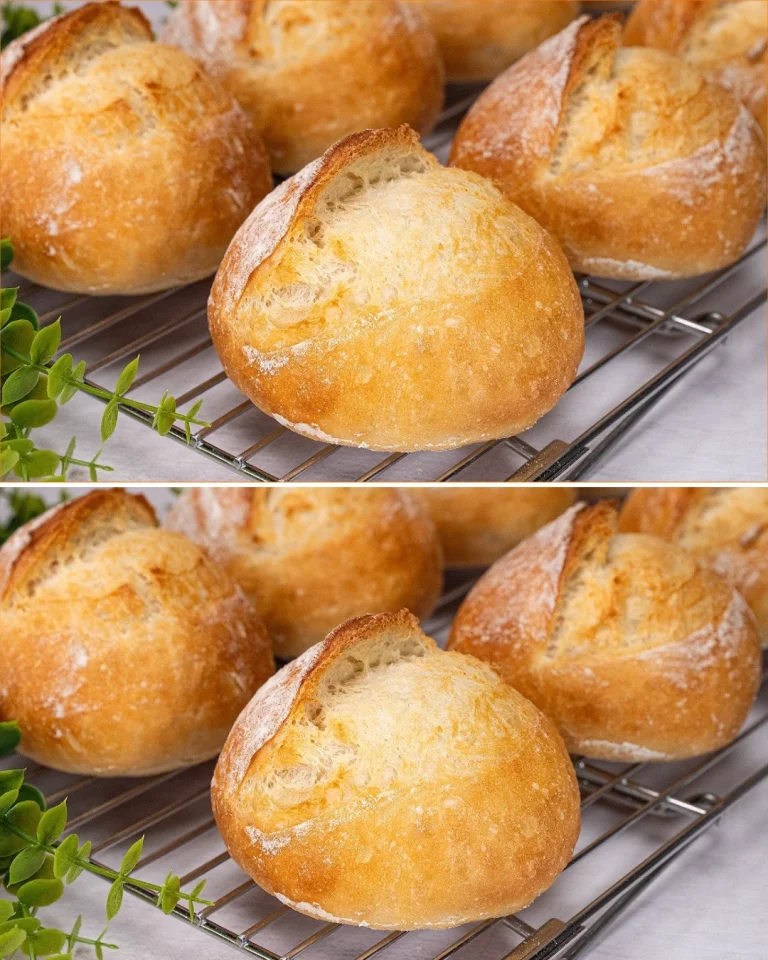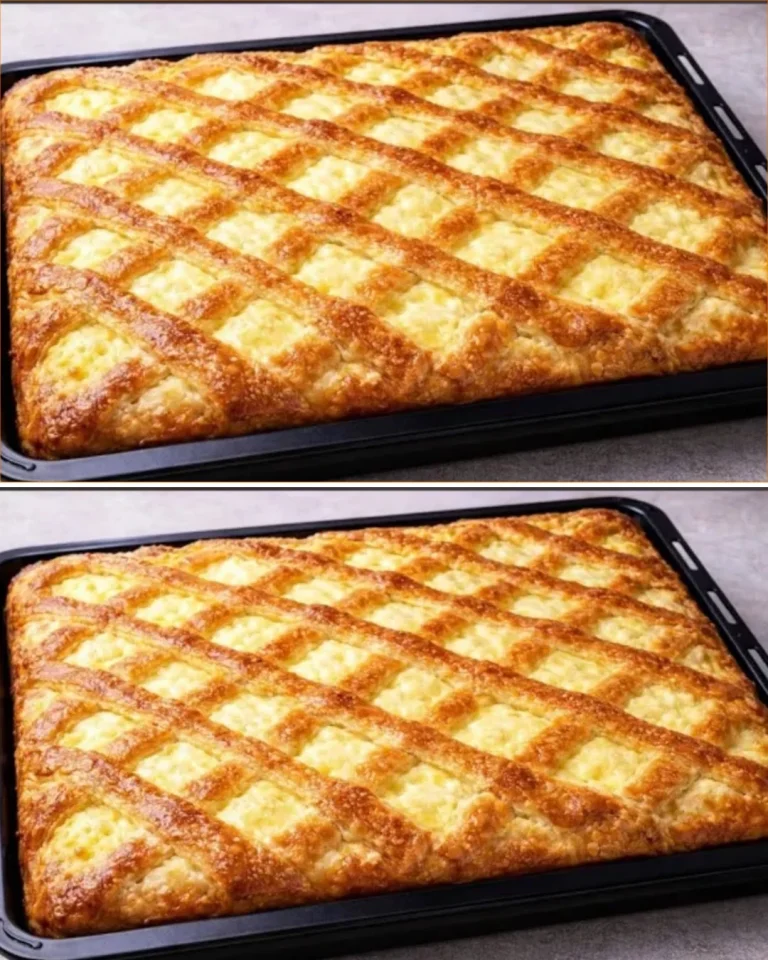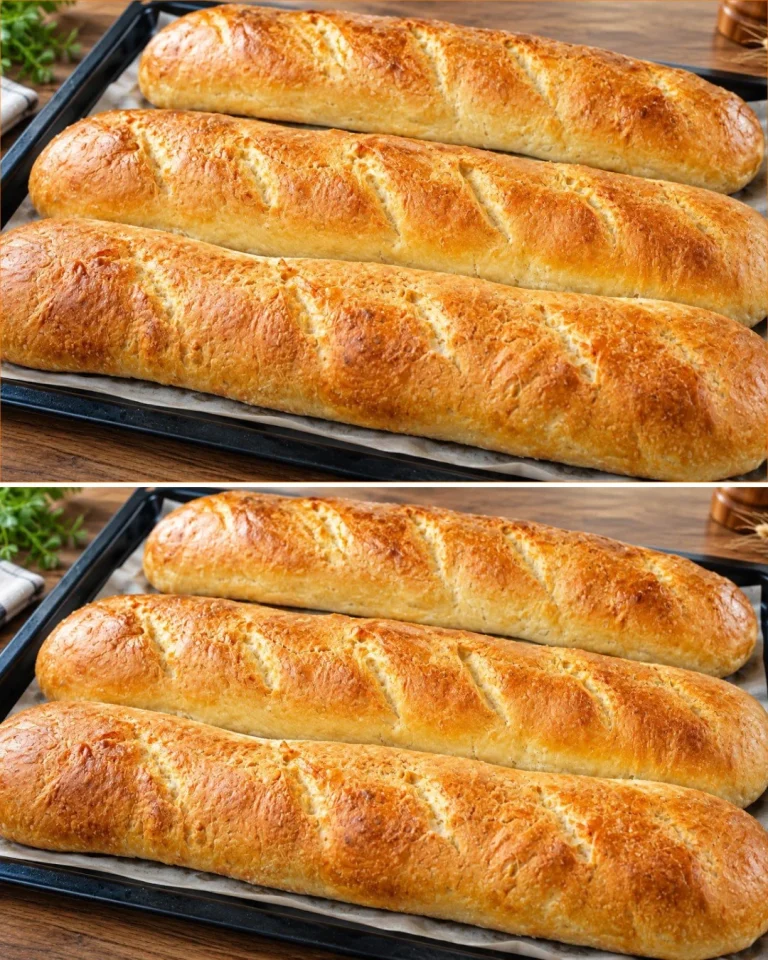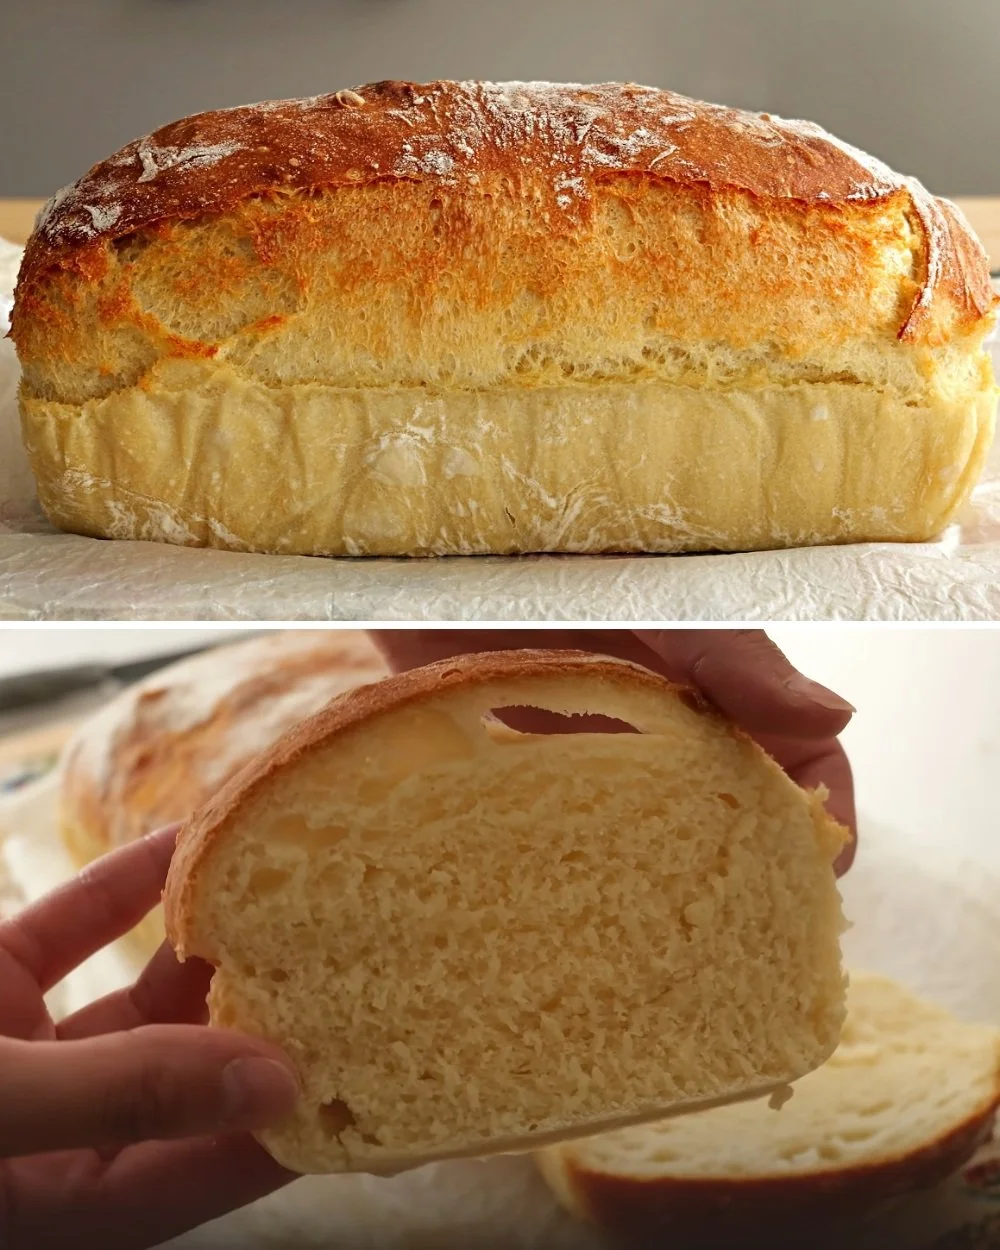
No-knead bread is a fantastic option if you want homemade bread without the fuss and time-consuming kneading process. It’s a simple dough made with just a handful of pantry staples that develops gluten through slow resting and gentle stretch-and-fold techniques. This approach yields a tender crumb and a crispy crust, ideal for everyday sandwiches, toast, or alongside soups and stews. Because it relies on all-purpose flour and sugar for yeast activation, it’s an accessible recipe that balances convenience with good flavor and texture. One note of caution: this bread is made with refined flour and sugar, so it’s best enjoyed in moderation by those mindful of blood sugar or refined carb intake.
This recipe suits home cooks who want a straightforward process that’s not time-pressured but still results in fresh bread. It’s perfect for those who like to prepare dough in stages, allowing the bread to develop a lovely open structure without constant attention. The slightly wet, sticky dough can feel unfamiliar at first, but the stretch-and-fold step helps build strength gently. For best results, use warm water and give the dough its full resting periods. You might also appreciate experimenting with a steam bath in the oven to get bakery-quality crust at home, a technique explained well in an excellent simple no-knead crispy bread recipe I recommend checking out alongside this method.
Why This Recipe Is Helpful
- Requires minimal hands-on time with no vigorous kneading, great for busy homemade cooks.
- Uses common ingredients you likely already have, making it budget-friendly.
- The stretch-and-fold technique strengthens dough naturally, improving texture.
- Produces a crusty exterior with a soft, airy interior – balances crispness and chew.
- Can be adapted for various uses, from sandwiches to dipping bread.
- The stepwise resting makes it flexible for scheduling your baking.
Who This Recipe Is Best For
This recipe is ideal for people who want fresh homemade bread but don’t want the time or effort traditional kneading demands. Beginners will find the method approachable, and those who like baking with natural processes over mechanical mixing will appreciate the hands-off development. Families benefit from this bread’s versatility on the table, whether as part of breakfast, lunch, or dinner. It’s also great for cooks interested in experimenting with rustic-style breads without specialty equipment.
Who Should Be Careful
Because this bread features refined all-purpose flour and added sugar, it’s not the best choice for individuals managing blood sugar or seeking low-carb options. The sugar quantity is moderate but does contribute to overall carb load. Additionally, those with gluten intolerance or sensitivity should avoid this recipe, as it relies on wheat flour for structure. People seeking higher fiber or whole grain baking might consider incorporating whole wheat flour, keeping in mind adjustments to hydration and rising times.
Ingredients
- 3 cups (375 g) all-purpose flour
- 1 ½ cups (360 ml) warm water (about 100°F / 38°C)
- 1 tablespoon (15 ml) vegetable oil
- 2 teaspoons (7 g) instant yeast
- 2 ½ teaspoons (10 g) granulated sugar
- 1 teaspoon (6 g) salt
Ingredient Notes
Instant yeast is preferred here because it activates quickly and reliably without proofing—meaning you just mix it right into the dry ingredients. Vegetable oil adds a tender crumb and helps with moisture retention; you can substitute a mild olive oil but avoid strong-flavored oils. Warm water temperature is important: too hot can damage the yeast, too cool slows fermentation. Sugar is key to jump-starting yeast, but you can reduce it slightly for a less sweet crust. Salt not only flavors but controls yeast activity to prevent overproofing.
Kitchen Tools Needed
- Large mixing bowl with a lid or plastic wrap
- Spatula or wooden spoon
- Measuring cups and spoons
- Flour sifter or sieve (optional but helpful)
- Baking pan (about 9 x 5 inches or 23 x 13 cm) lined with parchment paper
- Oven-safe dish or pan for steaming water
- Kitchen towel or plastic wrap for covering dough
Step-by-Step Instructions
- Make the dough: Combine all ingredients in a large bowl and mix with a spatula until fully incorporated. The dough will be wet, sticky, and a bit loose — this consistency is normal and important for a good crumb.
- First rest: Cover the bowl with a lid or plastic wrap and let the dough rest at room temperature for 20 minutes. This resting time begins gluten development.
- Stretch and fold: Wet one hand to prevent sticking. Lift one side of the dough, stretch it upward gently, and fold it back toward the center. Rotate the bowl and repeat this around the dough. This helps strengthen the dough’s structure without kneading.
- Second rest: Cover again and let the dough rest for 30 minutes to encourage fermentation and gluten building.
- Prepare the work surface: Dust your countertop generously with flour, then transfer the dough out. Lightly flour the top to handle it without sticking.
- Shape the loaf: Gently stretch the dough into a rough rectangle. Fold one side toward the center, then fold the opposite side over it as if folding a letter. Roll the folded dough into a loaf shape.
- Final rise: Place the shaped dough in a parchment-lined baking pan and cover loosely. Let it rest for 15 minutes to puff up slightly.
- Bake: Preheat the oven to 410°F (210°C). Place a pan of hot water on the bottom rack to generate steam, which helps develop a crisp, crackly crust. Bake the loaf on the middle rack for 35 minutes, using top and bottom heat but no fan. The crust should be deeply golden brown.
- Cool and enjoy: Allow the bread to cool on a wire rack before slicing to finish setting the crumb.
Pro Tips
- Use warm water—not hot—to activate the yeast without killing it.
- Wetting your hand during stretch and fold prevents annoying sticking and makes the step easier.
- Don’t rush resting times; patience here makes for a beautiful airy crumb and good rise.
- For a shiny crust, you can lightly mist water on bread before baking.
- Keep the baking pan covered loosely during rises but uncovered before baking to let the crust form naturally.
- Try scoring the loaf lightly before baking to control crust expansion if desired.
Healthier or Lighter Swaps
If you’d like to make the bread slightly more nutritious, swap half of the all-purpose flour for whole wheat flour—this adds fiber but expect a denser crumb and longer rising times. You could also reduce sugar to 1 teaspoon to lower sweetness moderately without impacting fermentation. Using a heart-healthy oil like extra-light olive oil works well here too. If you want to experiment, incorporating herbs, seeds, or nuts can add texture and nutritional interest, although that changes the basic recipe.
Common Mistakes
- Using water that’s too hot or cold, which can inhibit yeast activity or kill it outright.
- Skipping or shortening resting times; these are crucial for gluten development and flavor.
- Over-flouring the work surface, causing a dry crumb texture or stiff dough.
- Handling the dough roughly when shaping, which can deflate air and result in dense bread.
- Not using steam in the oven, which leads to a less crispy, dull crust.
Variations
- Add 1 teaspoon dried herbs like rosemary or thyme for a fragrant twist.
- Mix in 2 tablespoons flaxseed or chia seeds for extra texture and nutrients.
- Substitute half of the all-purpose flour with bread flour for a chewier crust.
- Incorporate ½ cup (75 g) grated cheese into the dough for a savory option.
Serving Suggestions
Serve this bread warm or toasted alongside soups, stews, or salads. It pairs beautifully with olive oil and balsamic vinegar dips, fresh butter, or your favorite preserves. Because it has a crispy crust and tender crumb, it’s especially nice for open-faced sandwiches or grilled cheese. Balance the bread with lighter vegetable sides or protein-rich meals to keep your plates nutritious and satisfying.
Storage Instructions
Store leftover bread wrapped tightly in a clean tea towel or bread bag at room temperature for up to 2 days to preserve crust texture. For longer storage, slice and freeze the loaf; thaw slices at room temperature when ready to eat.
Reheating Tips
Reheat slices in a toaster or under a broiler for a minute or two to refresh the crust’s crunch. Avoid microwave reheating if possible, as it softens the crust and can make bread chewy.
Nutrition Estimate (per serving, based on 10 slices)
- Calories: ~150
- Protein: 4 g
- Carbohydrates: 28 g
- Fat: 3 g
These are approximate values and will vary depending on exact ingredients and portion sizes.
Recipe Summary
- Prep Time: 10 minutes active + 65 minutes total resting
- Cook Time: 35 minutes
- Total Time: About 1 hour 50 minutes including resting
- Servings: 10 slices
- Cuisine: American / Rustic
- Course: Bread / Side
- Calories: ~150 per slice
Frequently Asked Questions
Is this recipe good for digestion?
This bread contains refined flour and moderate sugar with no added fiber, so it’s neutral for digestion—not high fiber but easy to digest for most people.
Is this recipe suitable for people managing blood sugar?
Because it uses refined flour and sugar, it’s best enjoyed in moderation by those managing blood sugar or insulin sensitivity.
Can I make this recipe lighter?
Yes, reducing sugar or substituting part of the flour with whole wheat can make it slightly lighter or more nutritious.
Is this recipe good for kids?
Absolutely, kids tend to enjoy the soft crumb and mild flavor, plus it’s free of complex ingredients.
Can I make this without sugar or yeast?
Sugar helps activate yeast here, so omitting it will slow fermentation considerably. Yeast is essential for the rise, so no-yeast versions require a different leavening approach.
This no-knead bread recipe offers a practical and satisfying way to enjoy fresh homemade bread without long hands-on work, delivering a crisp crust and soft interior every time. With simple ingredients and flexible timing, it’s an approachable favorite for everyday baking.