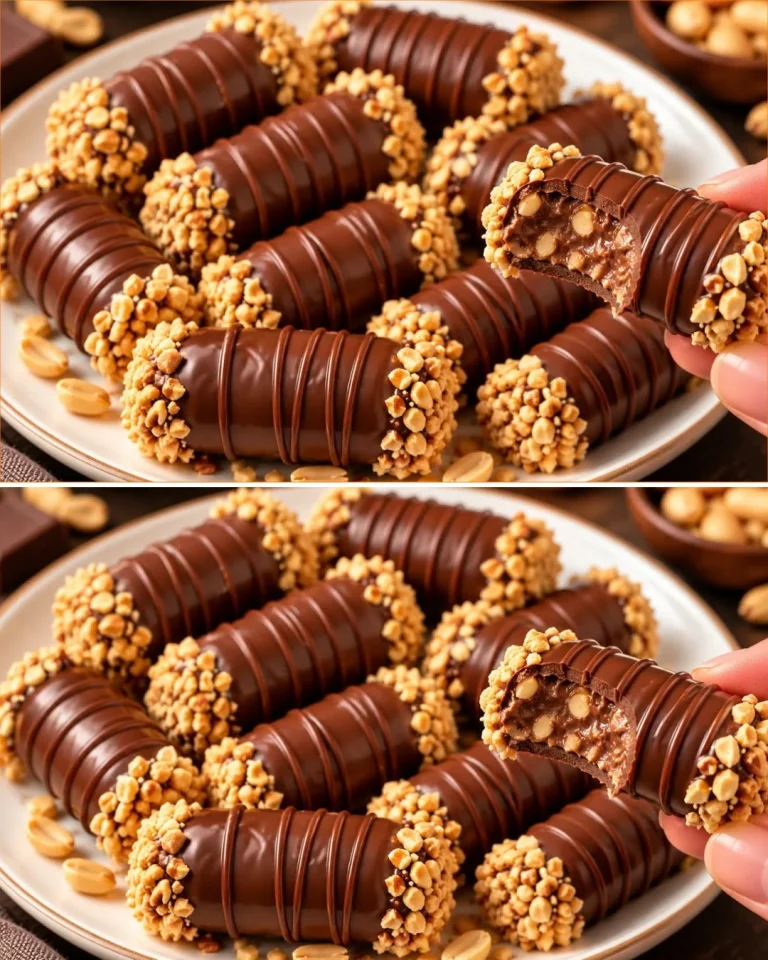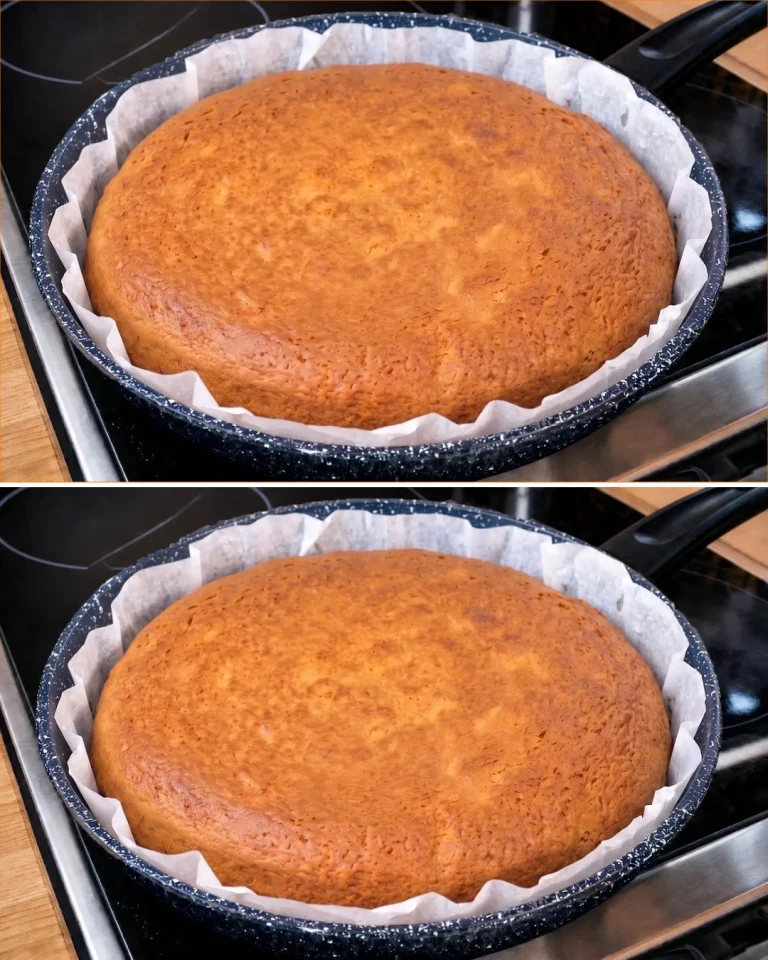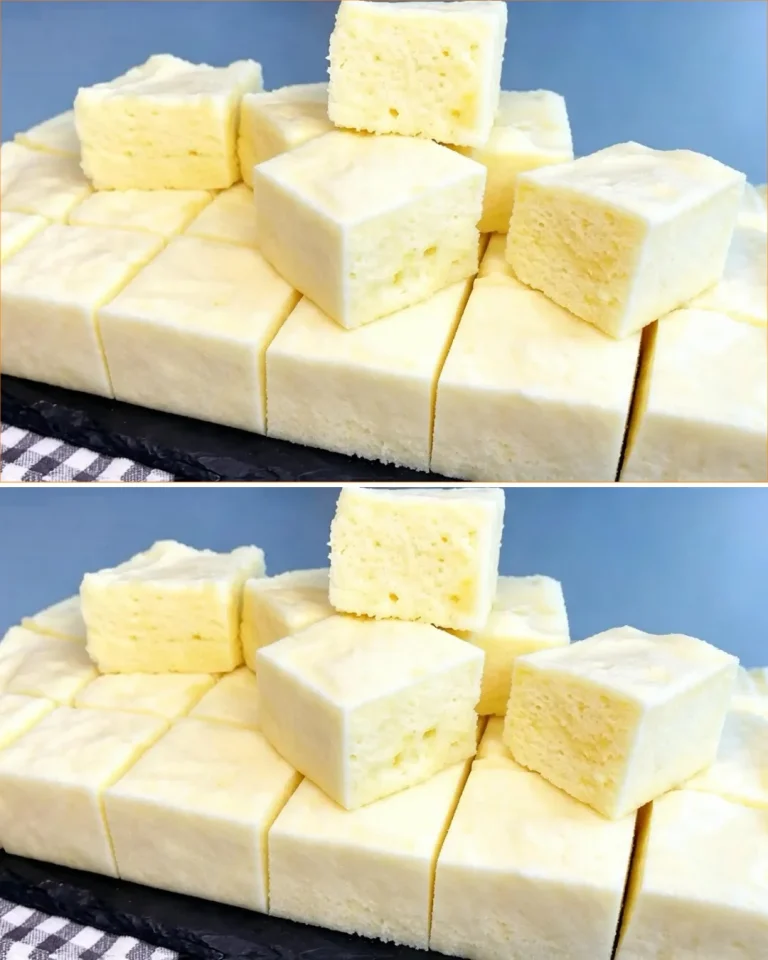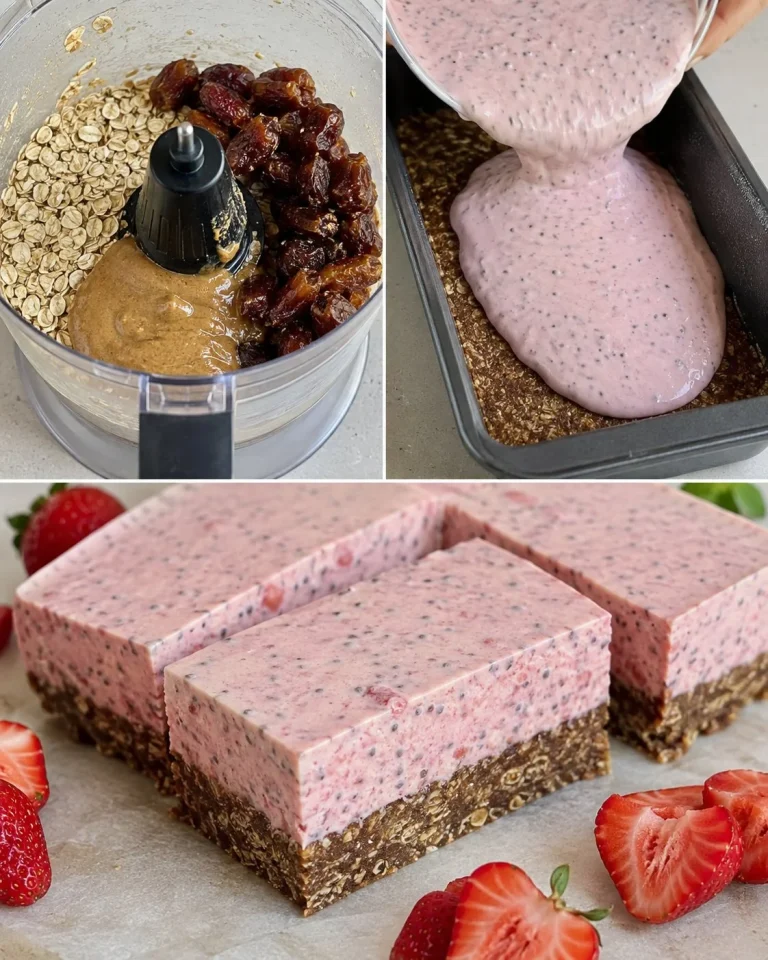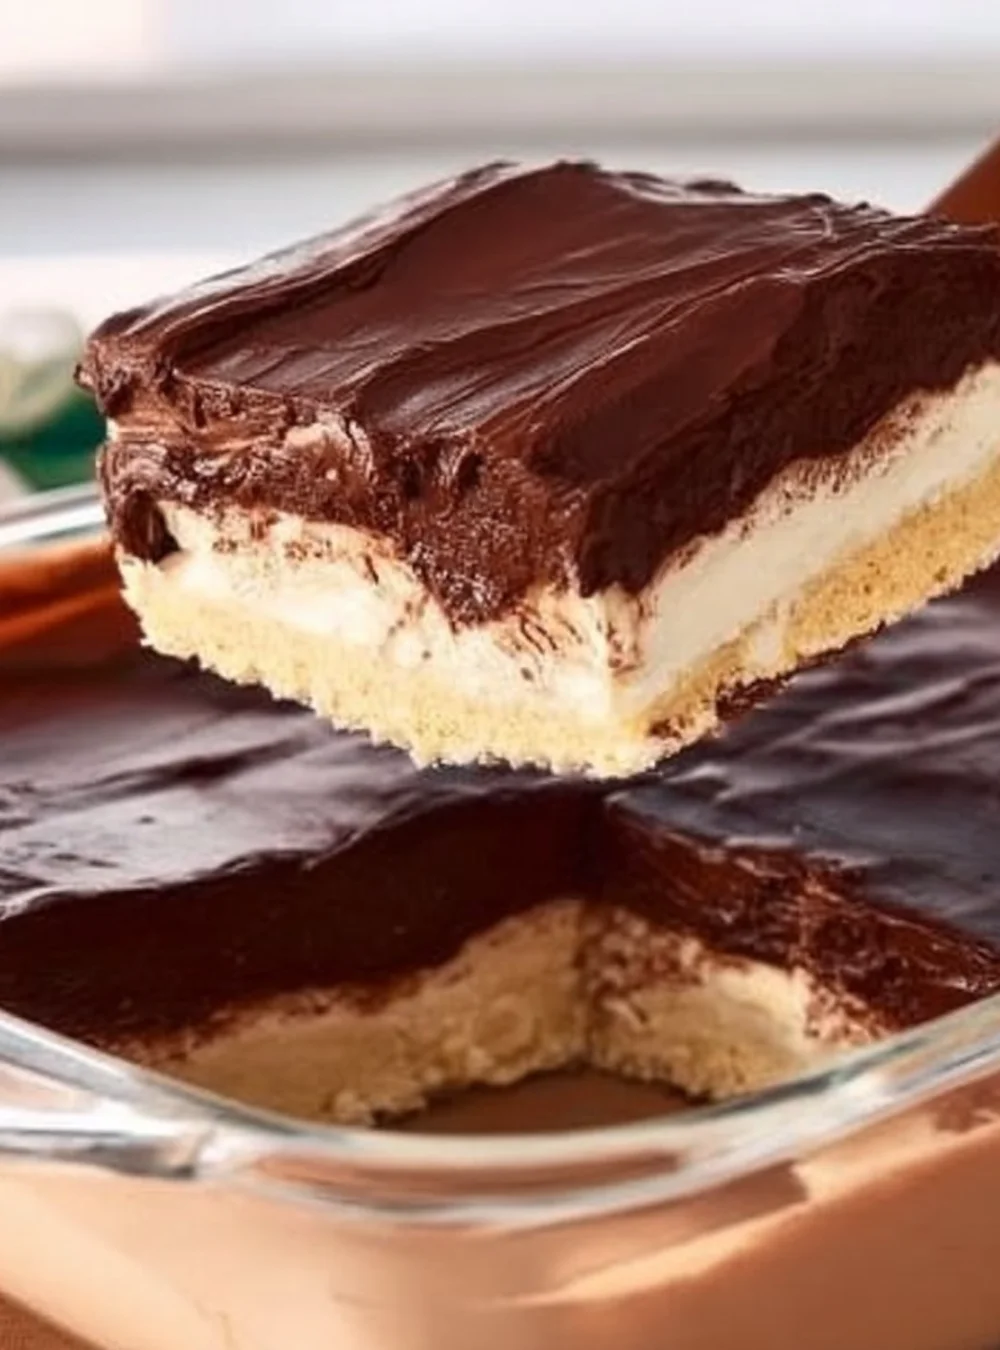
Indulge yourself with an irresistible no-bake dessert that effortlessly combines rich chocolate flavor with a delightful creamy texture. Perfect for those warm days or when time is short, this dessert is constructed layer by layer for maximum impact without the hassle of baking. Using sugar-free biscuits, velvety chocolate, and a smooth custard-like filling, this treat is sure to impress anyone who takes a bite. Ideal for gatherings, dinners, or as a special treat for yourself, this recipe caters to health-conscious individuals without sacrificing taste. With its beautifully balanced flavors and pleasing presentation, prepare to be the star of your next dessert occasion!
Why You’ll Love This Recipe
- Requires no baking, making it quick and simple.
- A perfect mix of creamy, chocolatey, and subtly sweet flavors.
- Can be easily customized to suit dietary preferences.
- Ideal for gatherings or a delightful evening treat.
- Makes use of sugar-free biscuits, perfect for those watching their sugar intake.
Ingredients
- 3.5 oz (100 g) sugar-free biscuits
- 1 ¾ cups (420 ml) milk
- 3 oz (85 g) chocolate, chopped
- 3 tablespoons + 1 teaspoon (about 50 ml) light cream
- 3 tablespoons (or 5.5 tablespoons regular sugar) stevia sweetener
- 2 egg yolks
- 1 oz (30 g) cornstarch
- 1 oz (30 g) butter, softened
- 0.5 oz (15 g) cocoa powder
Ingredient Notes
- Sugar-free biscuits: Can be substituted with regular biscuits for a non-sugar-free version.
- Stevia sweetener: This can be adjusted based on the desired level of sweetness, or you may use another preferred sweetener.
- Cream: Any whipping cream can be used for a richer topping.
- Chocolate: Use your favorite type – dark, milk, or even white for a different taste.
Kitchen Tools Needed
- 16×16 cm square glass baking dish
- Medium-sized saucepan
- Whisk
- Mixing bowl
- Rubber spatula
- Measuring cups and spoons
Step-by-Step Instructions
- Prepare the Base: Arrange a layer of sugar-free biscuits in the bottom of a 16×16 cm square baking dish. Set aside.
- Combine Ingredients: In a medium saucepan, whisk the egg yolks and stevia together until smooth and well combined.
- Add Cornstarch and Milk: Gently stir in the cornstarch, followed by the milk. Cook over medium heat, whisking continuously until the mixture thickens.
- Add the Butter: Remove the saucepan from the heat and mix in the softened butter until completely melted and combined.
- First Layer of Filling: Pour half of the creamy filling over the prepared biscuits, spreading it evenly.
- Add Another Layer of Biscuits: Place another layer of sugar-free biscuits on top of the filling.
- Create the Cocoa Layer: In a small bowl, mix the cocoa powder with the remaining filling until fully incorporated.
- Pour Cocoa Mixture: Carefully spread the cocoa mixture over the second layer of biscuits.
- Melt Chocolate: In a separate bowl, melt the chocolate and mix it with the light cream until the mixture is glossy and smooth.
- Top the Dessert: Pour the chocolate cream over the cocoa layer, smoothing it out as needed.
- Refrigerate: Chill the dessert in the refrigerator for a minimum of 30 minutes before serving.
Cooking Tips
- For best results, allow the dessert to chill longer than 30 minutes if you can; this will enhance the flavors.
- Whisk vigorously during cooking to prevent lumps from forming in the filling.
- If the chocolate cream thickens too much, add a little warm cream to loosen it before pouring.
- Use fresh ingredients to achieve the best flavor and texture.
Variations
- Fruit Layer: Add a layer of fresh berries between the layers for a fruity twist.
- Nutty Add-in: Incorporate crushed nuts into the filling for added crunch.
- Flavor Infusion: Experiment with flavored extracts, such as vanilla or almond, in the filling for additional taste profiles.
- Vegan Version: Substitute egg yolks with silken tofu and use dairy-free chocolate and milk alternatives.
Serving Suggestions
Slice this no-bake dessert into squares and serve chilled. It pairs wonderfully with a dollop of whipped cream or a sprinkle of cocoa powder for a photo-ready finish.
Storage Instructions
Keep leftovers tightly covered in the refrigerator for up to 3 days. The dessert may firm up a bit more as it chills.
Reheating Tips
This dessert is best served cold; reheating is not recommended as it may alter the texture.
Nutrition Estimate
Calories: 185
Protein: 4g
Carbohydrates: 18g
Fat: 10g
Recipe Summary Card
- Prep Time: 20 minutes
- Cook Time: 15 minutes
- Total Time: 35 minutes + chilling time
- Servings: 8
- Cuisine: Dessert
- Course: Sweet treat
- Calories per serving: 185
Frequently Asked Questions
Can I make this recipe ahead of time?
Yes, it’s great to prepare a day in advance, allowing the flavors to meld together.
Can I use regular chocolate instead of sugar-free?
Absolutely! Regular chocolate will add sweetness; just adjust the sweetener if needed.
What can I use instead of cornstarch?
Arrowroot powder or all-purpose flour can be used as alternatives.
Is this dessert gluten-free?
To make it gluten-free, ensure that the biscuits are made specifically for gluten-sensitive diets.
Can I freeze this dessert?
While it’s best enjoyed fresh, you can freeze it. Let it defrost in the refrigerator before serving.
Conclusion
This decadent no-bake dessert is a perfect choice for chocolate lovers looking for a simple yet elegant treat. With a few easy steps, you can create a delightful layered masterpiece that will leave everyone craving more. Enjoy it chilled, and impress your friends or family with this healthy indulgence!
No-Bake Chocolate Dessert
A rich and creamy no-bake chocolate dessert that combines layers of sugar-free biscuits, velvety filling, and a smooth chocolate topping. Perfect for gatherings or a special treat.
For the Base
- 3.5 oz sugar-free biscuits (Can be substituted with regular biscuits for a non-sugar-free version.)
For the Filling
- 1.75 cups milk
- 2 egg yolks egg yolks
- 3 oz chocolate, chopped (Use your favorite type – dark, milk, or even white for a different taste.)
- 3 tablespoons stevia sweetener (This can be adjusted based on the desired level of sweetness.)
- 1 oz cornstarch (Can be replaced with arrowroot powder or all-purpose flour.)
- 1 oz butter, softened
- 0.5 oz cocoa powder
For the Topping
- 3 tablespoons + 1 teaspoon light cream (Any whipping cream can be used for a richer topping.)
Preparation
- Arrange a layer of sugar-free biscuits in the bottom of a 16×16 cm square baking dish. Set aside.
- In a medium saucepan, whisk the egg yolks and stevia together until smooth and well combined.
- Gently stir in the cornstarch, followed by the milk. Cook over medium heat, whisking continuously until the mixture thickens.
- Remove the saucepan from the heat and mix in the softened butter until completely melted and combined.
- Pour half of the creamy filling over the prepared biscuits, spreading it evenly.
- Place another layer of sugar-free biscuits on top of the filling.
- In a small bowl, mix the cocoa powder with the remaining filling until fully incorporated.
- Carefully spread the cocoa mixture over the second layer of biscuits.
- In a separate bowl, melt the chocolate and mix it with the light cream until the mixture is glossy and smooth.
- Pour the chocolate cream over the cocoa layer, smoothing it out as needed.
- Chill the dessert in the refrigerator for a minimum of 30 minutes before serving.
For best results, allow the dessert to chill longer than 30 minutes. Use fresh ingredients for the best flavor and texture. This dessert is best served cold; reheating is not recommended as it may alter the texture.