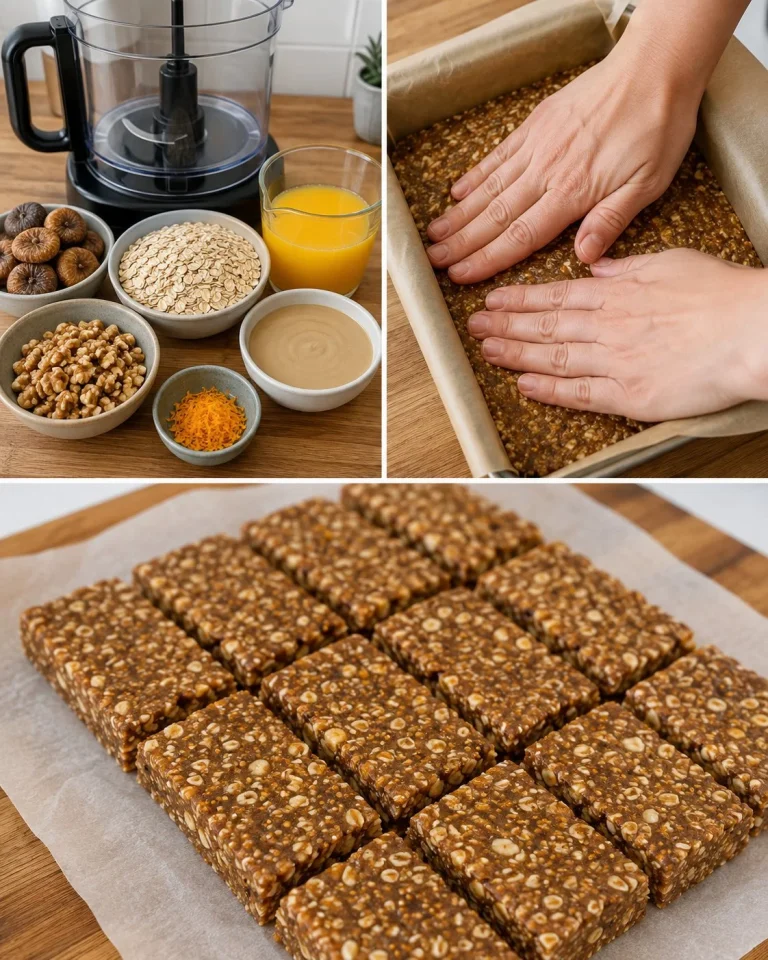
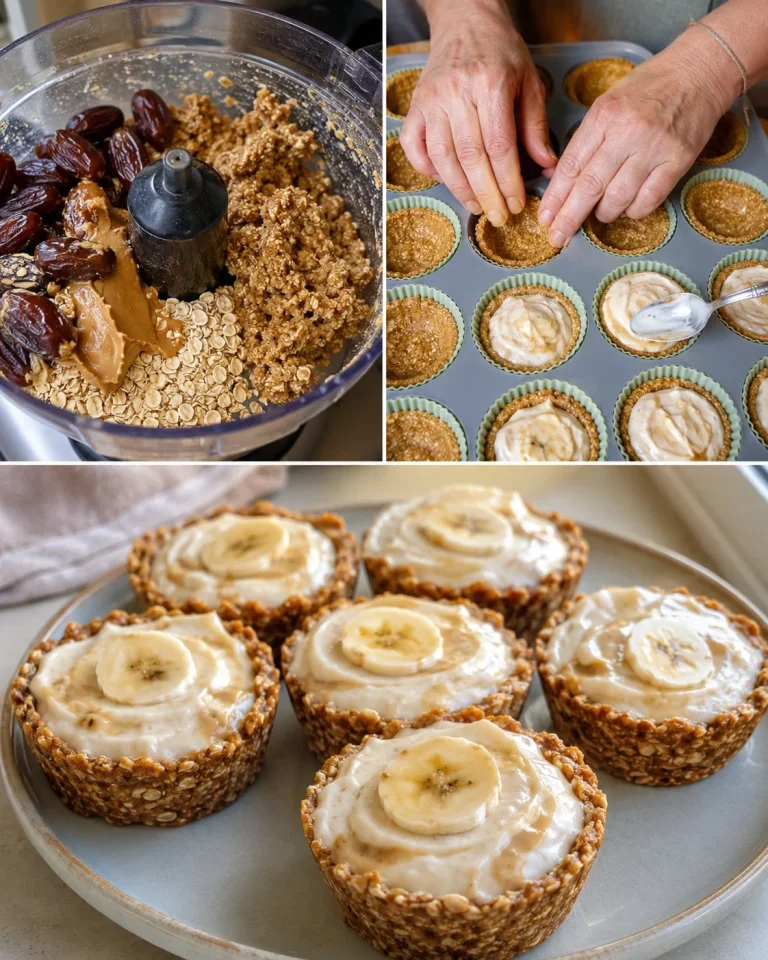
When you want something that tastes like a cozy fall dessert but don’t want to turn on the oven, these little cheesecake cups are the answer. They’re layered with warm cinnamon apples, a tangy-sweet no-bake cheesecake cream, and a buttery toasted oat “crust” that tastes like the best part of an apple crisp. They look fancy in a glass, but the steps are genuinely simple.
A couple things make a big difference here: let the cooked apples cool before layering (otherwise the cheesecake layer can loosen), and toast the oats until they smell nutty and turn a shade deeper—those few minutes add a lot of flavor. After a short chill, the layers set up nicely, and you get a spoonable dessert that feels light, creamy, and still satisfying.
Why You’ll Love This Recipe
- No oven needed—just a quick stovetop cook for the apples and oats.
- Creamy, tangy cheesecake layer from cream cheese + Greek yogurt (not overly sweet).
- The toasted oats add a crisp, buttery crunch without making a full crust.
- Easy make-ahead dessert for guests or meal prep treats.
- Naturally gluten-free if you use certified gluten-free oats.
- Practical tip: cooling the apples and oat layer prevents melty, messy layers.
Ingredients
- Apples: 2 medium, peeled and diced (about 2 cups / 260–300 g)
- Ground cinnamon: 1 teaspoon (2–3 g)
- Maple syrup: 2 tablespoons (30 ml), divided
- Water: 2 tablespoons (30 ml)
- Cream cheese, softened: 8 oz (225 g)
- Plain Greek yogurt: 1 cup (240 g)
- Quick oats: 1 cup (90 g)
- Butter: 1 tablespoon (14 g)
- Pinch of salt (optional, but recommended): about 1/8 teaspoon
Ingredient Notes
- Apples: Crisp apples hold their shape best. Granny Smith gives a tart contrast; Honeycrisp or Gala are sweeter and softer. Dice small (about 1/2-inch / 1.25 cm) so they spoon easily.
- Maple syrup: Real maple syrup tastes best here. If you only have honey, you can swap it 1:1, though the flavor will change slightly.
- Cream cheese: Softened cream cheese is key for a smooth filling. If it’s cold, you’ll end up with lumps.
- Greek yogurt: Use plain, thick Greek yogurt for structure. If yours is very runny, strain it for 10–15 minutes in a fine-mesh sieve.
- Quick oats: Quick oats toast quickly and layer neatly. Old-fashioned oats also work, but they’ll be a bit chewier.
- Butter: Helps the oats taste like a “crust.” If using unsalted butter, that pinch of salt helps the flavors pop.
Kitchen Tools Needed
- Small saucepan
- Skillet or frying pan
- Mixing bowl
- Hand mixer (or sturdy whisk and a little patience)
- Rubber spatula
- Measuring spoons/cups
- 4 small glasses or jars (about 8 oz / 240 ml each)
Step-by-Step Instructions
-
Cook the cinnamon apples.
In a small saucepan, combine diced apples, cinnamon, 1 tablespoon (15 ml) maple syrup, and 2 tablespoons (30 ml) water. Cook over medium heat for 8–10 minutes, stirring occasionally, until the apples are tender but not mushy and the liquid looks syrupy.
Cue: The apples should be glossy and your kitchen will smell like cinnamon. -
Cool the apples.
Scrape the apples (and any syrup) into a bowl and let cool to room temperature, about 15–20 minutes. You can speed this up in the fridge. -
Toast the oats.
In a skillet over medium heat, melt 1 tablespoon (14 g) butter. Add 1 cup (90 g) quick oats and a small pinch of salt (optional). Cook, stirring frequently, for 4–5 minutes until the oats smell nutty and turn slightly golden.
Transfer to a plate or bowl to cool completely (warm oats can soften the cheesecake layer). -
Make the cheesecake cream.
In a mixing bowl, beat 8 oz (225 g) softened cream cheese until smooth, about 1 minute. Add 1 cup (240 g) plain Greek yogurt and the remaining 1 tablespoon (15 ml) maple syrup. Beat again until creamy and fully combined.
Cue: It should look thick, smooth, and spoonable. -
Assemble the cups.
Divide the toasted oats between 4 glasses (about 2–3 tablespoons each). Spoon or pipe the cheesecake cream on top, then finish with the cooled cinnamon apples (including a little of the syrup for extra flavor). -
Chill.
Refrigerate for at least 1 hour before serving so the layers firm up and the flavors meld.
Pro Tips
- Soften cream cheese properly: Leave it at room temp for 30–45 minutes, or microwave in 5-second bursts (careful—melting makes the filling loose).
- Cool before layering: Warm apples or oats can make the cheesecake layer slide and look messy.
- For cleaner layers: Use a spoon to “seal” cheesecake cream to the edges of the glass before adding apples.
- Prefer it sweeter? Add an extra 1–2 teaspoons (5–10 ml) maple syrup to the cheesecake layer.
- Like thicker apples: Simmer 1–2 minutes longer so the liquid reduces more.
Common Mistakes
- Not cooling the apples/oats: This is the main reason layers turn runny.
- Under-toasting the oats: Pale oats taste flat; toast until fragrant for that crisp-like flavor.
- Using cold cream cheese: It won’t blend smoothly and can leave little lumps.
- Overcooking the apples: Mushy apples lose their nice texture and can taste watery.
- Assembling too early without chilling: They’ll still taste good, but the layers won’t hold as nicely.
Variations
- Apple pie spice: Swap cinnamon for apple pie spice (same amount) for more warm spice flavor.
- Add crunch: Stir 1–2 tablespoons (8–16 g) chopped walnuts or pecans into the oat layer.
- Vanilla twist: Add 1/2 teaspoon vanilla extract to the cheesecake cream (if you have it).
- Extra “crust” vibe: Mix 1 tablespoon (12 g) brown sugar into the oats while toasting (slightly sweeter and more caramel-like).
Serving Suggestions
Serve chilled straight from the fridge. These are lovely as-is, but if you want to dress them up for guests, add a small sprinkle of cinnamon over the top or a spoonful of extra toasted oats right before serving to keep the crunch.
Storage Instructions
Cover and refrigerate for up to 3 days. The oats will soften over time, but the flavor stays great.
If you’re making these ahead and want the most crunch, store the toasted oats separately and assemble closer to serving.
Reheating Tips
Reheating doesn’t really make sense for these cups. If you prefer warmer apples, warm only the apple topping briefly and let it cool back down before layering so it doesn’t loosen the cheesecake cream.
Nutrition Estimate
Per serving (1 of 4), approximate:
- Calories: 290
- Protein: 12 g
- Carbs: 29 g
- Fat: 15 g
(Will vary based on apple size, yogurt fat percentage, and exact brands.)
Recipe Summary
- Prep Time: 15 minutes
- Cook Time: 15 minutes
- Total Time: 1 hour 30 minutes (includes chilling)
- Servings: 4
- Cuisine: American
- Course: Dessert
- Calories: ~290 per serving
Frequently Asked Questions
Can I use regular yogurt instead of Greek yogurt?
Yes, but the filling will be softer. If using regular plain yogurt, strain it for 20–30 minutes to thicken, or expect a looser, creamier texture.
Do I have to peel the apples?
Peeling gives the smoothest texture for a dessert cup. If you don’t mind a bit of peel (and extra fiber), you can leave it on—just dice small.
Can I make these the night before?
Absolutely. They’re great the next day. For the best texture, keep the toasted oats separate and assemble before serving, or add a fresh sprinkle of toasted oats on top.
What if I don’t have quick oats?
Old-fashioned rolled oats work fine; toast them the same way. They’ll be a bit more chewy in the layer.
How do I keep the cheesecake layer from being lumpy?
Make sure the cream cheese is truly softened, beat it alone first until smooth, then add yogurt and maple syrup. That order matters.
Conclusion
These no-bake apple cinnamon cheesecake cups are one of those “looks impressive, actually easy” desserts that fit busy days and casual entertaining. Once you get the apples tender and the oats nicely toasted, it’s just layering and chilling—simple, cozy, and reliably delicious.