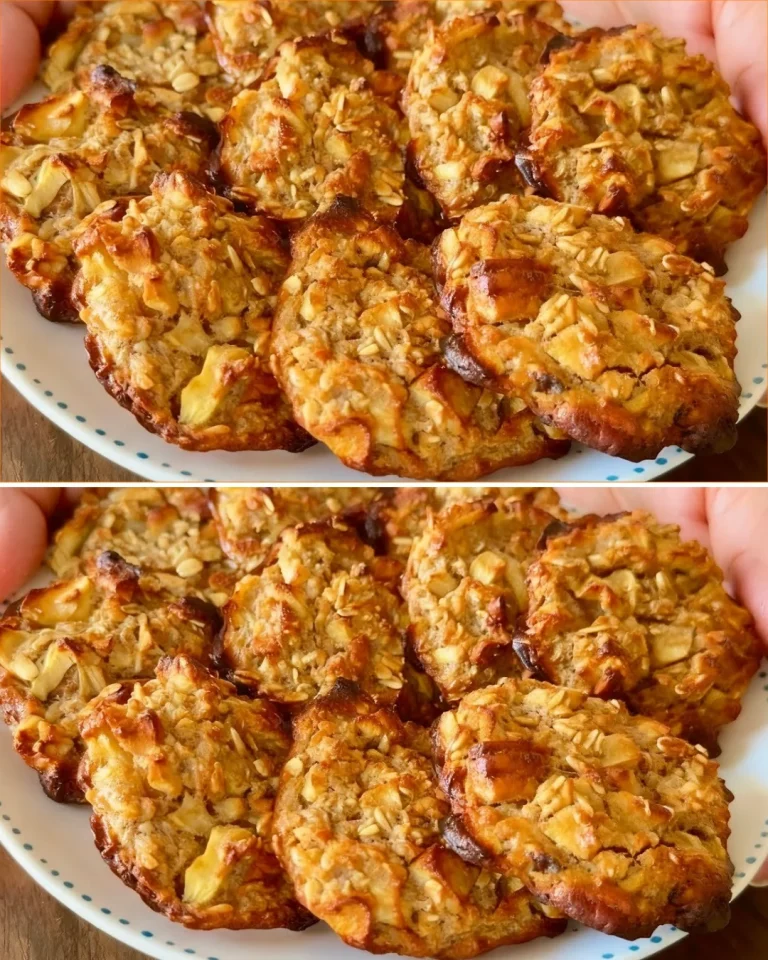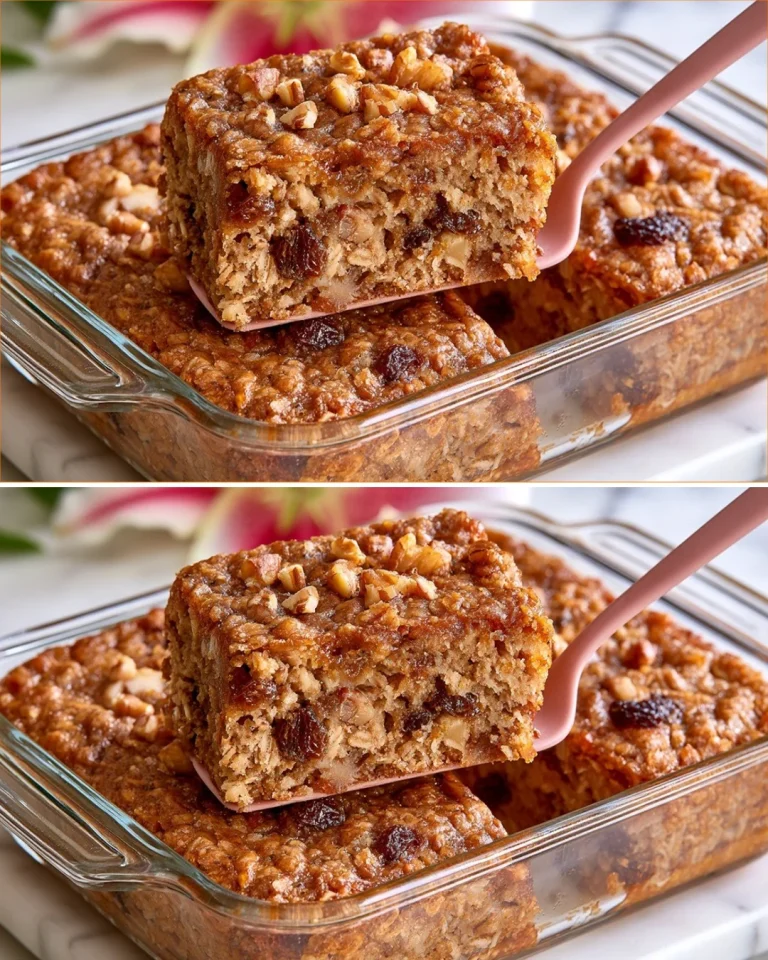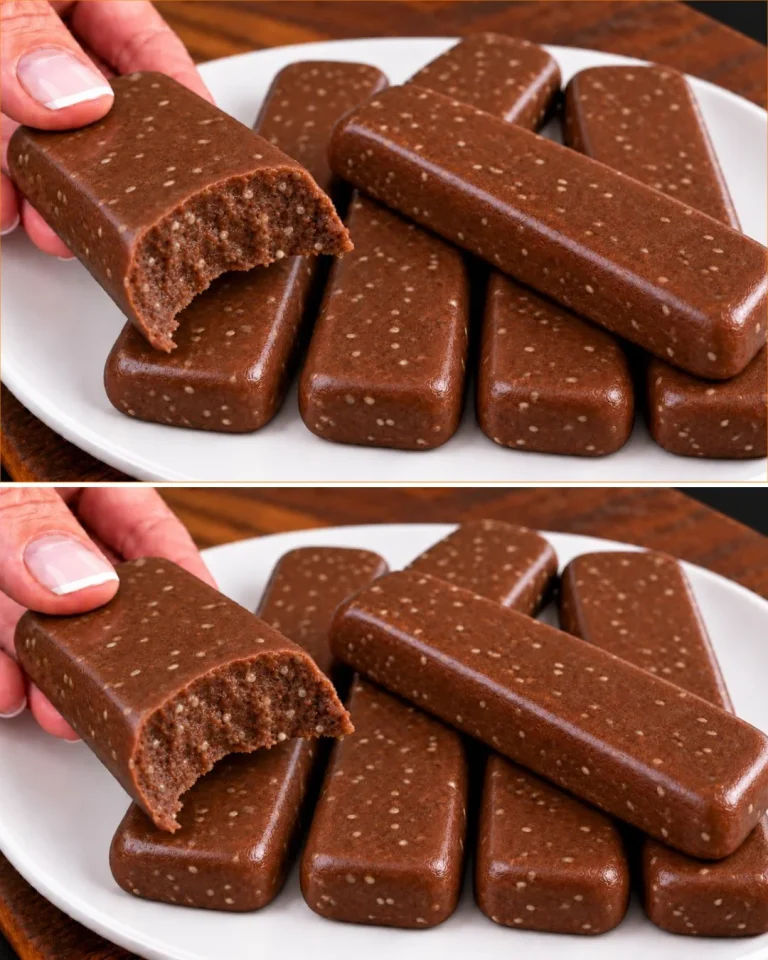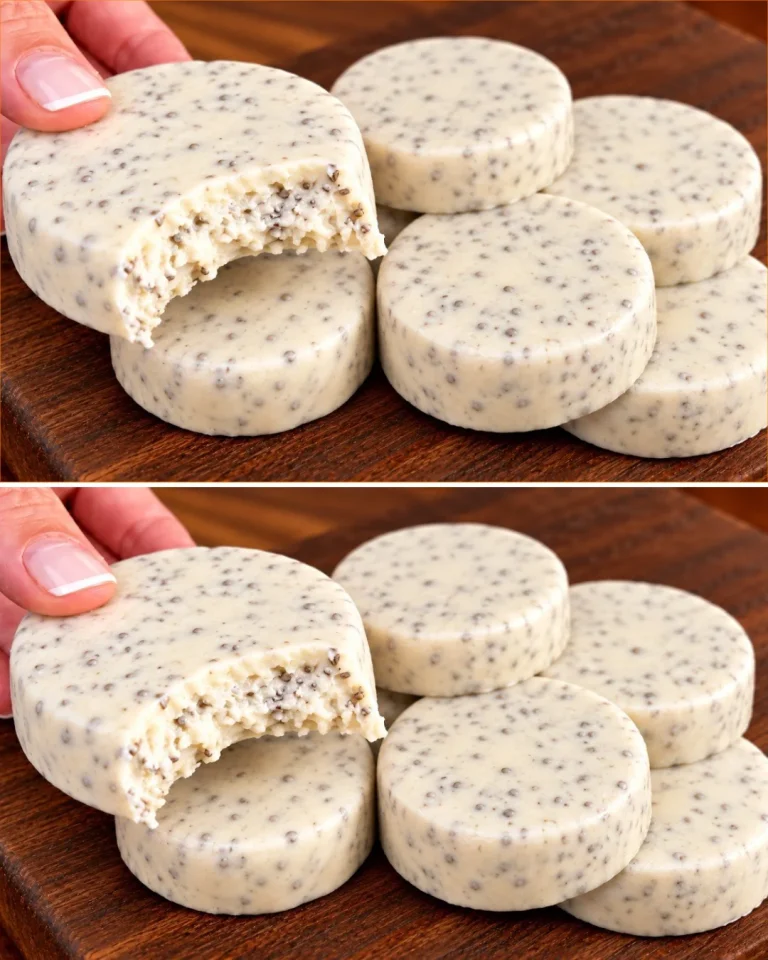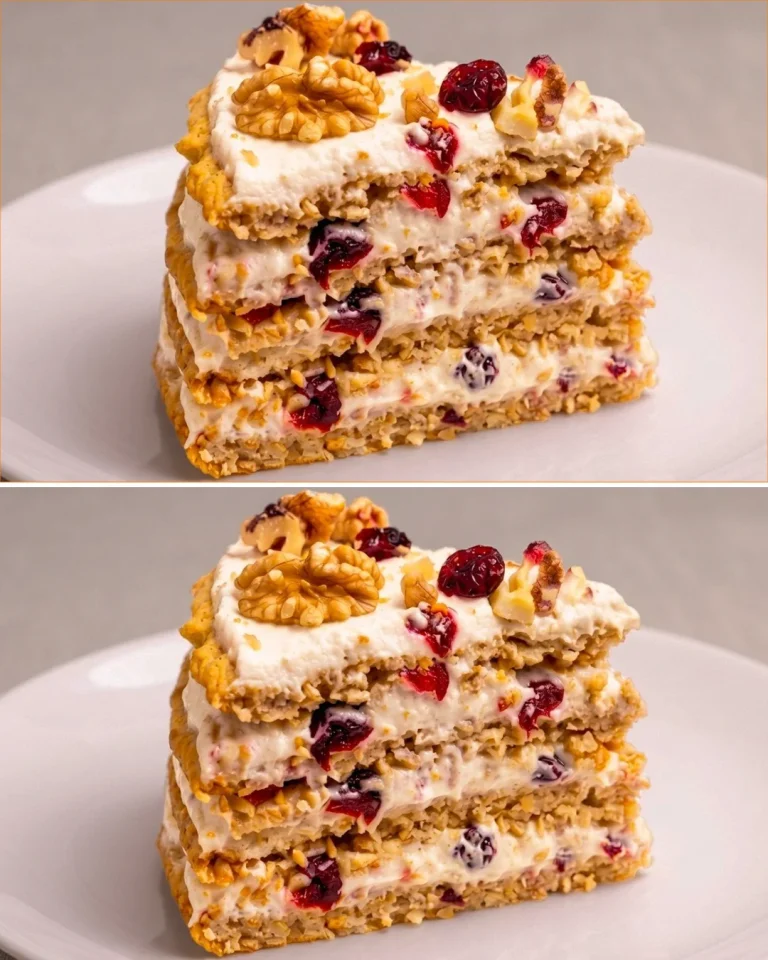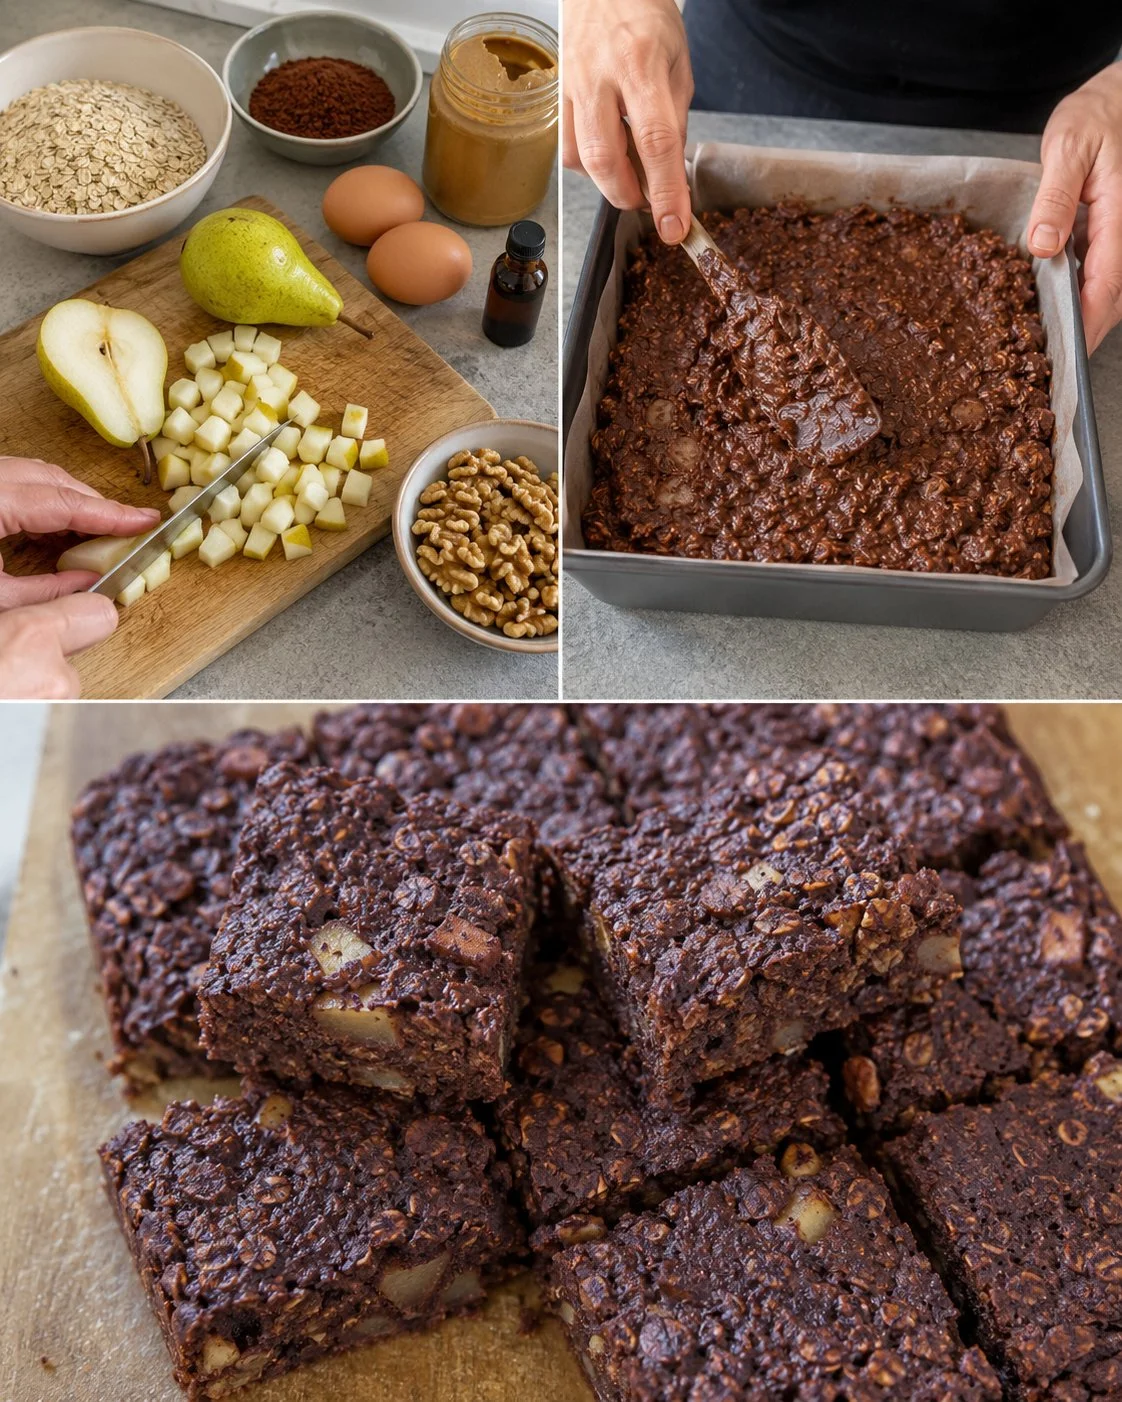
Sometimes you want a sweet treat that feels a little indulgent but is actually good for you—and that’s exactly what these cocoa pear oat bars deliver. Made without any added sugar, they rely on naturally ripe pears and a touch of nut butter to bring moistness and flavor to the table. The cocoa powder adds a rich chocolate touch without overwhelming the bars, while the chopped walnuts give a satisfying crunch. These bars come together quickly and bake up with a chewy texture that’s just right for snack time or a simple breakfast on the go. Plus, they keep well in the fridge, making them a practical make-ahead option for busy days. I’ve noticed that letting them cool completely before slicing really helps keep the bars from crumbling, giving you neat squares that hold together nicely.
Why You’ll Love This Recipe
- Naturally sweetened with ripe pears, no added sugar needed
- Uses simple pantry staples and whole ingredients
- Chewy texture with a hint of chocolate and nutty crunch
- Quick to prepare and bakes in under 30 minutes
- Keeps well in the fridge for convenient grab-and-go snacks
- Letting the bars cool completely before cutting helps maintain their shape
Ingredients
- 2 very ripe pears, peeled and chopped
- 2 large eggs
- 1/2 cup (125 g) natural almond or peanut butter
- 2 cups (180 g) rolled oats
- 1/3 cup (30 g) unsweetened cocoa powder
- 1 teaspoon baking powder
- 1 teaspoon vanilla extract
- 1/3 cup (40 g) chopped walnuts
Ingredient Notes
Choosing very ripe pears is key here—they provide natural sweetness and moisture that help bind the bars without extra sugar. If you don’t like almond butter, peanut butter works just as well; just opt for a natural version without added sugar or oils. Rolled oats create a chewy, hearty texture, while the cocoa powder adds deep chocolate flavor without calories from sugar. The walnuts bring crunch and a bit of healthy fat, but you can swap them for pecans or leave them out if nut allergies are a concern.
Kitchen Tools Needed
- 8-inch (20 cm) square baking pan
- Blender or food processor
- Mixing bowl
- Spatula
- Measuring cups and spoons
- Knife and cutting board
Step-by-Step Instructions
-
Preheat your oven to 350°F (180°C) and line the 8-inch (20 cm) square baking pan with parchment paper or lightly grease it. This helps the bars release easily once baked.
-
Place the peeled, chopped pears, eggs, nut butter, and vanilla extract in a blender or food processor. Blend until you get a smooth, creamy mixture with no large chunks. If your pears aren’t very ripe, your mixture might be a bit less sweet.
-
Transfer the blended pear mixture into a mixing bowl. Stir in the rolled oats, unsweetened cocoa powder, baking powder, and chopped walnuts. Mix gently but thoroughly to combine everything evenly.
-
Spread the batter evenly into the prepared pan, smoothing the top with a spatula. The mixture will be thick but spreadable.
-
Bake on the middle oven rack for 24 to 28 minutes. Check at the 24-minute mark by gently pressing the center; it should feel set and spring back slightly, not wet or jiggly.
-
Once baked, remove the pan from the oven and allow the bars to cool completely in the pan. Cooling fully is important for cleaner cuts and better texture—warm bars might still be fragile.
-
After cooling, lift the bars out using the parchment paper and cut them into squares. Store any leftovers in an airtight container in the fridge.
Pro Tips
- Use very ripe pears for natural sweetness; underripe pears will make the bars less flavorful and drier.
- Don’t skip the cooling step—it really helps the bars hold together when cutting.
- If you prefer a crunchier texture, toast the walnuts lightly before adding them in.
- Blend the wet ingredients on high speed until completely smooth to ensure even mixing and a tender texture.
- If the batter feels too thick, add a tablespoon or two of water or almond milk to help it spread in the pan.
Common Mistakes
- Using underripe pears that aren’t sweet enough, resulting in bland bars
- Cutting bars while still warm, which can lead to crumbly edges
- Forgetting to line or grease the pan, making bars hard to remove
- Overbaking, which dries out the bars and makes them less chewy
- Skipping the vanilla, which enhances the chocolate and pear flavors
Variations
- Swap walnuts for pecans, hazelnuts, or pumpkin seeds for a different crunch
- Add a handful of dark chocolate chips or dried cherries to the batter for extra flavor
- Use sunflower seed butter instead of nut butter to make it nut-free
- For a spicy twist, add a pinch of cinnamon or chili powder with the cocoa powder
Serving Suggestions
These bars are great on their own as a snack or light breakfast. Pair them with a cup of coffee or tea, or serve alongside yogurt and fresh fruit for a wholesome start to your day. They also make an excellent lunchbox treat or post-workout bite.
Storage Instructions
Store the bars in an airtight container in the refrigerator for up to five days. They also freeze well—place them in a zip-top bag or container, and thaw at room temperature when ready to eat.
Reheating Tips
These bars are best enjoyed cold or at room temperature, but if you prefer them warm, microwave a bar for about 15 seconds. Avoid overheating, as they can dry out quickly.
Nutrition Estimate (per bar, makes 9 bars)
- Calories: 180
- Protein: 6 g
- Carbohydrates: 24 g
- Fat: 7 g
Recipe Summary
- Prep Time: 10 minutes
- Cook Time: 25 minutes
- Total Time: 35 minutes
- Servings: 9 bars
- Cuisine: American / Snack
- Course: Snack / Breakfast
- Calories: 180 per bar
Frequently Asked Questions
Can I use canned or frozen pears for this recipe?
Fresh, ripe pears work best for flavor and texture. Canned pears often contain syrup, which changes sweetness and moisture. Frozen pears can be used if thawed and drained well.
Can I substitute eggs in this recipe?
Eggs help bind the bars. You might try flax eggs (1 tablespoon ground flaxseed + 3 tablespoons water per egg) but texture may be less firm.
Can I make these bars gluten-free?
Yes—just make sure to use certified gluten-free rolled oats.
How do I know when the bars are done baking?
The center should be set and spring back slightly to gentle pressure with your finger. Avoid overbaking to keep them chewy.
Can I double this recipe for a larger batch?
Absolutely! Use a larger baking dish and adjust baking time slightly—start checking doneness at 30 minutes.
These cocoa pear oat bars are a simple way to satisfy chocolate cravings without any added sugar, plus they bring wholesome ingredients to your snack rotation. They’re straightforward enough for busy schedules and have just the right texture to keep you reaching back for another bar. Enjoy!