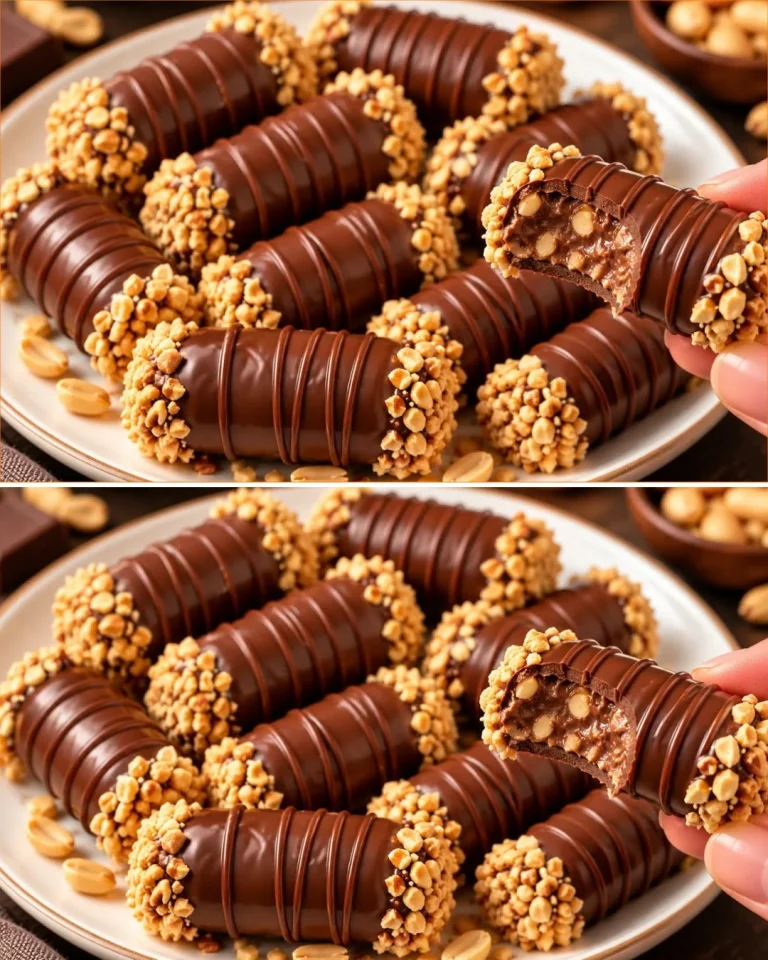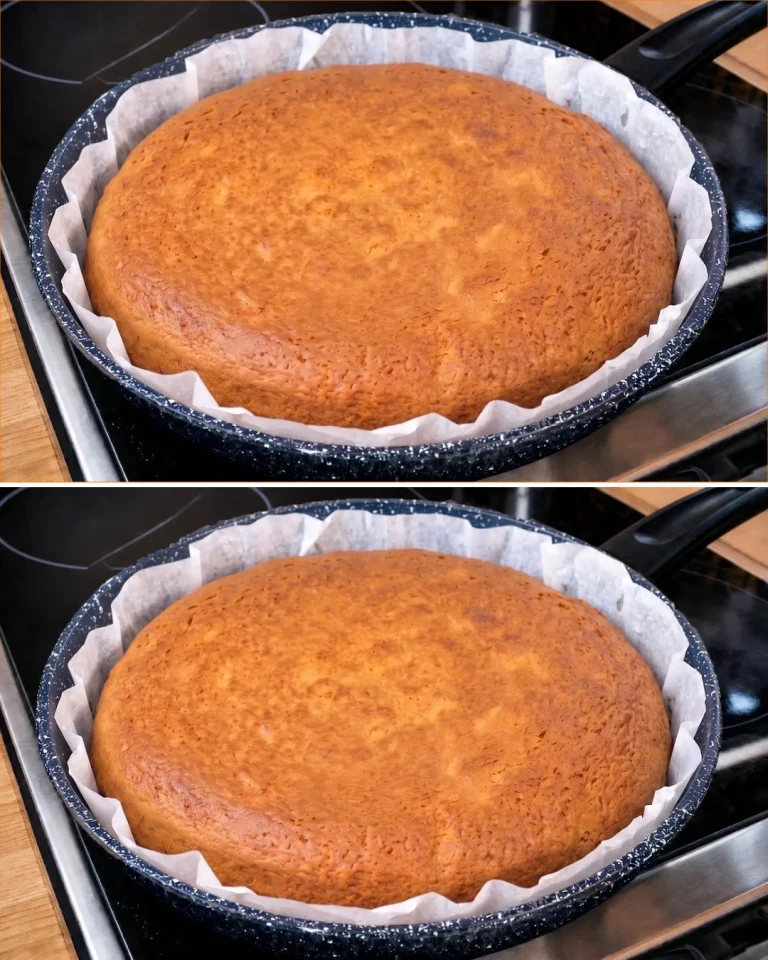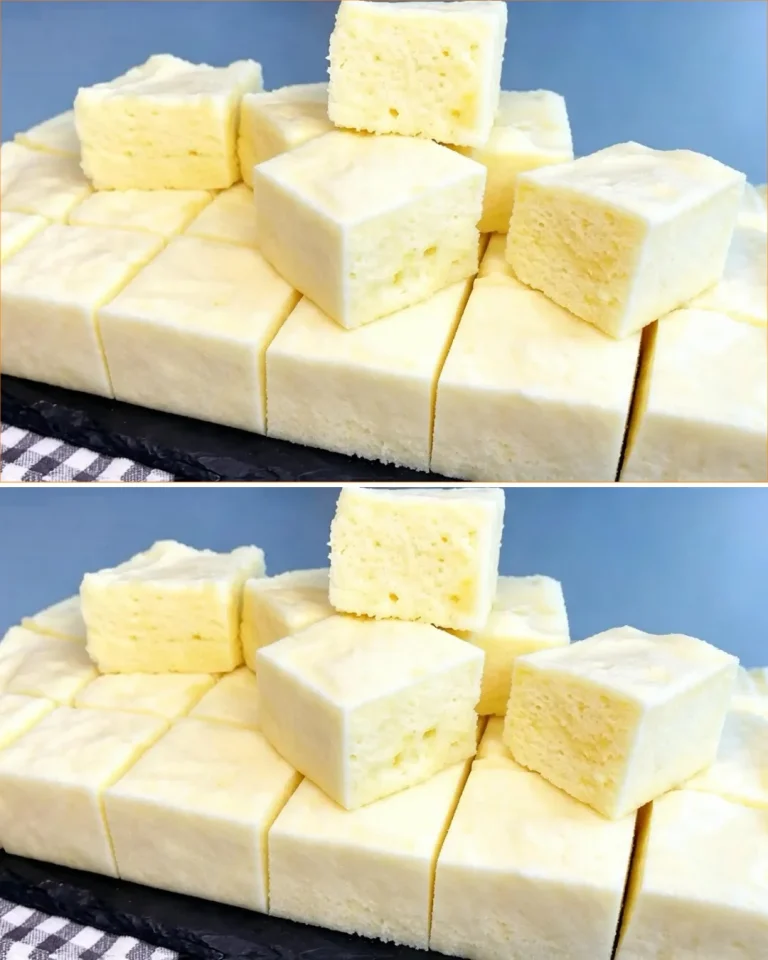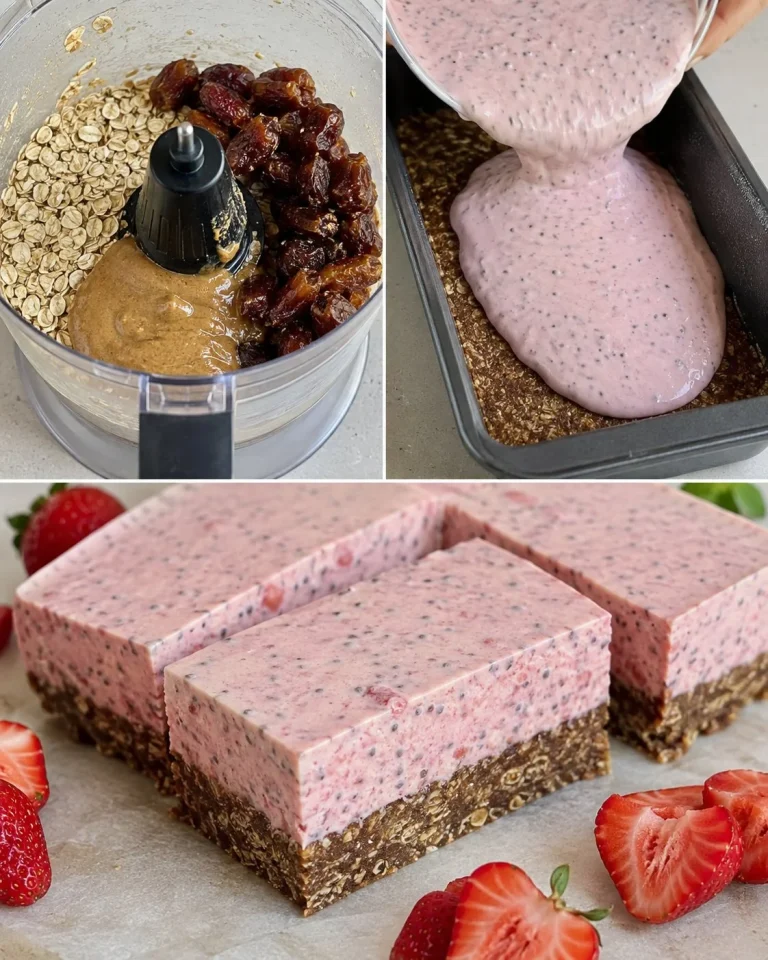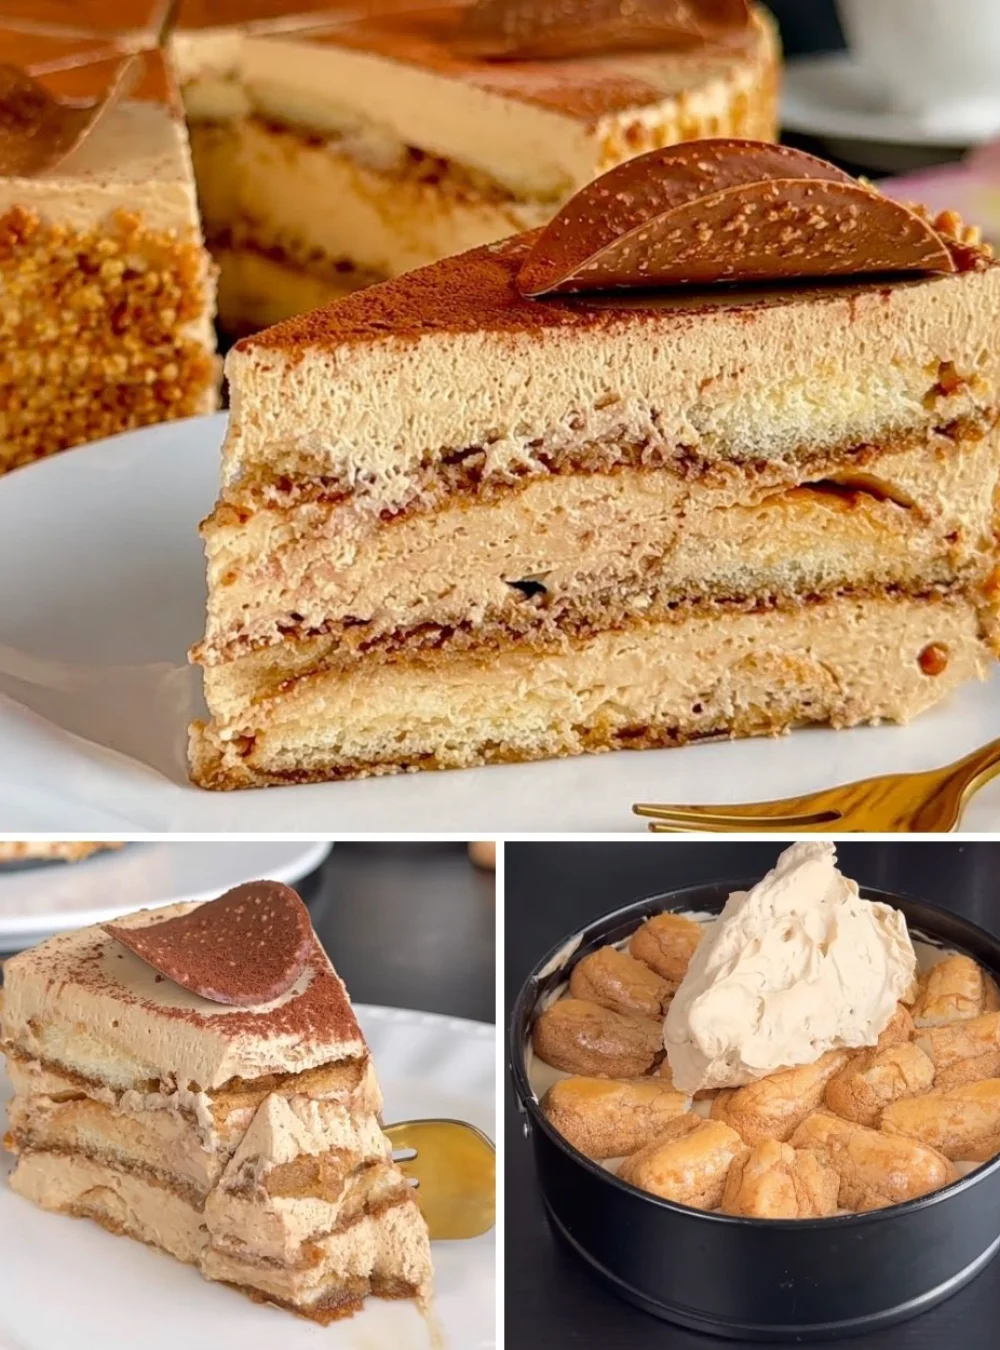
There’s something truly special about a No-Bake Tiramisu Cake. Not only does it deliver rich, creamy flavor with a delightful coffee kick, but it’s also a breeze to whip up, making it the perfect dessert for both casual get-togethers and special occasions. What I love about this recipe is that it doesn’t require any baking, allowing you to spend more time enjoying the company of your guests and less time fussing in the kitchen. Plus, with just a few simple steps, you can create a stunning centerpiece that tastes as decadent as it looks.
Why You’ll Love This Recipe
- Effortlessly delicious: The combination of mascarpone and cream yields a luxuriously smooth texture.
- Time-saving: No baking required, which means less mess and more time to relax.
- Versatile: Perfect for gatherings, family dinners, or even a sweet weekday treat.
- Customizable: Adjust the coffee intensity to suit your taste; a little more coffee extract adds a delightful kick.
- Visually stunning: The layers create an impressive presentation, especially with the crushed almonds on top.
Ingredients
- 300g (1 1/4 cups) very cold full-fat liquid cream
- 250g (1 cup) mascarpone cheese
- 60g (1/2 cup) icing sugar (powdered sugar)
- 1 tablespoon instant coffee
- 1 tablespoon hot water
- 2 cups cooled coffee (strong brewed)
- Approximately 30 ladyfinger biscuits (or boudoir biscuits)
- Roasted and crushed almonds for decoration
Ingredient Notes
- Mascarpone cheese is key for that authentic tiramisu flavor; if you can’t find it, cream cheese can be a substitute but will alter the flavor slightly.
- For a non-caffeinated version, use decaf coffee or substitute coffee with a herbal tea infusion.
- Ladyfingers are traditional, but a sponge cake cut into strips will also work if you have them on hand.
Kitchen Tools Needed
- Mixing bowl
- Electric whisk or stand mixer
- 20 cm (8 inch) round cake tin
- Parchment paper
- Shallow dish for dipping biscuits
Step-by-Step Instructions
- In a bowl, whisk the very cold full-fat liquid cream, mascarpone, icing sugar, instant coffee, and hot water together until stiff peaks form. This should take about 3-5 minutes. You want it thick enough to hold its shape.
- Taste and adjust the coffee extract, adding more if desired for a stronger flavor.
- Line a 20 cm diameter (8 inch) round cake tin with parchment paper for easy removal later.
- In a shallow dish, pour the cooled coffee. If you prefer a deeper coffee flavor, you can mix in a tablespoon of coffee extract here.
- Quickly dip each ladyfinger biscuit in the coffee, ensuring they are soaked but not soggy – a brief dunk will do!
- Arrange a layer of the dipped biscuits at the bottom of the prepared cake tin.
- Spread a layer of the cream mixture over the biscuits, smoothing it out evenly.
- Repeat the layers: continue with more dipped biscuits, followed by more cream, until you’ve created three layers in total.
- Cover and chill the cake in the refrigerator overnight, allowing the flavors to meld beautifully.
- Before serving, decorate the top with the roasted and crushed almonds. If you’d like them to stick better, a little squeeze of lemon juice works wonders.
- Dust the top with cocoa powder for that classic tiramisu look.
- Slice and enjoy your delicious No-Bake Tiramisu Cake!
Pro Tips
- Make sure the cream is very cold before whisking—this helps achieve the perfect texture.
- For an extra layer of flavor, try adding a splash of your favorite liqueur, like coffee liqueur, to the coffee.
- If you’re short on time, let the cake chill for at least 4 hours instead of overnight, though the longer it sits, the better the flavor.
Common Mistakes
- Soaking the biscuits too long can make them mushy. A quick dip is all you need.
- Not chilling the cake long enough will result in a softer texture, which may collapse when sliced.
- Skipping the parchment paper can make removing the cake from the tin tricky, leading to a messy presentation.
Variations
- Add a layer of chocolate shavings between the cream layers for a chocolate twist.
- Use different nuts, like crushed hazelnuts or pecans, for a unique topping.
- For a fruity version, incorporate some raspberry or strawberry puree between the layers.
Serving Suggestions
This cake is best served chilled. Pair it with a strong espresso or a dollop of whipped cream on the side for an extra treat. Garnish with sprigs of mint for a refreshing touch.
Storage Instructions
Store leftovers in the refrigerator, covered, for up to three days. Keep in mind that the texture may soften as it sits, but the flavor will only improve!
Reheating Tips
This recipe doesn’t require reheating, as it’s best enjoyed chilled. However, if you find yourself with leftovers, simply allow them to come to room temperature for about 15 minutes before indulging.
Nutrition Estimate
- Calories: 450 per serving
- Protein: 5g
- Carbohydrates: 40g
- Fat: 30g
Recipe Summary
Prep Time: 25 minutes
Chill Time: 8 hours
Total Time: 8 hours 25 minutes
Servings: 10
Cuisine: Italian
Course: Dessert
Calories: 450
Frequently Asked Questions
Can I make this ahead of time?
Absolutely! This cake is perfect for making ahead, as the flavors meld beautifully after sitting overnight.
What can I use instead of ladyfingers?
Sponge cake cut into strips also works well and can be easier to find.
Is it possible to make it dairy-free?
Yes, you can use coconut cream and dairy-free mascarpone for a delicious alternative.
What if I don’t have a round cake tin?
Feel free to use any shape of a tin; just adjust the layering technique accordingly.
How do I make this gluten-free?
You can use gluten-free ladyfingers or a homemade gluten-free sponge to ensure it’s safe for those with gluten sensitivities.
This No-Bake Tiramisu Cake is sure to be a hit with everyone, and you’ll find that the simplicity of it makes it a favorite in your recipe repertoire. Enjoy every bite!