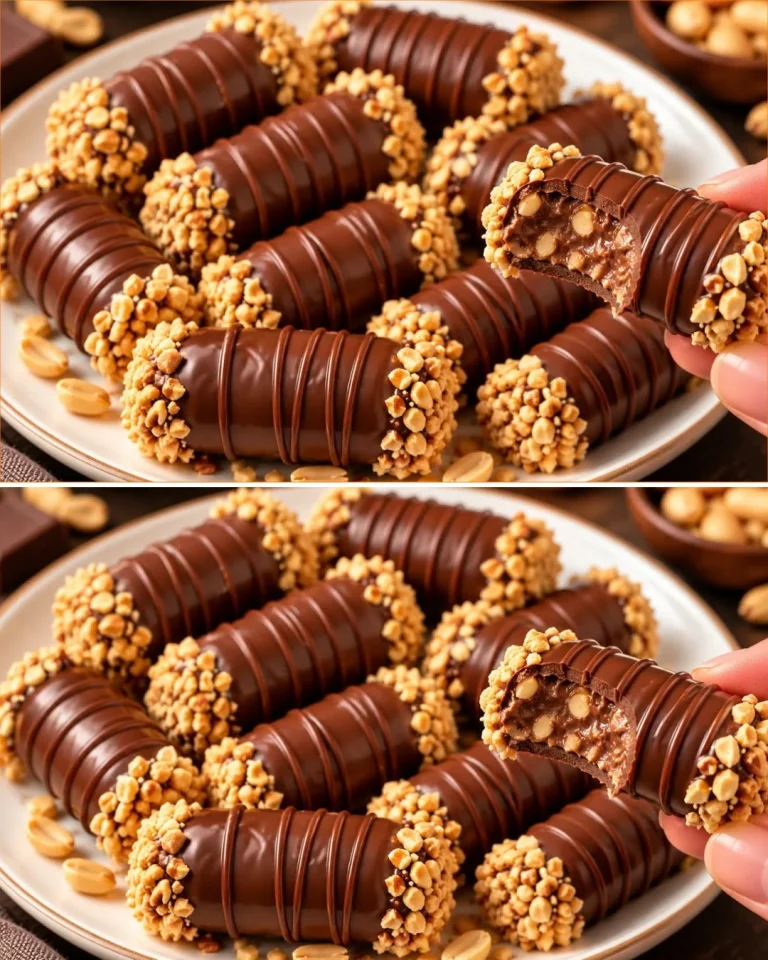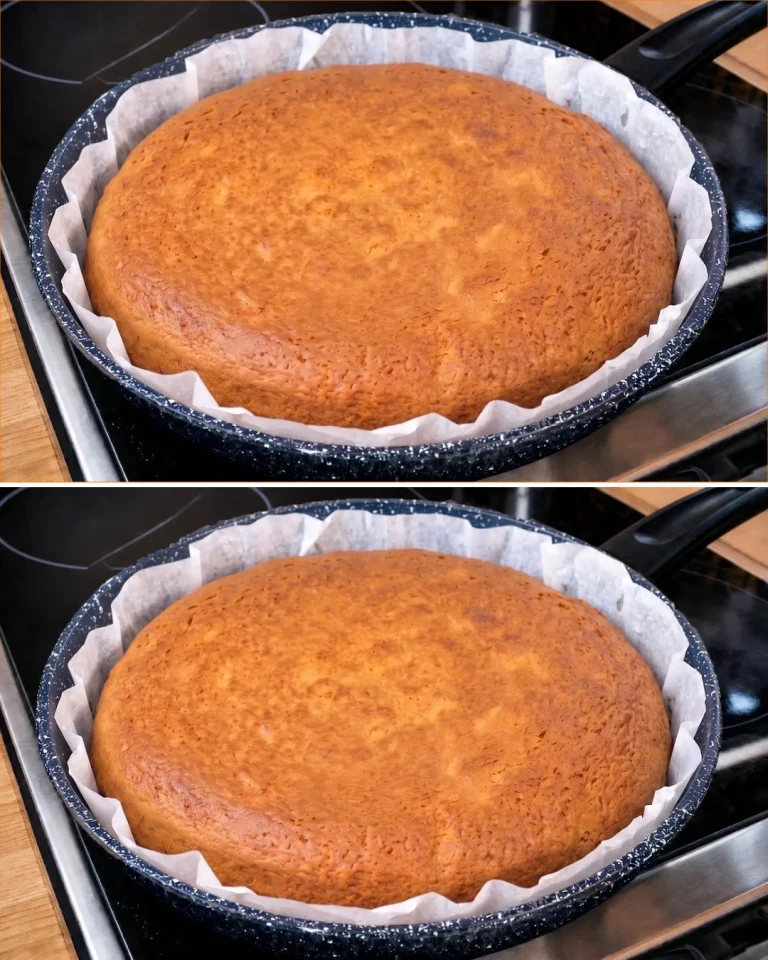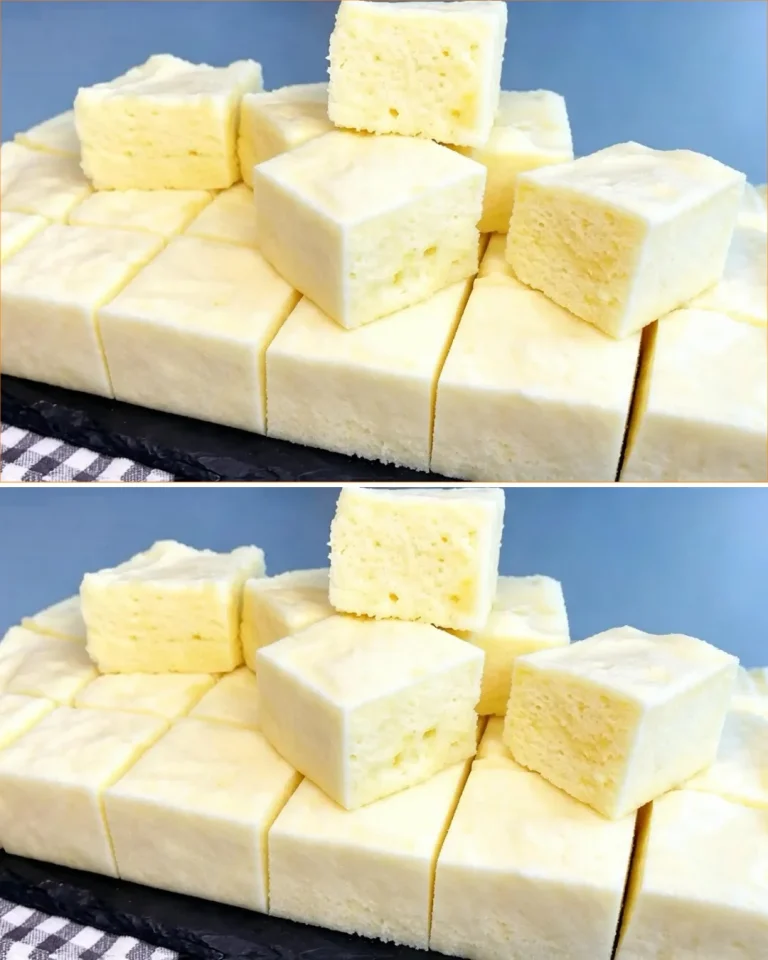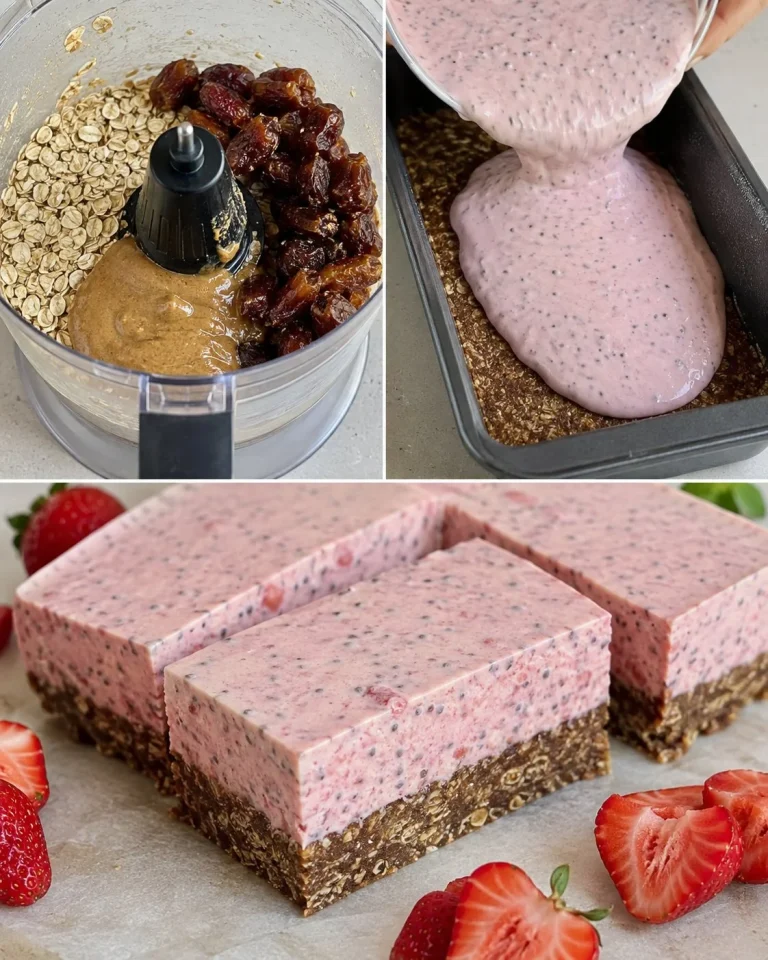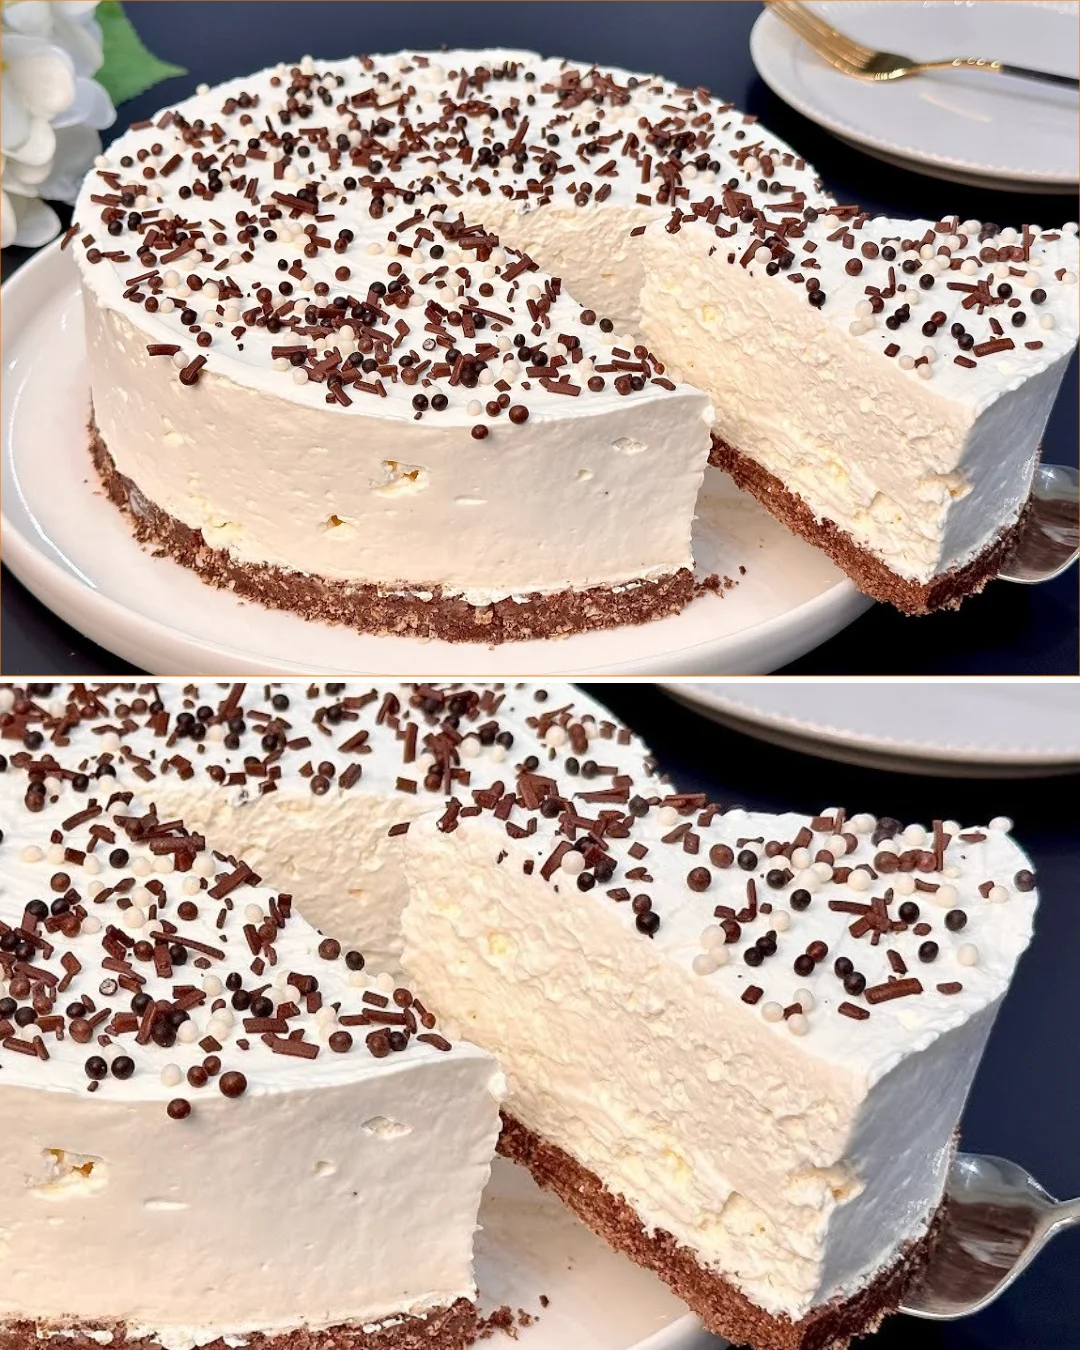
This no-bake cake has been capturing attention for its effortless preparation and delightful flavor. With a combination of creamy cheese, sweetened whipping cream, and luscious chocolate wafers, it’s a dessert that always impresses. I first made this cake for a family gathering, and the compliments flew as fast as the slices disappeared. It’s not just a cake; it’s a celebration of simple ingredients creating an indulgent treat. What surprised me most about this no-bake creation is how the flavors meld together after chilling, becoming even richer and creamier.
Why You’ll Love This Recipe
- Quick and easy to assemble, perfect for last-minute events.
- No baking means no heat required during hot summer months.
- The layers create a beautiful presentation, ideal for gatherings.
- You can customize the decorations to suit any occasion.
- The combination of textures—from creamy to crunchy—is simply addictive.
Ingredients
- 300g (10.5 oz) chocolate wafers
- 180g (6.3 oz) Philadelphia cream cheese or Mascarpone cheese
- 400ml (1.7 cups) sweetened whipping cream
- 200g (7 oz) sweetened condensed milk
- Optional decorations (e.g., grated chocolate, fresh berries, or nuts)
Ingredient Notes
- Chocolate Wafers: These provide a satisfying crunch. You can substitute with crushed cookies for a different flavor.
- Cream Cheese or Mascarpone: Both offer a rich, creamy base for the cake, but Mascarpone results in a slightly more decadent texture.
- Sweetened Whipping Cream: Ensure it’s well-chilled; this helps it whip up fluffy and stable.
- Condensed Milk: Adds sweetness and creaminess, balancing the chocolate wafers perfectly.
Kitchen Tools Needed
- 22cm (9-inch) round cake mold or springform pan
- Mixing bowls
- Hand mixer or stand mixer
- Spatula
Step-by-Step Instructions
- Prepare the Mold: Start by lining the bottom of a 22cm (9-inch) mold with parchment paper for easy removal later.
- Layer the Base: Arrange a layer of chocolate wafers at the bottom of the mold, fitting them closely together.
- Mix the Creamy Filling: In a large bowl, beat together the Philadelphia cream cheese or Mascarpone cheese with the sweetened whipping cream and condensed milk using a hand mixer. Mix until the mixture is smooth and thickened, about 2-3 minutes. You want it to hold its shape but not be overly stiff.
- Add a Creamy Layer: Pour a generous layer of the creamy mixture over the chocolate wafers, ensuring an even spread.
- Repeat Layers: Continue layering with more wafers and the creamy mix, finishing with a final layer of the creamy mixture on top.
- Chill: Cover the mold with plastic wrap and refrigerate for at least 2 hours (or overnight) to allow it to set properly.
- Decorate and Serve: Once chilled, remove the cake from the mold, decorate as desired, and slice to enjoy!
Pro Tips
- Whipping the cream to the right consistency can make a big difference; aim for soft peaks for optimal fluffiness.
- If you find the cream too thick, add a bit more condensed milk to adjust the sweetness and texture.
- For easier slicing, run a knife under hot water before cutting the cake, wiping it clean between cuts.
- Let the cake chill overnight for the best flavor development and texture.
Common Mistakes to Avoid
- Skipping the chilling step can result in a runny cake. Always allow adequate time for the cake to set.
- Mixing the cream too long can lead to a grainy texture; stop when you see soft peaks.
- Not using parchment can make it tricky to remove the cake intact. Always line your mold!
Variations
- Fruit Layer: Add fresh fruit like strawberries or bananas between layers for a fruity twist.
- Chocolate Ganache Topping: Drizzle a chocolate ganache over the top for extra indulgence.
- Nutty Crunch: Fold in crushed nuts into the creamy mixture for a delightful textural contrast.
- Flavored Cream Cheese: Use flavored cream cheese like strawberry or vanilla white chocolate for a unique taste.
Serving Suggestions
Slice the cake into generous servings and plate with a sprinkle of grated chocolate or a few fresh berries on the side. A dollop of whipped cream can elevate this dessert even further.
Storage Instructions
Store any leftovers covered with plastic wrap in the refrigerator for up to 3 days. The texture remains stable, but it’s best enjoyed fresh.
Reheating Tips
This no-bake dessert is best served cold. If needed, let it sit at room temperature for about 10 minutes before serving to soften slightly.
Nutrition Estimate
Calories: 300 per serving
Protein: 4g
Carbohydrates: 30g
Fat: 20g
Recipe Summary Card
- Prep Time: 15 minutes
- Cook Time: 0 minutes
- Total Time: 2 hours 15 minutes (including chilling)
- Servings: 10
- Cuisine: American
- Course: Dessert
- Calories: 300
Frequently Asked Questions
-
Can I use dairy-free alternatives?
Yes, you can substitute with dairy-free cream cheese and coconut whipped cream. -
How can I make this cake less sweet?
Reduce the amount of condensed milk to suit your taste. -
Is it necessary to use a springform pan?
While it helps with removal, a regular cake pan lined with parchment will work too. -
Can I freeze this cake?
Freezing is not recommended, as it can change the texture of the creamy filling.
Conclusion
This delightful no-bake cake is sure to become a favorite for its simplicity and deliciousness. With just a few ingredients, you can create an unforgettable dessert that will impress family and friends alike.
Tested Note
After testing the recipe a second time, I found that allowing it to chill overnight truly enhances the flavor and texture—it’s worth the wait!
No-Bake Chocolate Wafer Cake
A delightful and effortless no-bake cake combining creamy cheese, sweetened whipping cream, and chocolate wafers, perfect for any occasion.
For the Cake Layers
- 300 g chocolate wafers (These provide a satisfying crunch. You can substitute with crushed cookies for a different flavor.)
For the Cream Filling
- 180 g Philadelphia cream cheese or Mascarpone cheese (Both offer a rich, creamy base for the cake.)
- 400 ml sweetened whipping cream (Ensure it’s well-chilled for optimal fluffiness.)
- 200 g sweetened condensed milk (Adds sweetness and creaminess, balancing the chocolate wafers perfectly.)
Optional Decorations
- grated chocolate, fresh berries, or nuts (Customize the decorations to suit any occasion.)
Preparation
- Start by lining the bottom of a 22cm (9-inch) mold with parchment paper for easy removal later.
- Arrange a layer of chocolate wafers at the bottom of the mold, fitting them closely together.
- In a large bowl, beat together the Philadelphia cream cheese or Mascarpone cheese with the sweetened whipping cream and condensed milk using a hand mixer until smooth and thickened, about 2-3 minutes.
- Pour a generous layer of the creamy mixture over the chocolate wafers, ensuring an even spread.
- Continue layering with more wafers and the creamy mix, finishing with a final layer of the creamy mixture on top.
- Cover the mold with plastic wrap and refrigerate for at least 2 hours (or overnight) to allow it to set properly.
Serving
- Once chilled, remove the cake from the mold, decorate as desired, and slice to enjoy!
Whipping the cream to the right consistency can make a big difference; aim for soft peaks for optimal fluffiness. For easier slicing, run a knife under hot water before cutting the cake. Let the cake chill overnight for the best flavor development and texture.