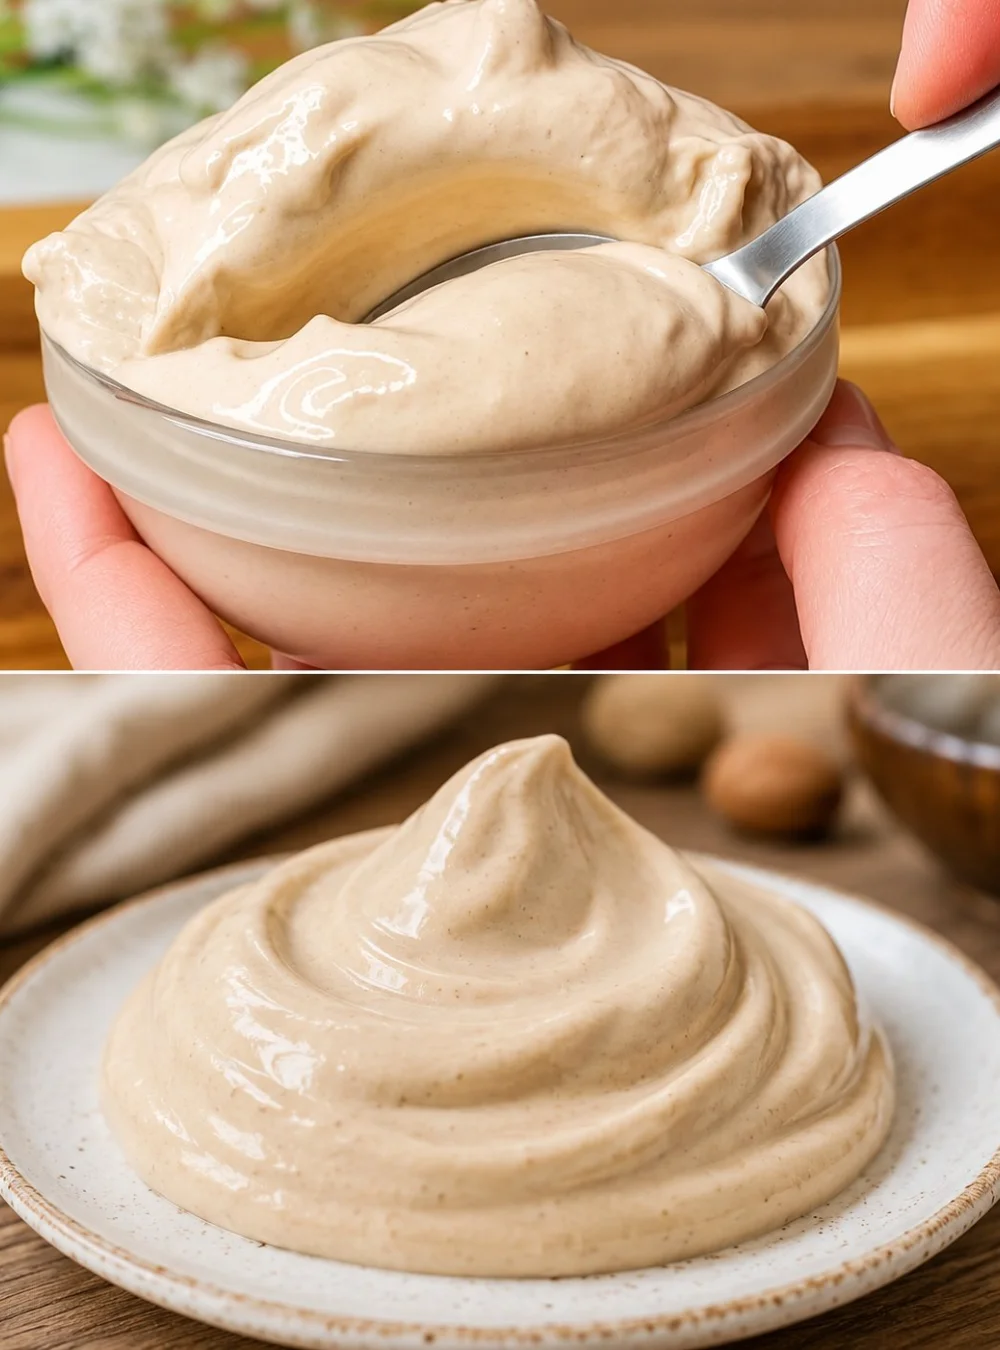
Nothing beats the hot summer heat like a scoop of creamy homemade ice cream, and this Creamy Coffee Ice Cream is the perfect way to indulge your cravings. With just a few simple ingredients, you can create a delightful treat that combines the rich flavor of coffee with a velvety texture. It’s an absolute favorite for coffee lovers and easy enough for anyone to prepare. I love making this ice cream on warm weekends, adding my favorite mix-ins for a personalized touch. It’s a refreshing break from store-bought varieties and wonderfully satisfying to create something from scratch.
Why You’ll Love This Recipe
- No Ice Cream Maker Needed: This recipe is simple enough to make without specialized equipment.
- Quick to Prepare: With minimal prep time, you can whip this up and have it ready to freeze in minutes.
- Customize It: Add chocolate chips, nuts, or your favorite cookie pieces for an extra crunch or flavor burst.
- Adjust the Sweetness: You can easily tweak the sweetness to suit your taste using sugar, honey, or syrup.
- Creamy Texture: Using whipping cream gives this ice cream a rich, indulgent consistency that’s utterly satisfying.
Ingredients
- 1 tsp organic coffee ground into a very fine powder
- 1 tbsp (15 ml) water
- 1 cup (250 ml) whipping cream
- 2 tbsp (30 g) sugar (adjustable, can be replaced with honey, maple syrup, or date syrup)
- Optional: 1/2 cup (90 g) chocolate chips
- Optional: 1/4 cup (40 g) chopped hazelnuts or almonds
- Optional: 1/2 cup (50 g) cookie pieces
Step-by-Step Instructions
-
Dissolve the Coffee: In a small bowl, combine the finely ground coffee with the water. Stir until the coffee is fully dissolved.
-
Combine Ingredients: In a bottle, jar, or freezer-safe container, mix the whipping cream with the sugar until well combined.
-
Add Coffee Mixture: Pour the dissolved coffee mixture into the cream and sugar, and shake the container well to ensure everything is thoroughly mixed.
-
Initial Freezing: Place the container in the freezer for about 30 minutes.
-
Shake Again: After 30 minutes, take the container out and give it another shake until you no longer hear the liquid sloshing around. This step is crucial for achieving that smooth ice cream texture.
-
Mix in Your Favorite Add-Ins: If you’re making a coffee-chocolate version, stir in chocolate chips before freezing. For a crunchy texture, fold in chopped hazelnuts or almonds, or add cookie pieces for a fun twist.
-
Final Freeze: Return the container to the freezer for at least another hour to firm up completely before serving.
Pro Tips
- For best results, use heavy whipping cream for an extra creamy texture.
- Make sure the coffee is finely ground; larger granules may not dissolve well and could affect the texture.
- Experiment with different types of sweeteners and see what you prefer; maple syrup gives a nice flavor profile.
- If you want a smoother texture, stir the mixture a couple of times during the freezing process.
Common Mistakes
- Skipping the initial shaking step could leave you with a texture that’s too icy.
- Using regular coffee grounds instead of finely ground coffee may lead to graininess.
- Not freezing long enough can result in a mushy ice cream instead of a firm scoop.
Variations
- Mocha Madness: Add 1/4 cup (30 g) chocolate syrup to the mixture before freezing for a richer chocolate-coffee flavor.
- Nutty Flavor: Mix in a tablespoon of hazelnut spread for a nutty twist.
- Vanilla Delight: Add a teaspoon of vanilla extract for a vanilla undertone that complements the coffee.
- Holiday Spice: Sprinkle in a dash of cinnamon or nutmeg before mixing for a warm, spiced flavor.
Serving Suggestions
Scoop out generous portions into bowls or cones and garnish with whipped cream, an extra sprinkle of coffee powder, or a drizzle of chocolate sauce. This ice cream makes for a delightful dessert to impress guests or a cozy treat after dinner.
Storage Instructions
Store any leftovers in an airtight container in the freezer. For the best texture, consume within a week or so. The ice cream will harden as it freezes, so let it sit out at room temperature for a few minutes before scooping if it’s too hard.
Nutrition Estimate
Approximately 180 calories per serving, 2g protein, 12g carbs, and 15g fat, depending on any additional mix-ins and sweeteners used.
Frequently Asked Questions
Can I make this ice cream without whipping cream?
Using whole milk instead of whipping cream is possible, but the texture will be less creamy and more icy.
How can I make this dairy-free?
You can substitute the whipping cream with coconut cream or another non-dairy alternative.
Can I use espresso instead of coffee grounds?
Yes, finely powdered espresso works well; just adjust the amount based on your taste preference.
How long will it last in the freezer?
For the best quality, enjoy it within a week, but it should last about two weeks if stored properly.
Creamy Coffee Ice Cream is not only a delicious way to beat the heat but a lovely nod to the simple pleasures of summer. Enjoy making and sharing it with those you love!