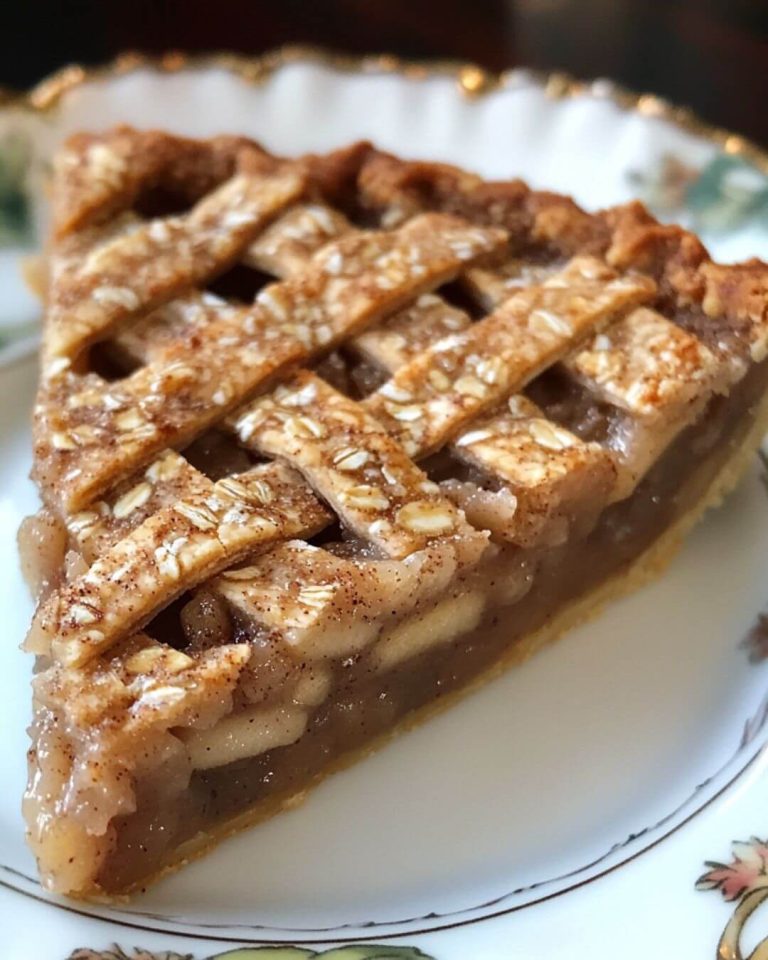
As an avid baker who’s experimented with countless pie recipes, I can confidently say that this Chai-Spiced Apple Pie with Oat Crust brings a uniquely aromatic and nutritious spin to traditional apple pie. The combination of warming chai spices and nutty oat crust transforms this beloved dessert into something truly extraordinary. The oat flour crust not only adds a wonderful texture but also makes this pie a more wholesome option for those seeking alternatives to traditional wheat flour crusts.
Prep Time
- Preparation: 45 minutes
- Chilling: 30 minutes
- Baking: 45 minutes
- Total Time: 2 hours
Ingredients
For the Oat Crust
- 2 cups (200g) oat flour
- 1/2 cup (113g) cold unsalted butter, cubed
- 1/4 cup (60ml) ice-cold water
- 1 tablespoon (15ml) honey
- 1/4 teaspoon fine sea salt
For the Chai-Spiced Apple Filling
- 6 cups (approximately 6-7 medium) apples, peeled and sliced (preferably a mix of Honeycrisp and Granny Smith)
- 1/3 cup (80ml) pure maple syrup
- 2 tablespoons (16g) cornstarch
- 1 tablespoon homemade chai spice blend (2 tsp ground cinnamon, 1/2 tsp ground ginger, 1/4 tsp ground cardamom, 1/4 tsp ground allspice, 1/8 tsp ground cloves)
- 1 teaspoon (5ml) pure vanilla extract
- 1/4 teaspoon fine sea salt
Detailed Instructions
Step 1: Preparing the Oat Crust
- In a food processor, pulse the oat flour and salt until combined.
- Add the cold, cubed butter and pulse until the mixture resembles coarse breadcrumbs.
- Combine the ice water and honey in a small bowl, stirring until honey dissolves.
- Slowly drizzle the honey-water mixture into the food processor while pulsing, until the dough just begins to come together.
- Turn the dough onto a lightly floured surface and form into two discs.
- Wrap each disc in plastic wrap and refrigerate for at least 30 minutes.
Step 2: Preparing the Filling
- In a large bowl, combine the peeled and sliced apples with maple syrup.
- In a separate small bowl, whisk together the cornstarch and chai spice blend.
- Sprinkle the spice mixture over the apples and toss gently to coat evenly.
- Add vanilla extract and salt, mixing until well combined.
- Let the mixture sit for 15 minutes to allow flavors to meld.
Step 3: Assembling and Baking
- Preheat your oven to 375°F (190°C). Position a rack in the lower third of the oven.
- Roll out the first disc of dough between two pieces of parchment paper to fit a 9-inch pie dish.
- Carefully transfer the crust to the pie dish, pressing gently into the corners.
- Pour the apple filling into the crust, arranging the slices evenly.
- Roll out the second disc and cut into 1-inch strips for the lattice top.
- Create a lattice pattern over the filling, trimming and crimping the edges.
- Place the pie on a baking sheet and bake for 45-50 minutes, or until the crust is golden brown and the filling is bubbling.
- Let cool for at least 30 minutes before serving.
Pro Tips
- For the flakiest crust, ensure all ingredients are cold before beginning.
- Use a mix of apple varieties for the best flavor and texture.
- If the crust edges brown too quickly, cover them with aluminum foil.
- Allow the pie to cool completely for clean slices.
Nutrition Information
Per serving (1/8 of pie):
- Calories: 320
- Total Fat: 14g
- Saturated Fat: 8g
- Cholesterol: 30mg
- Sodium: 150mg
- Total Carbohydrates: 48g
- Dietary Fiber: 4g
- Sugar: 24g
- Protein: 4g
Serves: 8
This Chai-Spiced Apple Pie with Oat Crust is perfect for special occasions or whenever you’re craving a comforting dessert with a healthy twist. The oat crust provides additional fiber and nutrients, while the chai spices add warming complexity to the classic apple filling. Store any leftovers covered at room temperature for up to 2 days, or refrigerated for up to 5 days. The pie can also be frozen for up to 3 months when wrapped properly.
