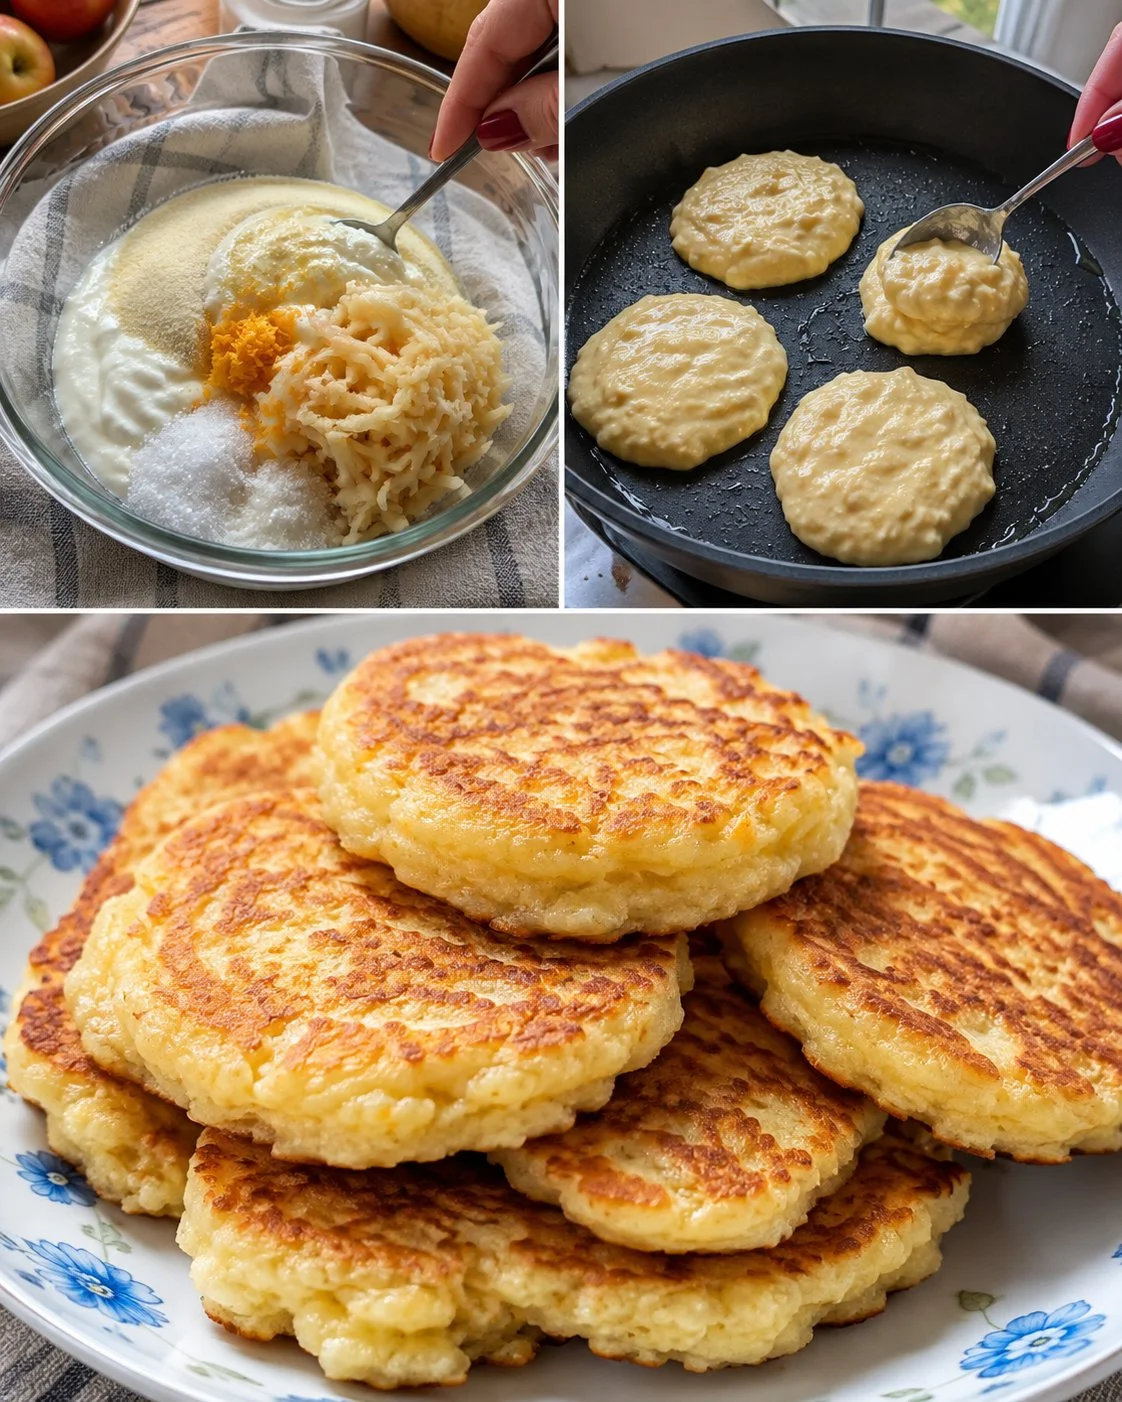
These apple semolina yogurt skillet cakes are my go-to when I want a pancake-like breakfast without pulling out flour or a mixer. Semolina gives them a hearty, gently chewy bite, yogurt keeps the crumb tender, and grated apple adds moisture and natural sweetness. They’re satisfying and kid-friendly, but they’re still a sweet breakfast (there’s added sugar plus fruit), so if you’re managing blood sugar or prefer very low-sugar mornings, you’ll want to keep portions modest or use the lighter swaps below. If you’re more of a classic fluffy pancake person, you might also like these fluffy apple yogurt pancakes for a softer, more traditional texture.
This recipe is best for home cooks who like simple stovetop breakfasts and want something filling that doesn’t rely on eggs. The batter looks thin at first—don’t panic. Give the semolina a short rest and it thickens into a spoonable, creamy mixture that cooks up beautifully in a nonstick skillet.
Why This Recipe Is Helpful
- Uses pantry staples (semolina, sugar, baking powder) plus one fresh apple.
- No eggs needed, yet the cakes still brown well and hold together.
- Semolina makes them more filling than many regular pancakes.
- The batter is forgiving—resting time does most of the work.
- Easy to scale up for a family breakfast or casual brunch.
- Works with lots of toppings, from jam to plain yogurt and fruit.
Who This Recipe Is Best For
If you like breakfast that feels hearty and warm (think: somewhere between pancakes and a griddled cake), this is a great fit. It’s also a good option for anyone who keeps yogurt on hand and wants a simple way to use up an apple that’s getting a bit soft. The texture is especially nice for people who enjoy a little bite—semolina doesn’t bake up as airy as white-flour pancakes, but it feels more substantial.
Who Should Be Careful
These skillet cakes contain added sugar and are mainly carbohydrate-based (semolina + apple), so they may not be ideal for people strictly managing blood sugar or those who feel best on very low-sugar breakfasts. They’re also cooked with oil, which adds richness—great for flavor and browning, but possibly heavy for anyone who prefers very low-fat meals. If you’re sensitive to dairy, you’ll need a yogurt alternative (see swaps).
Ingredients
- Semolina: 1 1/4 cups (150 g)
- Plain yogurt: 1/4 cup (50 g)
- Water: 1/2 cup (120 ml)
- Granulated sugar: 2 tablespoons (25 g)
- Neutral oil (plus more for the pan): 3 tablespoons (40 g)
- Baking powder: 1/2 teaspoon
- Orange zest: 1 teaspoon (from about 1 orange)
- Apple (medium): 1, grated (about 1 cup / 120–140 g)
Ingredient Notes
- Semolina: This is what gives the cakes their signature texture—slightly springy and satisfying. Fine semolina will feel a bit softer; coarser semolina will be more “gritty” if under-rested, so don’t skip the rest.
- Yogurt: Plain yogurt adds tenderness and a mild tang. If using Greek yogurt, thin it with a splash more water.
- Water: The batter will look loose initially; semolina absorbs as it sits.
- Oil: Rubbing oil into semolina (like making a quick “sandy” mixture) helps prevent clumps and improves the final crumb.
- Apple: Grating the apple blends it into the batter and adds moisture. If your apple is extra juicy, lightly squeeze it so the batter doesn’t get too wet.
- Orange zest: Optional but highly recommended—it lifts the flavor without needing more sugar.
Kitchen Tools Needed
- Mixing bowl
- Measuring cups/spoons or kitchen scale
- Box grater
- Nonstick skillet or well-seasoned pan
- Spatula
- Lid (or sheet pan) to lightly cover the batter while it rests
Step-by-Step Instructions
- Mix the dry ingredients. In a bowl, combine semolina, sugar, baking powder, and orange zest. Stir well so the baking powder is evenly distributed.
- Rub in the oil. Add the oil and use your fingers to rub it into the semolina until it looks like damp sand. This helps keep the batter smooth.
- Loosen the yogurt. In a cup or small bowl, mix the yogurt with about half the water (1/4 cup / 60 ml) until smooth.
- Combine wet and dry. Pour the yogurt mixture into the semolina bowl and stir. Add the remaining water and mix again. The batter may look runny—give it a minute and you’ll notice it starting to thicken.
- Fold in the apple. Grate the apple and gently fold it into the batter. Stop mixing as soon as it’s evenly combined to keep the cakes tender.
- Rest the batter. Cover and let the batter sit for 10–15 minutes. It should become thick and spoonable, like loose porridge. If it becomes too thick, add 1–2 teaspoons of water to loosen.
- Heat the skillet. Warm a nonstick pan over low to medium-low heat and brush with a little oil. (Too hot = browned outside, undercooked center.)
- Cook the cakes. Spoon batter into the pan to form small pancakes (about 3–4 inches / 8–10 cm wide). Cook 3–5 minutes per side, until golden and set. If they’re coloring too fast, lower the heat.
- Add a few drops of oil as needed. A tiny drizzle around the edges helps them cook through and brown evenly, especially in a drier pan.
- Serve warm. Enjoy right away with jam, honey, nut butter, or a spoon of yogurt and extra fruit.
Pro Tips
- Make them smaller than you think. Smaller cakes flip more cleanly and cook through without scorching.
- Let the semolina hydrate. That 10–15 minute rest is the difference between creamy and gritty.
- Use gentle heat. Semolina batters need a little longer to cook through than flour batters.
- Flip when the edges look set. You’ll see the surface lose its shine and the sides firm up.
- Keep the first batch as your “tester.” Adjust heat and cake size after the first one—every pan runs a bit different.
Healthier or Lighter Swaps
- Reduce the sugar to 1 tablespoon (12 g). With a sweet apple and orange zest, they’ll still taste breakfast-worthy.
- Use low-fat yogurt if you prefer; you may need a teaspoon less water.
- Serve with protein-friendly toppings like plain Greek yogurt or nut butter instead of syrupy spreads.
- Make mini cakes and stick to 2–3 per serving, adding fruit on the side for balance.
Common Mistakes
- Skipping the rest: Leads to gritty texture and cakes that fall apart.
- Cooking on high heat: They brown fast but stay wet inside.
- Overmixing after adding apple: Can make the texture heavier and less tender.
- Making them too large: The centers take longer and can stay undercooked.
- Not enough pan oil: They can stick or cook unevenly, especially on the first batch.
Variations
- Cinnamon-apple: Add 1/2 teaspoon cinnamon to the dry mix.
- Raisin or chopped date: Fold in 2 tablespoons (20–25 g) for extra sweetness (best if you reduce the sugar slightly).
- Lemon zest instead of orange: Brighter, more tangy flavor.
- Pear instead of apple: Same method, slightly softer and more delicate sweetness.
Serving Suggestions
Serve these warm with:
- A spoonful of yogurt and sliced fruit for a more balanced plate
- Jam or honey for a treat-style breakfast
- Nut butter for a more filling option
- A sprinkle of extra orange zest or cinnamon sugar if you want them more dessert-like
If you’re serving kids, I like keeping toppings on the side so everyone can choose their own.
Storage Instructions
Let leftovers cool completely, then store in an airtight container:
- Fridge: up to 3 days
- Freezer: up to 2 months (separate layers with parchment so they don’t stick)
Reheating Tips
- Skillet (best): Warm on low with a tiny brush of oil, 1–2 minutes per side.
- Microwave (fast): 20–40 seconds, covered, then let sit 1 minute so the center heat evens out.
- Toaster oven: 300°F (150°C) for 6–8 minutes until warmed through.
Nutrition Estimate
Per serving (assumes 3 servings total; values are estimates and will vary by exact ingredients and portion size):
- Calories: ~300
- Protein: ~5 g
- Carbohydrates: ~40 g
- Fat: ~14 g
Recipe Summary
- Prep Time: 10 minutes
- Cook Time: 15 minutes
- Total Time: 25–30 minutes (includes resting)
- Servings: 3
- Cuisine: Mediterranean-inspired / modern home cooking
- Course: Breakfast / Brunch
- Calories: ~300 per