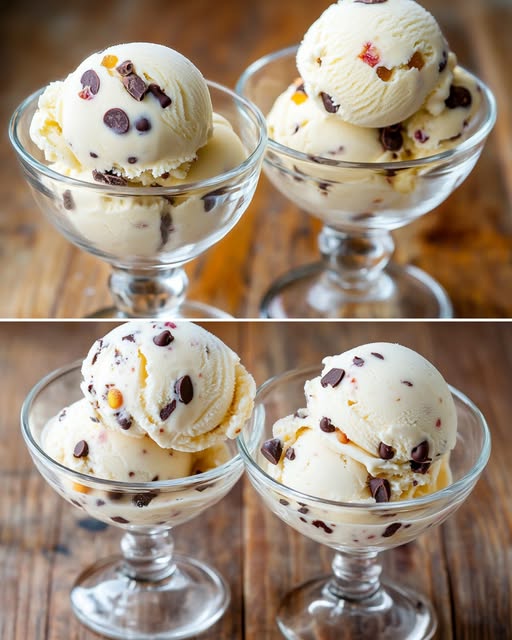
This homemade vanilla chocolate chip ice cream recipe proves that the best desserts often come from the simplest ingredients. With just three basic components, you can create a creamy, rich ice cream that rivals any store-bought variety. This easy ice cream recipe delivers professional-quality results without requiring an ice cream maker or complicated techniques.
Ingredients
For the custard base:
- 4 large egg yolks
- 120g (4.2 oz / ½ cup) granulated sugar
- 200ml (¾ cup + 1 tablespoon) whole milk
For the ice cream:
- 420ml (1¾ cups) heavy cream (33-36% fat content)
- 30g (1 oz) dark chocolate, finely chopped
Equipment Needed
- Medium saucepan
- Fine-mesh sieve
- Large mixing bowl
- Electric mixer or whisk
- Freezer-safe container with lid
- Aluminum foil
Step-by-Step Instructions
Preparing the Custard Base
Step 1: In a medium saucepan, gently heat the milk over medium-low heat until it just begins to steam and small bubbles form around the edges. Do not allow the milk to reach a full boil, as this can cause curdling.
Step 2: While the milk heats, whisk the egg yolks and sugar together in a large bowl until the mixture becomes pale yellow and slightly thickened, approximately 2-3 minutes of vigorous whisking.
Step 3: Once the milk is heated, slowly pour about one-third of the hot milk into the egg yolk mixture while whisking continuously. This process, called tempering, prevents the eggs from scrambling.
Step 4: Gradually add the remaining hot milk while continuing to whisk, ensuring the mixture remains smooth and lump-free.
Step 5: Pour the entire mixture back into the saucepan and cook over low heat, stirring constantly with a wooden spoon or heat-resistant spatula. The custard is ready when it coats the back of the spoon and reaches 170°F (77°C).
Step 6: Immediately strain the custard through a fine-mesh sieve into a clean bowl to remove any lumps or cooked egg pieces.
Step 7: Cover the custard with plastic wrap, pressing it directly onto the surface to prevent a skin from forming. Refrigerate for at least 2 hours or until completely chilled.
Creating the Ice Cream
Step 8: In a large bowl, whip the heavy cream using an electric mixer on medium-high speed until it forms soft peaks, approximately 3-4 minutes. Be careful not to overwhip, as this can create butter.
Step 9: Gently fold the chilled custard into the whipped cream using a large spoon or spatula, combining them with gentle folding motions to maintain the cream’s airy texture.
Step 10: Fold in the finely chopped chocolate pieces, distributing them evenly throughout the mixture.
Step 11: Transfer the ice cream mixture to a freezer-safe container, smoothing the top with a spatula.
Step 12: Cover tightly with aluminum foil, then place the lid on top. This double coverage prevents ice crystals from forming.
Step 13: Freeze for at least 3 hours for a soft-serve consistency, or 6-8 hours for firm scooping texture.
Nutritional Information
Prep Time: 30 minutes
Chill Time: 2 hours
Freeze Time: 3-8 hours
Total Time: 5-10 hours
Servings: 6-8 portions
Per serving (based on 6 servings):
- Calories: 285
- Fat: 24g
- Saturated Fat: 15g
- Cholesterol: 165mg
- Sodium: 45mg
- Carbohydrates: 16g
- Sugars: 16g
- Protein: 4g
Recipe Variations and Substitutions
Flavor Variations
Vanilla Bean Ice Cream: Add 1 teaspoon of pure vanilla extract or scrape the seeds from 1 vanilla bean pod into the custard base for enhanced vanilla flavor.
Strawberry Swirl: Fold in 100g of pureed fresh strawberries after step 9 for a fruity twist.
Coffee Ice Cream: Dissolve 2 tablespoons of instant coffee in the hot milk before tempering the eggs.
Mint Chocolate Chip: Add ½ teaspoon of peppermint extract and a few drops of green food coloring to create classic mint chocolate chip ice cream.
Ingredient Substitutions
Lower Fat Option: Replace heavy cream with a combination of 300ml whole milk and 120ml heavy cream, though the texture will be less rich.
Dairy-Free Alternative: Use coconut cream instead of heavy cream and coconut milk instead of regular milk for a vegan version.
Sugar Alternatives: Replace granulated sugar with 100g of honey or maple syrup, adjusting the liquid content accordingly.
Chocolate Options: Substitute dark chocolate with milk chocolate chips, white chocolate pieces, or crushed cookies for different flavor profiles.
Storage and Serving Tips
Store homemade ice cream in an airtight container in the freezer for up to 1 month. For optimal texture, allow the ice cream to soften at room temperature for 5-10 minutes before scooping. Press plastic wrap directly onto the surface before closing the container to prevent ice crystal formation.
Troubleshooting Common Issues
If your custard curdles during cooking, immediately strain it through a fine-mesh sieve and whisk vigorously. For grainy texture, ensure the custard is completely cooled before combining with whipped cream. If the ice cream becomes too hard, the freezer temperature may be too low, or the mixture needs more fat content.
Frequently Asked Questions
Can I make this ice cream without an ice cream maker? Yes, this recipe is specifically designed for making ice cream without a machine. The combination of custard base and whipped cream creates a smooth texture naturally.
How long does homemade ice cream last in the freezer? Properly stored homemade ice cream maintains its best quality for 2-3 weeks in the freezer, though it remains safe to eat for up to 1 month.
Why is my ice cream too soft or too hard? Soft ice cream may indicate insufficient freezing time or too much sugar. Hard ice cream often results from low freezer temperatures or insufficient fat content. Adjust accordingly for your preferred consistency.
Can I use egg whites instead of just yolks? This recipe specifically requires egg yolks for richness and emulsification properties. Egg whites would create a different texture and wouldn’t provide the same creamy results.
What’s the best way to prevent ice crystals from forming? Ensure the custard is completely cooled before combining with cream, cover tightly with plastic wrap touching the surface, and maintain consistent freezer temperature. Consuming the ice cream within 2-3 weeks also helps maintain optimal texture.
This simple three-ingredient ice cream recipe proves that exceptional desserts don’t require complicated techniques or expensive equipment. With basic pantry staples and proper technique, you can create restaurant-quality ice cream in your own kitchen that’s fresher, more economical, and infinitely more satisfying than store-bought alternatives.