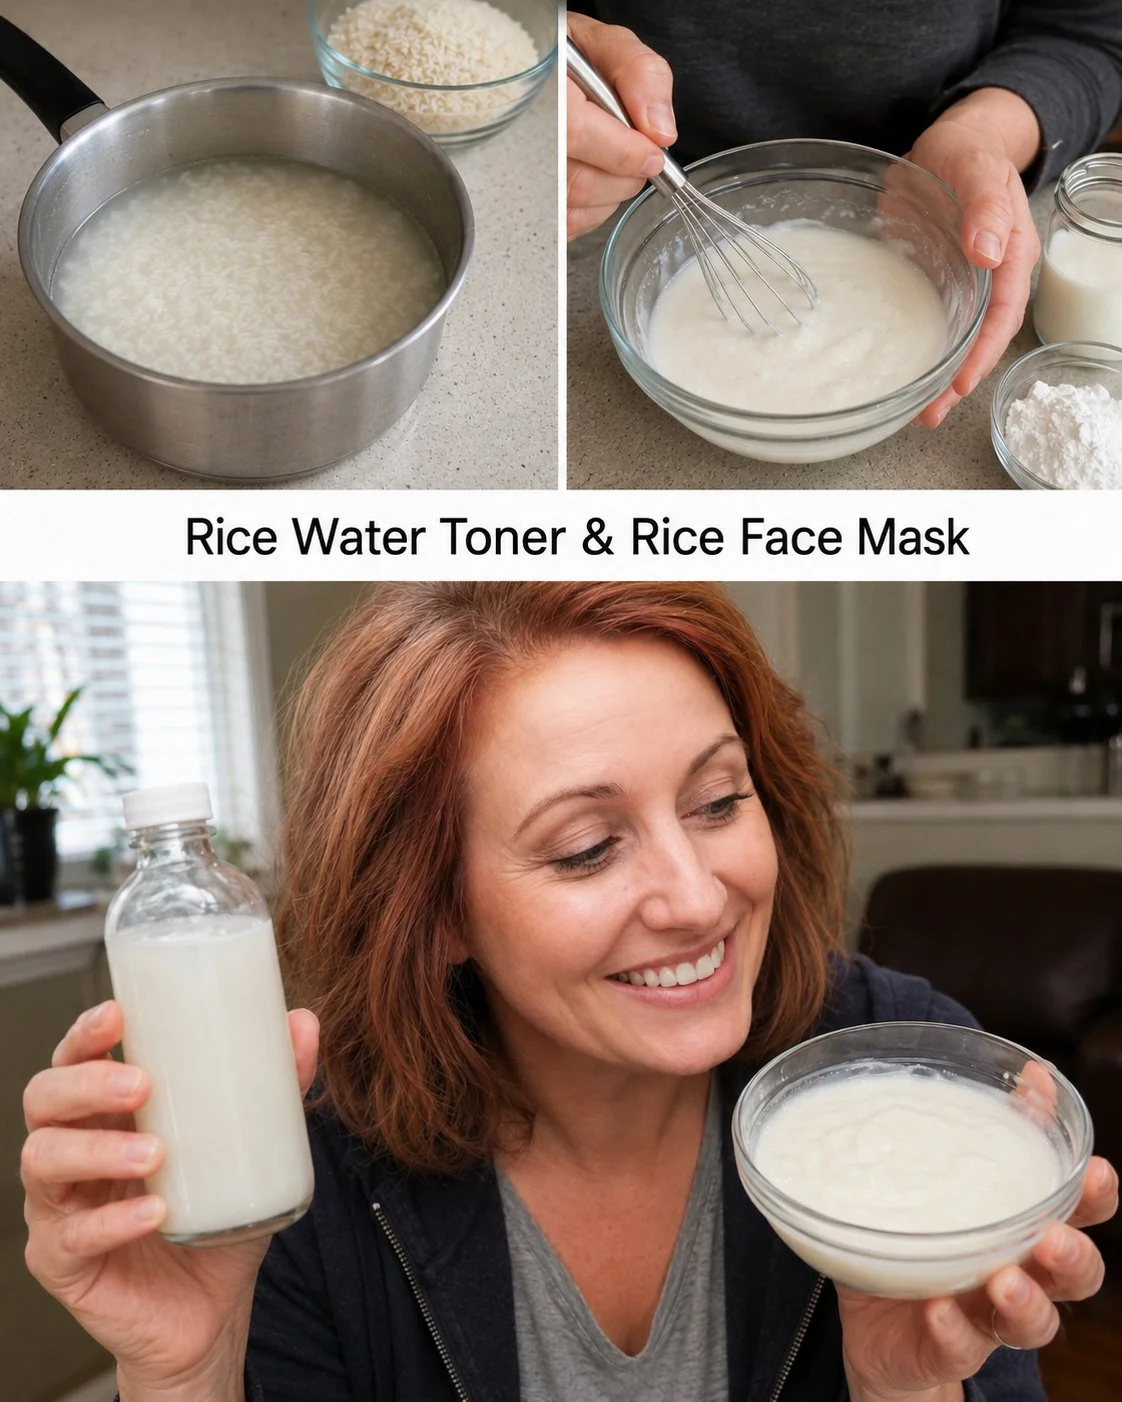
Rice water has gained popularity for its potential skin benefits, making it a fantastic ingredient for a toner and face mask. This simple recipe harnesses the power of rice water, mixed with milk and cornstarch, to create a soothing and hydrating treatment for your skin. It’s especially appealing to those looking for natural beauty solutions, though patch testing is recommended for anyone with sensitive skin.
Those who enjoy DIY beauty treatments will appreciate how easy and effective this rice water toner and face mask can be. It gives a refreshing feeling while also providing a lovely texture that’s easy to apply and remove, making it a great addition to your self-care routine.
Why This Recipe Is Helpful
- Rice water is known for its anti-inflammatory properties and is often used to soothe irritated skin.
- The inclusion of milk adds nourishing fats and proteins that can help moisturize.
- Cornstarch lends a lovely smoothness to the mask, making application easy and mess-free.
- This combination may provide a natural and gentle way to pamper your skin at home.
Who This Recipe Is Best For
This recipe is perfect for anyone looking for an affordable and simple way to enhance their skincare routine, especially those who prefer natural ingredients. Busy individuals or families could find it a convenient and effective option for skin hydration without the need for lengthy preparations.
Who Should Be Careful
It’s important for those with sensitive skin to perform a patch test before full application, as some might react negatively to new ingredients. This mask should be enjoyed in moderation, especially by those with specific skin conditions or allergies.
Ingredients
- 1 cup (240 ml) rice
- 2 cups (480 ml) water
- 2 tablespoons (30 ml) prepared rice water
- 1 tablespoon (15 ml) milk
- 1/2 tablespoon (7.5 g) cornstarch
Ingredient Notes
- Rice: Using white rice is most common, but any variety will do. Rice water is rich in vitamins and minerals.
- Milk: Whole milk is preferred for its creaminess; alternatives like almond or oat milk can also be used.
- Cornstarch: This ingredient helps to thicken the mask, making it easier to apply and enhancing its texture.
Kitchen Tools Needed
- Saucepan
- Fine mesh strainer
- Mixing bowl
- Whisk or spoon for mixing
- Clean glass container for storage
Step-by-Step Instructions
- Rinse the rice well under cold water to remove excess starch.
- In a saucepan, combine the rinsed rice and water.
- Bring the mixture to a boil, then lower the heat and let it simmer gently for 20–30 minutes.
- Once the rice is cooked, strain the liquid into a clean glass container, discarding the rice.
- Allow the rice water to cool completely before using.
- For the face mask, mix 2 tablespoons of the prepared rice water with 1 tablespoon of milk and 1/2 tablespoon of cornstarch in a small bowl until smooth.
- Apply a thin, even layer to clean skin, avoiding the eye area.
- Leave the mask on for 10–15 minutes, then rinse it off with lukewarm water.
Pro Tips
- Ensure that the rice is rinsed thoroughly to maximize the purity of the rice water.
- Make the rice water ahead of time and store it in the refrigerator for up to 3–4 days for maximum freshness.
- For extra hydration, consider adding a few drops of essential oils to the mask.
Healthier or Lighter Swaps
- You can reduce the cornstarch to lighten the consistency if a thinner mask is preferred.
- If dairy is a concern, substitute milk with a plant-based alternative.
Common Mistakes
- Not rinsing the rice well enough—this can lead to a cloudy, starchy water that is less effective.
- Allowing the mask to dry too long on the skin can lead to irritation; keep an eye on the time.
- Not patch testing before full application can result in unexpected skin reactions.
Variations
- Mix in a few drops of coconut oil for added hydration.
- Add a teaspoon of honey for its natural antibacterial properties.
- Incorporate finely mashed fruit like banana or avocado for additional nourishment.
Serving Suggestions
This toner and mask can be a part of a relaxing skincare routine. Pair it with chamomile tea or a good book for a rejuvenating self-care session.
Storage Instructions
Store any leftover rice water in a clean glass container in the refrigerator. It should be used within 3–4 days for the best results.
Reheating Tips
Reheating is not necessary, as the rice water can be applied cold from the fridge for a refreshing effect.
Nutrition Estimate
This recipe is primarily composed of water, rice, and dairy, meaning it lacks significant nutritional values like calories or fats that one typically would consider. However, it can be considered a low-calorie addition to your beauty routine.
Recipe Summary
- Prep Time: 10 minutes
- Cook Time: 30 minutes
- Total Time: 40 minutes
- Servings: Makes enough for multiple applications
- Cuisine: DIY Beauty
- Course: Skincare
- Calories: 40 per mask serving (estimate)
Frequently Asked Questions
Is this recipe good for digestion?
While the rice water itself isn’t ingested in this recipe, the health benefits of rice for digestive health can be acknowledged.
Is this recipe suitable for people managing blood sugar?
As it’s for topical use, the ingredients don’t significantly affect blood sugar levels, but watch out for any skin sensitivity.
Can I make this recipe lighter?
You can adjust the amount of cornstarch or milk to create a lighter texture if desired.
Is this recipe good for kids?
The natural ingredients make it a gentle option, but always patch test, especially with young skin.
Can this recipe be meal-prepped?
Yes, you can prepare the rice water ahead of time and keep it in the refrigerator for several days.
For those seeking additional insights into natural skincare treatments, consider exploring this banana peel and cornstarch face mask, which offers its own unique benefits for your skin.