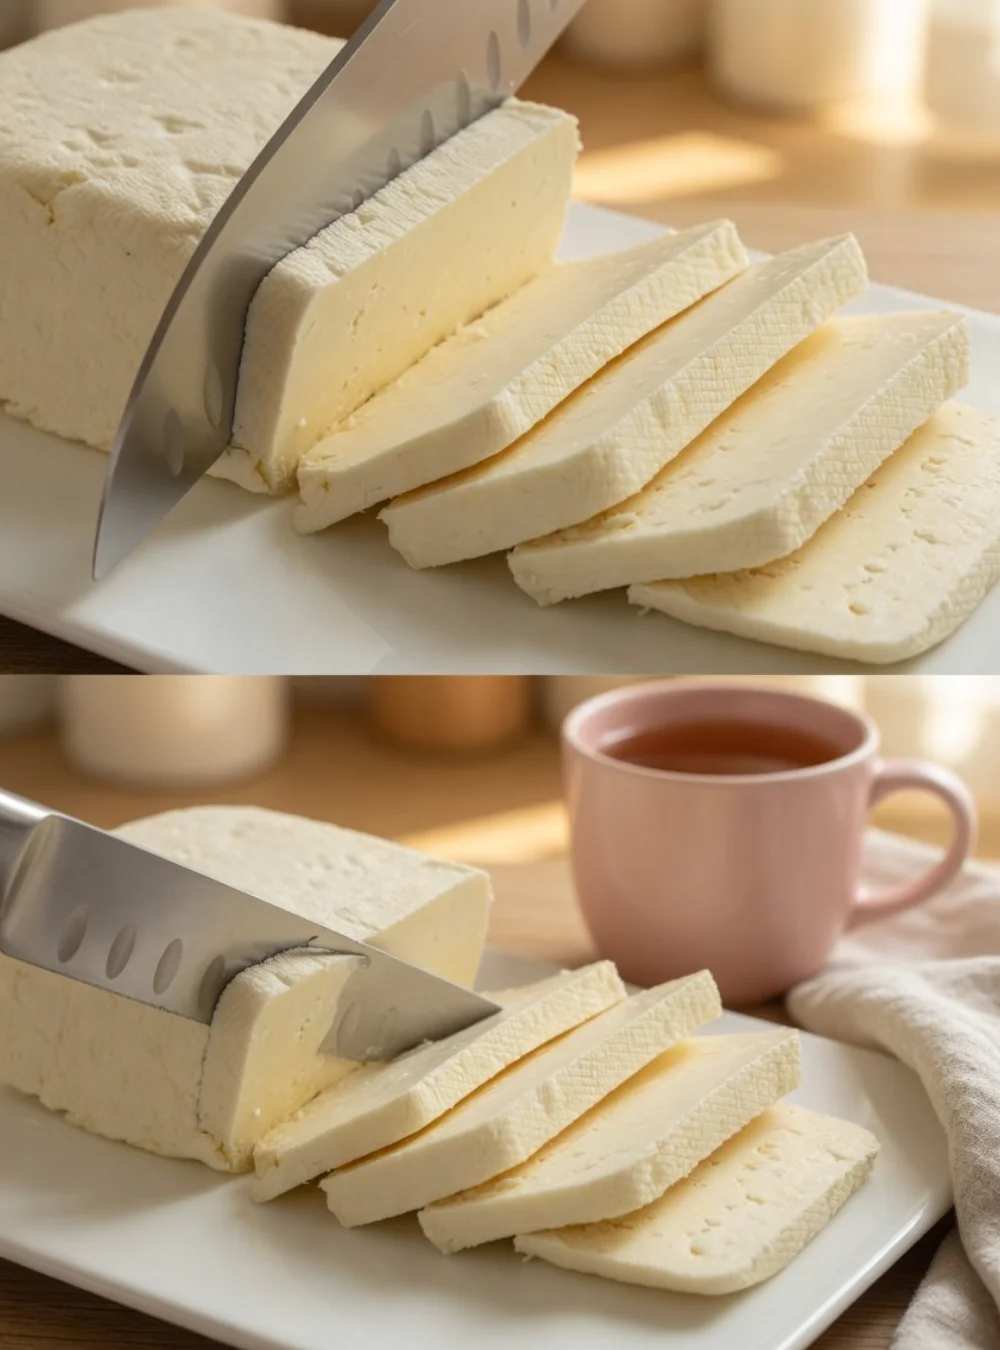
There’s something special about making your own cheese at home. It’s not just about the fresh, creamy texture; it’s also about creating a personal connection to your food and tapping into old family recipes. This homemade cheese recipe, handed down from my great-grandmother, is a cherished favorite in my family. It’s incredibly easy to whip up—ready in just 5 minutes—and perfect for snacking, spreading on crackers, or adding to your favorite dishes. The simplicity of the process allows for creativity, so you can infuse it with various herbs or spices as you like.
Why You’ll Love This Recipe
- Quick preparation: You can make cheese in just 5 minutes.
- Versatile: Perfect for a variety of dishes or as a stand-alone snack.
- Family tradition: Enjoy a recipe passed down through generations.
- Fresh flavor: Experience the difference of homemade versus store-bought.
- Easy cleanup: Few tools and ingredients make for a clean kitchen.
Ingredients
- 1 cup (240 ml) milk
- ¼ cup (60 ml) vinegar or lemon juice
- ½ teaspoon (2 g) salt
- Herbs or spices for flavor (optional)
Kitchen Tools Needed
- Medium saucepan
- Wooden spoon
- Fine-mesh strainer or cheesecloth
- Bowl for collecting whey
Step-by-Step Instructions
- In a medium saucepan, pour the milk and slowly heat it over medium heat until it’s just about to boil, stirring occasionally to prevent scorching.
- Once the milk is steaming and bubbles are forming around the edges, remove it from heat.
- Stir in the vinegar or lemon juice and salt. Let sit for about 2 minutes, allowing the curds to form.
- Line a fine-mesh strainer with cheesecloth and place it over a bowl. Carefully pour the curds and whey into the strainer, allowing the whey to drain out.
- If you prefer a firmer cheese, let it drain longer. For a creamier texture, drain for just a few minutes.
- Transfer the cheese to a serving bowl, and mix in any herbs or spices you like before enjoying it fresh.
Pro Tips
- Use whole milk for the richest flavor and texture.
- Experiment with different acids like white wine vinegar or apple cider vinegar for unique flavor profiles.
- Be sure to monitor the milk closely as it heats to avoid burning; a lower heat and occasional stirring help maintain a gentle heat.
- Serve immediately for the freshest taste; the texture is best when the cheese is still warm.
Common Mistakes
- Bringing the milk to a rapid boil can cause it to scorch; aim for just steaming.
- Don’t skip the step of letting it sit after adding the acid; patience allows the curds to form properly.
- If you don’t drain enough, your cheese may end up too watery, so adjust based on your texture preference.
Variations
- Add chopped garlic and fresh chives for a savory twist.
- Mix in a touch of honey and cinnamon for a sweet version that pairs well with fruit.
- Incorporate spices like paprika or red pepper flakes for a kick.
Serving Suggestions
This cheese works wonderfully spread on crusty bread or crackers, paired with fresh fruits, or crumbled over salads. You can also incorporate it into pasta dishes or enjoy it simply with olive oil and herbs.
Storage Instructions
Store any leftover cheese in an airtight container in the refrigerator for up to 5 days. If it starts to dry out, add a little olive oil to maintain moisture.
Nutrition Estimate
Approximately 110 calories, 6 g protein, 7 g carbs, and 8 g fat per serving (2 tablespoons).
Frequently Asked Questions
Can I use low-fat milk for this recipe?
Yes, but whole milk yields the best flavor and texture.
What if I don’t have vinegar or lemon juice?
You can use other acids, like citric acid or even yogurt, but flavors may vary.
Is this cheese suitable for baking?
While it can be added to baked dishes, it’s best enjoyed fresh. If you want to bake it, consider using it in a melted cheese dish shortly after making it.
Can I freeze this cheese?
It’s not recommended as freezing changes the texture; fresh is always best!
What can I do with the leftover whey?
Whey can be used in smoothies, soups, or as a protein boost in baking.
This recipe not only brings a touch of nostalgia but also the joy of making something from scratch that is both delicious and simple. Enjoy the process and the delightful results!
Homemade Cheese

A quick and easy recipe for making fresh homemade cheese in just 5 minutes, perfect for snacking or adding to your favorite dishes.
Main Ingredients
- 1 cup milk (Use whole milk for the best flavor and texture.)
- 0.25 cup vinegar or lemon juice (Can substitute with white wine vinegar or apple cider vinegar for unique flavors.)
- 0.5 teaspoon salt
- Herbs or spices for flavor (optional) (Try garlic, chives, honey, cinnamon, paprika, or red pepper flakes.)
Preparation
- In a medium saucepan, pour the milk and slowly heat it over medium heat until it’s just about to boil, stirring occasionally to prevent scorching.
- Once the milk is steaming and bubbles are forming around the edges, remove it from heat.
- Stir in the vinegar or lemon juice and salt, and let sit for about 2 minutes, allowing the curds to form.
- Line a fine-mesh strainer with cheesecloth and place it over a bowl. Carefully pour the curds and whey into the strainer, allowing the whey to drain out.
- If you prefer a firmer cheese, let it drain longer. For a creamier texture, drain for just a few minutes.
- Transfer the cheese to a serving bowl, and mix in any herbs or spices you like before enjoying it fresh.
Store leftover cheese in an airtight container in the refrigerator for up to 5 days.