Tapioca cake has been gaining popularity not just for its unique texture but also for its ability to bring a taste of nostalgia with its rich coconut flavor. While many recipes call for an oven, this no-bake version makes it accessible for those without one or looking for a simpler method. I remember the first time I tried a tapioca-based dessert; the combination of chewy and creamy was surprisingly delightful. With this recipe, you’ll find that the rich flavor profile of sweetened condensed milk and coconut milk takes this cake to new heights—trust me, you’ll want to make it again!
Why You’ll Love This Recipe
- No Oven Required: Perfect for hot days or small kitchens.
- Quick Preparation: Whip it up in under 30 minutes, excluding setting time.
- Chewy Texture: The granulated tapioca gives a pleasant bite with each slice.
- Customizable Flavors: Easy to adapt by adding different fruits or extracts.
- Vegan Option: Substitute with plant-based milk for a dairy-free dessert.
Ingredients
- 2 cups (310 g) granulated tapioca
- 3 cups (750 ml) hot milk
- 1 can (14 oz or 395 g) sweetened condensed milk
- 1 cup (240 ml) coconut milk
- 1/4 cup (25 g) shredded coconut, plus more for garnish
- 1/4 cup (40 g) powdered milk
Kitchen Tools Needed
- Large mixing bowl
- Whisk or spoon
- 9 x 3-inch (22 x 7 cm) baking pan
- Plastic wrap
- Refrigerator
Step-by-Step Instructions
-
Combine Dry Ingredients: In a large mixing bowl, mix the granulated tapioca, shredded coconut, and powdered milk.
-
Mix Wet Ingredients: In a separate container, whisk together the sweetened condensed milk and coconut milk until smooth.
-
Add Hot Milk: Gradually pour the hot milk into the tapioca mixture while stirring continuously. This is crucial to prevent lumps. Your mixture should be creamy and slightly thickened.
-
Rest the Mixture: Allow the mixture to sit for about 10-15 minutes so the tapioca can absorb the liquids and soften.
-
Prepare the Pan: Grease the bottom and sides of your baking pan with a bit of cooking spray or oil, then pour the tapioca mixture into it. Spread it out evenly.
-
Chill: Cover the pan with plastic wrap and place it in the refrigerator. Let it chill for at least 4 hours, or preferably overnight, until it is completely set.
-
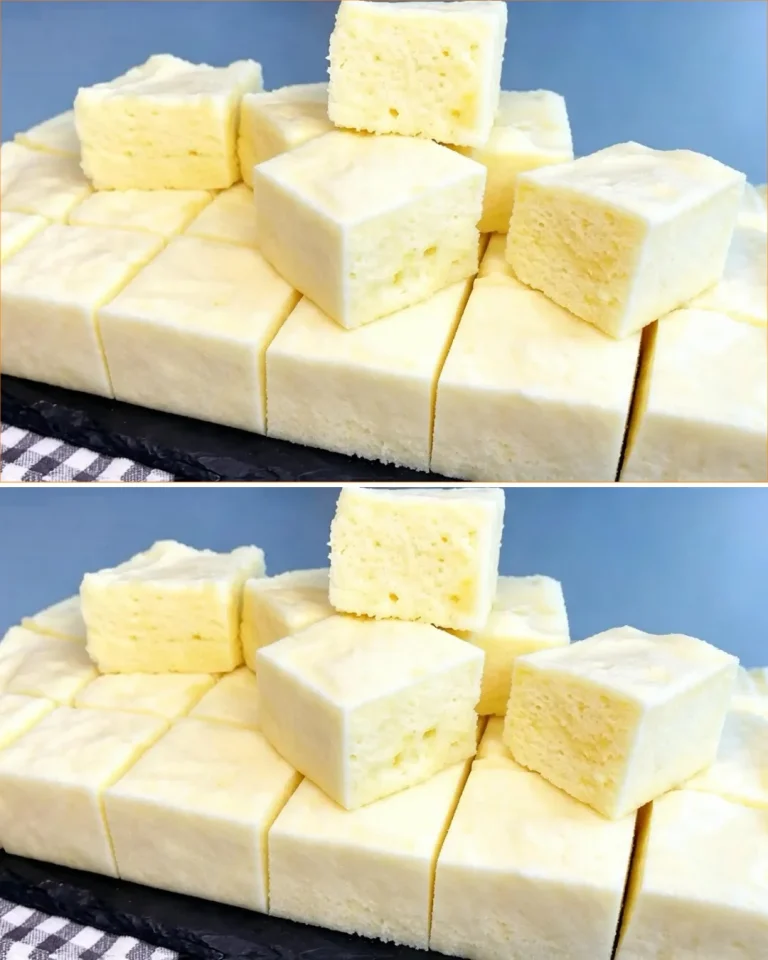
Serve: Once set, cut the tapioca cake into slices. Garnish with additional shredded coconut if desired.
Pro Tips
- Use Truly Hot Milk: This is essential for ensuring the tapioca cooks properly and achieves a good texture.
- Don’t Rush Setting: Allow it enough time in the fridge; a full 8 hours is ideal for the best texture.
- Experiment with Flavors: Consider adding a splash of vanilla extract or a bit of grated lime for a tangy kick.
Common Mistakes to Avoid
- Not Stirring Enough: Failing to stir the hot milk into the tapioca can cause clumps. Mix vigorously to ensure a smooth batter.
Tested Note
I recently tried adding a tablespoon of vanilla extract to the mixture, and it provided a delicious depth of flavor that complemented the coconut beautifully.
Variations
- Tapioca Coconut Fruit Cake: Add chopped fruits like mango or pineapple for a fresh twist.
- Spiced Tapioca Cake: Incorporate cinnamon or nutmeg for a warm flavor.
- Chocolate Tapioca Cake: Mix in cocoa powder with the dry ingredients for a chocolatey version.
Serving Suggestions
This tapioca cake can be served as a delightful dessert after meals, paired with fresh fruit or a drizzle of honey. You might also enjoy it with a scoop of coconut or vanilla ice cream for an extra indulgence.
Storage Instructions
Keep any leftovers in an airtight container in the refrigerator for up to 3 days. The cake might continue to firm up slightly as it chills.
Reheating Tips
Although this cake is best served cold, if you prefer a warm dessert, simply microwave a piece for about 15-20 seconds until it’s just warm enough.
Nutrition Estimate
Per serving (based on 10 servings):
- Calories: 250
- Protein: 5g
- Carbohydrates: 39g
- Fat: 8g
Recipe Summary Card
- Prep Time: 15 minutes
- Cook Time: 0 minutes (setting time)
- Total Time: 4 hours 15 minutes
- Servings: 10
- Cuisine: Brazilian
- Course: Dessert
- Calories: 250
Frequently Asked Questions
-
Can I use tapioca flour instead of granulated tapioca?
- No, granulated tapioca is essential for the right texture. Tapioca flour won’t provide the same chewy result.
-
How long does this cake last in the fridge?
- It can be stored for up to 3 days in an airtight container.
-
Can I make this cake sweeter?
- Adjust the amount of sweetened condensed milk to suit your taste; just be careful not to alter the liquid ratios significantly.
-
Is there a way to make it gluten-free?
- Yes, this recipe is naturally gluten-free; just make sure all your ingredients are certified gluten-free.
In conclusion, this no-oven tapioca cake is a smooth and creamy dessert that brings tropical flavors into your kitchen without much effort. The combination of tapioca, coconut, and sweetened condensed milk creates a unique treat that’s perfect for any occasion.
I tested this cake again after making some adjustments, and I found that chilling it overnight truly enhances the flavor and texture. Enjoy your cooking adventures!
No-Bake Tapioca Cake
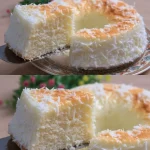
A delicious no-bake tapioca cake featuring rich coconut flavor and a delightfully chewy texture, perfect for hot days or small kitchens.
Main Ingredients
- 2 cups granulated tapioca
- 3 cups hot milk (Use truly hot milk for best results.)
- 1 can sweetened condensed milk (14 oz or 395 g.)
- 1 cup coconut milk (Can be substituted with plant-based milk for vegan option.)
- 1/4 cup shredded coconut (Plus more for garnish.)
- 1/4 cup powdered milk
Preparation
- In a large mixing bowl, mix the granulated tapioca, shredded coconut, and powdered milk.
- In a separate container, whisk together the sweetened condensed milk and coconut milk until smooth.
- Gradually pour the hot milk into the tapioca mixture while stirring continuously. This is crucial to prevent lumps. Your mixture should be creamy and slightly thickened.
- Allow the mixture to sit for about 10-15 minutes so the tapioca can absorb the liquids and soften.
- Grease the bottom and sides of your baking pan with a bit of cooking spray or oil, then pour the tapioca mixture into it. Spread it out evenly.
- Cover the pan with plastic wrap and place it in the refrigerator. Let it chill for at least 4 hours, or preferably overnight, until it is completely set.
- Once set, cut the tapioca cake into slices. Garnish with additional shredded coconut if desired.
Serve chilled. Store leftovers in an airtight container in the refrigerator for up to 3 days. Reheat by microwaving a piece for about 15-20 seconds if preferred warm.