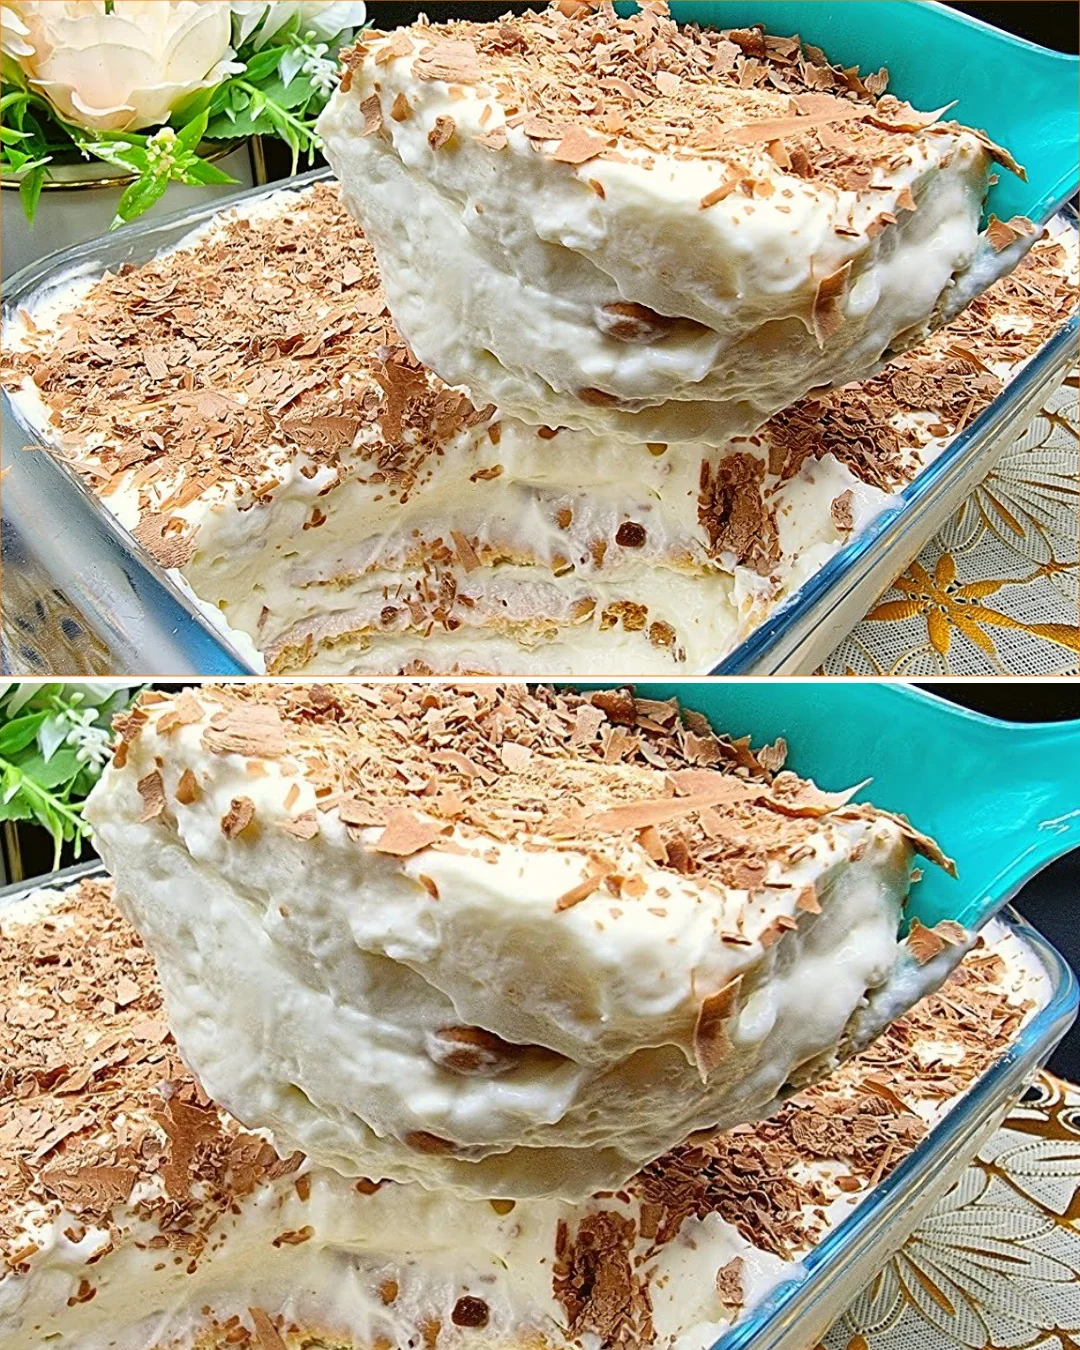
Creamy desserts have taken the culinary world by storm, and it’s easy to see why. This particular recipe is not only simple to prepare but also delivers an indulgent, melt-in-your-mouth experience that’s perfect for any occasion. I remember the first time I made this dessert for a family gathering—the joy on everyone’s faces was priceless. It’s become a go-to recipe when I want to impress without spending my entire day in the kitchen. The layers of biscuits, velvety cream, and rich chocolate create a visually appealing and delightful treat that keeps everyone coming back for seconds. Plus, it’s incredibly versatile; feel free to experiment with flavors or toppings!
Why You’ll Love This Recipe
- Luxurious creamy texture that melts in your mouth.
- Simple layers that create a stunning presentation.
- Can be made ahead of time, perfect for busy schedules.
- Only takes about 20 minutes of active prep time.
- Subtle hints of vanilla elevate the overall flavor.
Ingredients
- 2 ½ cups (600 ml) whole milk
- 3 tablespoons (35 g) granulated sugar
- 3 tablespoons (30 g) cornstarch
- 1 teaspoon vanillin (or 1 tablespoon vanilla extract)
- 1 ¼ cups (300 ml) pre-sweetened whipping cream
- 1 package of your favorite biscuits (about 200 g), soaked in milk
- ¼ cup (25 g) grated chocolate for topping
Ingredient Notes
Whole milk is key to achieving the desired creaminess; using low-fat alternatives may yield a thinner texture. The pre-sweetened whipping cream saves time, but if you opt for unsweetened, consider adding an extra tablespoon of sugar for balance. Vanillin adds a delicate flavor, but pure vanilla extract can be used for a more robust taste. For the biscuits, any type works—like tea biscuits or ladyfingers, but make sure they are relatively sturdy so they hold up in the layers.
Kitchen Tools Needed
- Medium saucepan
- Whisk
- Mixing bowls
- Plastic wrap
- 9×13 inch (23×33 cm) serving dish
- Hand mixer or stand mixer
Step-by-Step Instructions
- In a medium saucepan over medium heat, combine 2 ½ cups of whole milk, 3 tablespoons sugar, 3 tablespoons cornstarch, and 1 teaspoon of vanillin. Whisk continuously to avoid lumps.
- Keep stirring until the mixture begins to thicken; this should take about 5-7 minutes. You’re looking for a pudding-like consistency.
- Once thickened, remove the saucepan from heat, cover with plastic wrap, and let the mixture cool to room temperature. This can take about 30 minutes.
- In a separate bowl, whip the 1 ¼ cups of pre-sweetened whipping cream using a hand mixer until thick peaks form, about 3-5 minutes.
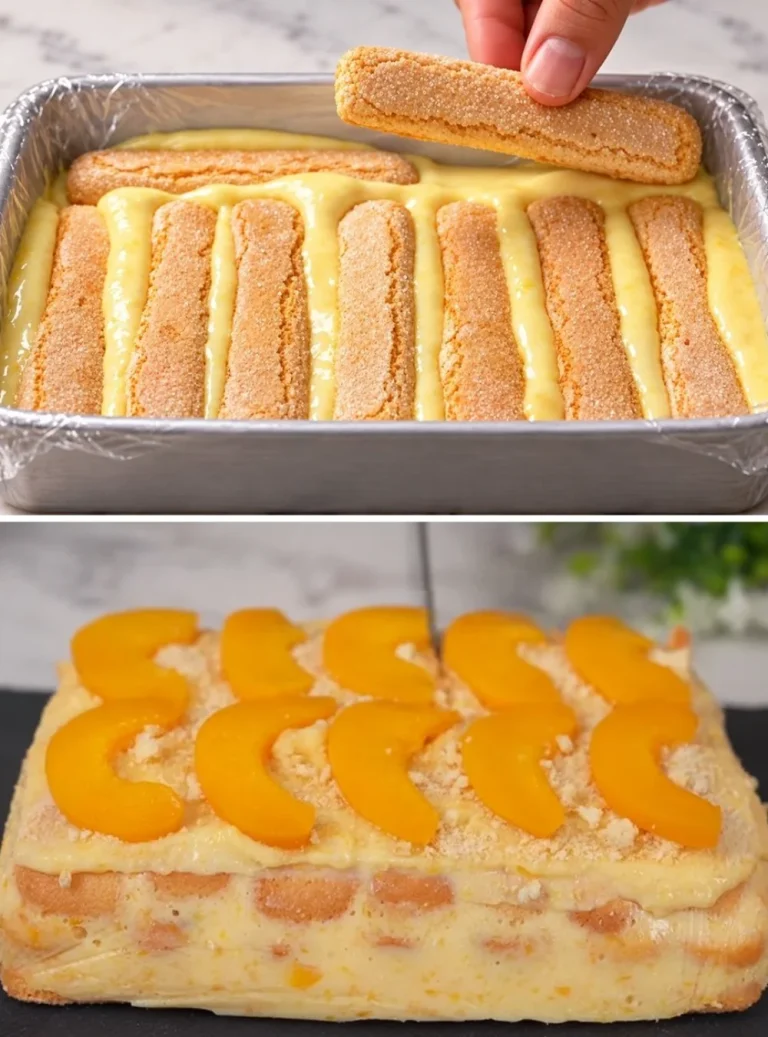
- In a 9×13 inch serving dish, layer the soaked biscuits on the bottom, ensuring they’re well-covered but not overly soggy.
- Spoon half of the cooled milk mixture over the biscuits, spreading it evenly.
- Add another layer of soaked biscuits, followed by the remaining milk mixture.
- Top with the whipped cream and smooth it out with a spatula.
- Finally, sprinkle the grated chocolate generously over the whipped cream layer.
- Cover with plastic wrap and refrigerate for at least 4 hours or overnight for best results.
Pro Tips
- When heating the milk mixture, stir consistently to prevent scorching; if it starts to bubble too violently, lower the heat.
- If your whipped cream isn’t forming peaks, ensure your bowl and beaters are cold before whipping.
- For a firmer dessert, let it set in the fridge overnight. It only gets better with time!
- Feel free to adjust the amount of sugar based on your sweetness preference, especially if using different brands of whipping cream.
Common Mistakes to Avoid
- Don’t skip the cooling step for the milk mixture; rushing leads to inconsistent texture and flavor.
- Be cautious with the soaking time for the biscuits; too long will make them fall apart.
- Whipping the cream too much can turn it grainy; stop once it holds peaks.
Variations
- Swap out the biscuits for chocolate-flavored ones for a richer dessert.
- Experiment with flavored extracts, like almond or hazelnut, for a unique twist.
- Incorporate layers of fresh fruit, such as sliced strawberries or bananas, to add freshness.
- Use a different kind of chocolate, like white chocolate, for a lighter topping.
Serving Suggestions
Cut into squares and serve chilled. For an elegant touch, top with additional whipped cream and a sprig of fresh mint. This dessert is perfect for dinner parties or casual family meals, pairing beautifully with a hot cup of coffee or a sweet dessert wine.
Storage Instructions
Store leftovers in an airtight container in the refrigerator for up to 3 days. Keep the grated chocolate topping separate if possible, to maintain its texture.
Reheating Tips
This dessert is best served cold and does not require reheating. Enjoy it directly from the fridge for the best texture and flavor.
Nutrition Estimate
Approximately 320 calories, 3g protein, 39g carbohydrates, and 18g fat per serving.
Recipe Summary Card
- Prep Time: 20 minutes
- Cook Time: 10 minutes
- Total Time: 4 hours + chilling time
- Servings: 12
- Cuisine: Global
- Course: Dessert
- Calories: 320
Frequently Asked Questions
- Can I use non-dairy milk?
Yes, but make sure to choose a creamy alternative like oat or almond milk for similar results. - How long does it take for the dessert to set?
Ideally, leave it in the refrigerator for at least 4 hours, but overnight is best. - Can I use homemade whipping cream?
Absolutely! Just make sure to sweeten it to match your taste preferences. - What can I do with leftovers?
Enjoy them the next day, or get creative and layer them in parfaits with fruit. - Is it safe to eat if it’s been left out for a bit?
To ensure food safety, keep it refrigerated and consume within a few days.
Conclusion
This creamy dessert is not just a treat; it’s an experience that will delight your taste buds and impress your guests. With its layered textures and sophisticated flavors, it proves that homemade desserts can be both simple and extraordinary. I guarantee that once you try it, it’ll become a cherished recipe in your collection.
Tested Note
I tested this again and found that allowing it to chill overnight really enhances the flavors and gives it a firmer texture.
Creamy Layered Dessert
This creamy layered dessert features biscuits, rich chocolate, and a velvety cream filling, perfect for any occasion.
For the cream filling
- 2.5 cups 2 ½ cups whole milk (Whole milk is key to achieving the desired creaminess; using low-fat alternatives may yield a thinner texture.)
- 3 tablespoons 3 tablespoons granulated sugar (Feel free to adjust based on sweetness preference.)
- 3 tablespoons 3 tablespoons cornstarch (Used for thickening the filling.)
- 1 teaspoon 1 teaspoon vanillin (or 1 tablespoon vanilla extract) (Vanillin adds a delicate flavor, but pure vanilla extract can be used for a more robust taste.)
- 1.25 cups 1 ¼ cups pre-sweetened whipping cream (The pre-sweetened whipping cream saves time.)
For the dessert layers
- 1 package 1 package of your favorite biscuits (about 200 g), soaked in milk (Any type works—like tea biscuits or ladyfingers, but make sure they are sturdy.)
- 0.25 cup ¼ cup grated chocolate for topping (Sprinkle generously over the whipped cream layer.)
Preparation
- In a medium saucepan over medium heat, combine 2 ½ cups of whole milk, 3 tablespoons sugar, 3 tablespoons cornstarch, and 1 teaspoon of vanillin. Whisk continuously to avoid lumps.
- Keep stirring until the mixture begins to thicken; this should take about 5-7 minutes.
- Once thickened, remove the saucepan from heat, cover with plastic wrap, and let the mixture cool to room temperature for about 30 minutes.
- In a separate bowl, whip the 1 ¼ cups of pre-sweetened whipping cream until thick peaks form, about 3-5 minutes.
Assembly
- In a 9×13 inch serving dish, layer the soaked biscuits on the bottom.
- Spoon half of the cooled milk mixture over the biscuits, spreading it evenly.
- Add another layer of soaked biscuits, followed by the remaining milk mixture.
- Top with the whipped cream and smooth it out with a spatula.
- Finally, sprinkle grated chocolate generously over the whipped cream layer.
Chilling
- Cover with plastic wrap and refrigerate for at least 4 hours or overnight for best results.
When heating the milk mixture, stir consistently to prevent scorching. If your whipped cream isn’t forming peaks, ensure your bowl and beaters are cold before whipping. For a firmer dessert, let it set in the fridge overnight. This dessert is best served cold and does not require reheating. Enjoy it directly from the fridge.