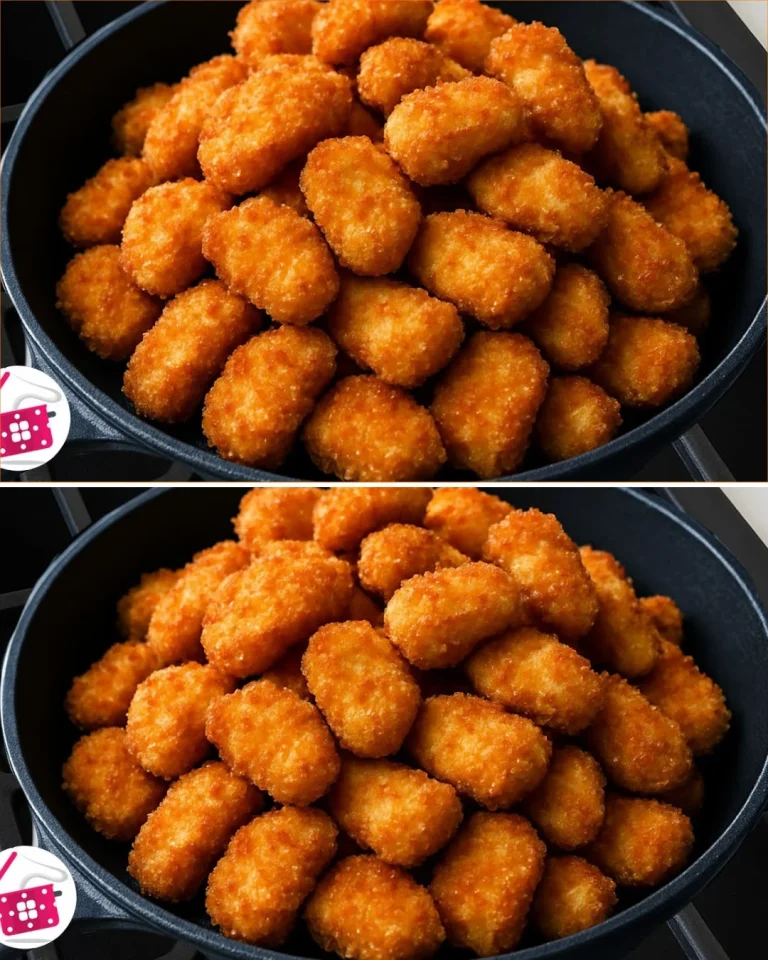
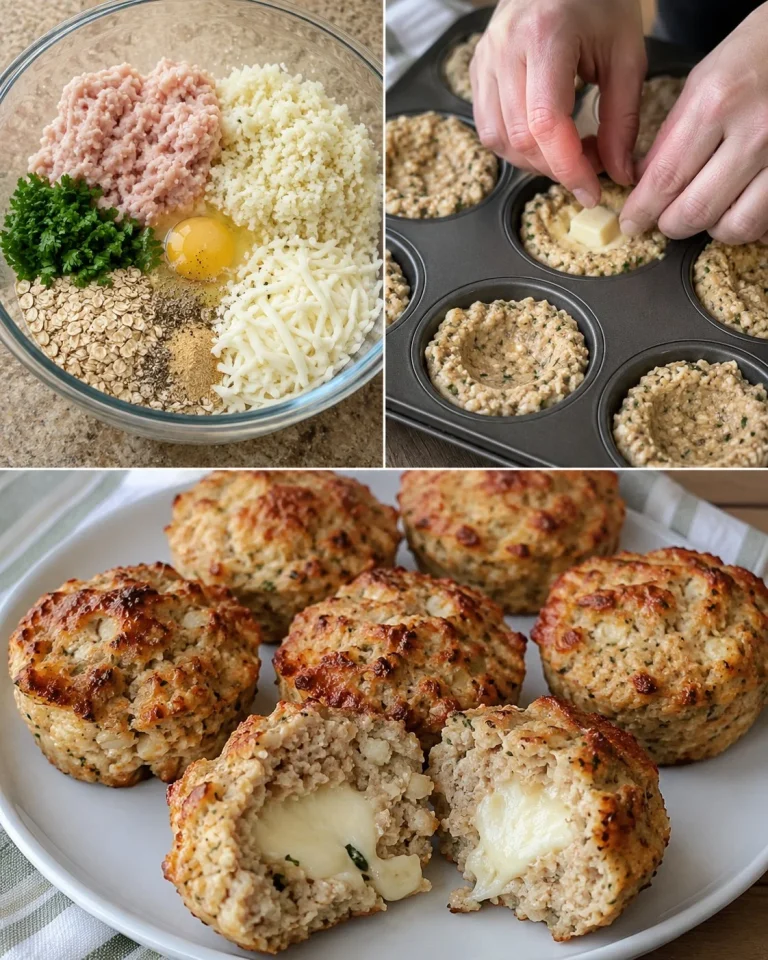
Chicken and Cheese Baskets are a delightful combination of savory chicken and melted cheese, all wrapped up in a tender dough that looks as good as it tastes. This recipe has been trending lately because it beautifully combines comfort food with fun presentation. Whether you’re hosting a gathering or just looking for a tasty dinner option, these baskets are sure to impress. They bring a crispy texture with a creamy filling that makes every bite satisfying and enjoyable.
Gather Your Chicken and Cheese Baskets Ingredients
- 200 g (about ¾ cup) Kefir
- 0.5 tsp Salt
- 1 tsp Sugar
- 50 g (about ⅓ cup) Oil
- 280-300 g (about 2-2.5 cups) Flour
- 0.5 tsp Baking soda
- 200 g (about 1 ¾ cups) Boiled chicken meat, diced
- 150 g (about 1 cup) Fried onion
- 100 g (about 1 cup) Hard cheese, grated
- 100 g (about ⅓ cup) Mayonnaise
- 10 g (about 1 tbsp) Tomato paste
- 2-3 cloves Garlic, grated
- Salt and black pepper to taste
- Greens (like dill or parsley) for garnish
How to Make Chicken and Cheese Baskets
- In a large bowl, combine the kefir with salt, sugar, and oil. Mix it all together until well combined.
- Gradually add the flour to the mixture. After you’ve added enough flour, sprinkle in the baking soda and knead it into a soft, pliable dough. If it feels sticky, lightly grease your hands with oil and continue kneading for about a minute.
- Allow the dough to rest in a plastic bag for 15-20 minutes.
- After resting, divide the dough into small portions and roll them into balls. Let these rest for another 10-15 minutes.
- Preheat your oven to 180 degrees Celsius (about 350 degrees Fahrenheit). Roll out each ball of dough into a small circle, making sure the edges are higher to form baskets.
- For the filling, chop the boiled chicken into small cubes. In a bowl, mix the chicken with fried onion, grated cheese, and a sauce made from mayonnaise, tomato paste, grated garlic, salt, and black pepper. Stir everything together until well mixed.
- Place the filling into each dough basket and sprinkle a little extra cheese on top.
- Bake in the preheated oven for about 17-18 minutes or until the tops are golden brown.
- Once baked, let them cool slightly and sprinkle with fresh herbs before serving.
Why This Chicken and Cheese Baskets Is So Popular Right Now
Many people are turning to Chicken and Cheese Baskets because they’re perfect for gatherings or quick family meals. They are not only easy to make but also customizable, allowing everyone to enjoy their unique flavors. Plus, with the rise of comfort food trends, this recipe ticks all the right boxes for a cozy and satisfying dish.
Best Ways to Serve It
These Chicken and Cheese Baskets can be served at various times of the day. They make a fantastic snack, a fancy appetizer, or even a light dinner paired with a fresh salad. Consider serving them with a side of dipping sauce, like ranch or a simple garlic sauce, to elevate the experience. They also take well to fresh herbs or a dash of hot sauce for those who enjoy an extra kick!
Helpful Tricks
- Storage Tips: If you have leftovers, store them in an airtight container in the fridge for up to three days. Reheat in the oven to maintain their crispy texture.
- Flavor Variations: Feel free to experiment with the filling! Add veggies like bell peppers or mushrooms for extra nutrition or swap out the cheese for your favorite variety.
- Make It Vegetarian: Substitute chicken with cooked lentils or diced mushrooms for a tasty vegetarian option.
Chicken and Cheese Baskets FAQs
Q: Can I use different kinds of cheese?
A: Absolutely! Feel free to use any cheese you love, but hard cheese works best for that melty texture.
Q: How do I know when the baskets are done baking?
A: They’re ready when they’re golden brown on top. Keep an eye on them, as oven temperatures can vary.
Q: Can I prepare the dough ahead of time?
A: Yes, you can make the dough a few hours in advance. Just keep it covered in the fridge until you’re ready to roll out and bake.
Give these Chicken and Cheese Baskets a try at home! They’re simple to make and full of flavor, perfect for any meal or occasion. Enjoy!
Chicken and Cheese Baskets

Delightful savory chicken and melted cheese wrapped in tender dough, perfect for gatherings or a tasty dinner option.
Dough Ingredients
- 200 g Kefir (About ¾ cup)
- 0.5 tsp Salt
- 1 tsp Sugar
- 50 g Oil (About ⅓ cup)
- 280-300 g Flour (About 2-2.5 cups)
- 0.5 tsp Baking soda
Filling Ingredients
- 200 g Boiled chicken meat, diced (About 1 ¾ cups)
- 150 g Fried onion (About 1 cup)
- 100 g Hard cheese, grated (About 1 cup)
- 100 g Mayonnaise (About ⅓ cup)
- 10 g Tomato paste (About 1 tbsp)
- 2-3 cloves Garlic, grated
- Salt and black pepper to taste
- Greens (like dill or parsley) for garnish
Preparation of Dough
- In a large bowl, combine the kefir with salt, sugar, and oil. Mix until well combined.
- Gradually add the flour to the mixture. Sprinkle in the baking soda and knead it into a soft, pliable dough.
- If the dough feels sticky, lightly grease your hands with oil and continue kneading for about a minute.
- Allow the dough to rest in a plastic bag for 15-20 minutes.
- After resting, divide the dough into small portions and roll them into balls. Let these rest for another 10-15 minutes.
- Preheat your oven to 180 degrees Celsius (about 350 degrees Fahrenheit). Roll out each ball into a small circle, making the edges higher to form baskets.
Filling Preparation
- In a bowl, mix the boiled chicken with fried onion, grated cheese, mayonnaise, tomato paste, grated garlic, salt, and black pepper until well mixed.
- Place the filling into each dough basket and sprinkle extra cheese on top.
Baking
- Bake in the preheated oven for about 17-18 minutes or until the tops are golden brown.
- Once baked, let them cool slightly and sprinkle with fresh herbs before serving.
These baskets are perfect for gatherings or quick family meals. They are customizable with different fillings and make a great snack, appetizer, or light dinner. Store leftovers in an airtight container in the fridge for up to three days and reheat in the oven.